Monday 29 July 2019

August's Colour Theme Coin

This is the colour theme for August:


I've continued with the {AT Coins}


I ran the coin through the cuttlebug with the Carabelle {Circles and Dots} embossing folder.

I then brushed on acrylic paints, blending them at the join.

I used a brayer to apply lemon paint only to the raised parts and gave the base a ring of white paint pen dots.

I cut down one of the larger clouds from the {Grab Bag of Clouds} to fit the coin and added some shading with paint.

It's been finished off with Moon Girl sitting on the cloud and a white embossed phrase.


Saturday 27 July 2019

24 Playdays Summer Tag


Full details of how I made this tag can be found on our Facebook page HERE.

Friday 26 July 2019

Concertina Binder- it's all Black and White.


Morning all  it's Concertina Binder week on the Tando Creative Blog and so I thought I would give it a go.


I started by giving the binder and all parts a coat of DecoArt Chalky Finish in Everlasting. All the spines were then given a coat of DecoArt Chalky Finish in Carbon.  The binder covers and the clipboard holder had Vintage tissue paper applied with DecoArt Matte Medium .


Stamping was then added to the binder pages and clipboard with black Archival Ink.


 Embelishments were then added to the front cover and a ribbon tie to finish.
 
Thanks for stopping by.
Fiona.
 
PRODUCTS USED.


Other Products.
 
Vintage Tissue Paper ( my own stash)
Ranger Black Archival Ink
Flourish Stamp- Tim Holtz
Frame- Tim Holtz Ideology.
Die cut branches- Tim Holtz Sizzix Thinlets.
Ribbon- ( my own stash)
Crown Stamp ( my own stash)


Monday 22 July 2019

Concertina Folder with Mini Clipboard

Hi everyone, who can resist this gorgeous and useful concertina binder?  I know I can't!!!!!  Apart from the obvious rings, it has a little holder to place the mini clipboard in or you could add a little book if you like.

You can use this one for all sorts of thing...as a holiday journal, an art journal or just a place to put your lists :-D.  Plus its handy enough to fit into a handbag!


I added chalk paints randomly to the bases and then decided it was too bright and gave them a covering of gesso!  The lovely leaf spray has been made using the new layering stencils.  I used two of the layers with modelling paste, painting each as it dried.

Open one side of the binder and you have a holder for the mini clipboard! Its deep enough to be able to hold a lot in your clipboard.


I used paper to cover my page dividers and to decorate the clipboard.  I also added a few quotes for inspiration!


The finishing touch was to add the 'ART' letters and wrap some lace around to hold it neatly.


The team have decorated this in so many ways.  Keep a look out for more inspiration

Karen xxx

Friday 19 July 2019

Anything Goes - Alcohol Ink Tag by Jane

Hello!

It is 'Anything Goes' week on the Tando Creative blog so I thought I would have a go at something a bit different.  I am really loving my alcohol inks at the moment and wanted to use them on one of the greyboard technique tags but as they would not work on the board surface I decided to cover my tag using YUPO paper which is a special synthetic paper that works with the inks as it is non porous...


I started by drawing around the tag onto the YUPO paper and then cut it out.  I used Decoart Decoupage Matt to stick it to the tag.  Using a selection of pink, yellow and orange alcohol inks I applied the ink and blew it around until I was happy with the look, then added gold foil which adhered to the tacky areas...


The tag was left to dry overnight and then I used alcohol lift ink from the re inker bottle onto a foam blending tool and placed it through the distressed diamond mini stencil.  I then dabbed off the residue before burnishing the areas to lift the ink...


Next I used some red archival ink with a script stamp...


As the background was quite bright I wanted the focal points to have more of a silhouette look, so I chose a butterfly from the Tando butterfly grab bag as well as two Tando flowers with stems.

These were painted with black gesso then I added a couple of layers of black embossing powder which I stamped into with the same script stamp from earlier.  To help the texture stand out I rubbed on a little bit of gold gilding wax...


These were then adhered to the tag using glue and foam pads for extra dimension and a Tim Holtz sticker added as a finishing touch...


Here are the products that I used:

* Tando Creative Technique Binder and Tags
* Tando Creative Flowers with Stems Grab Bag
* Tando Creative Butterfly Grab Bag
* Tando Creative Mini Stencil - Distressed Diamond
* Decoart Mediums - Black Gesso
* Decoart - Decoupage Matt

Thank you for looking and do check out what the other design team members have been making this week.

Happy crafting,

Jane xx

Thursday 18 July 2019

Tando Creative 24 Play Days- Fiona Randall


Hello !
 
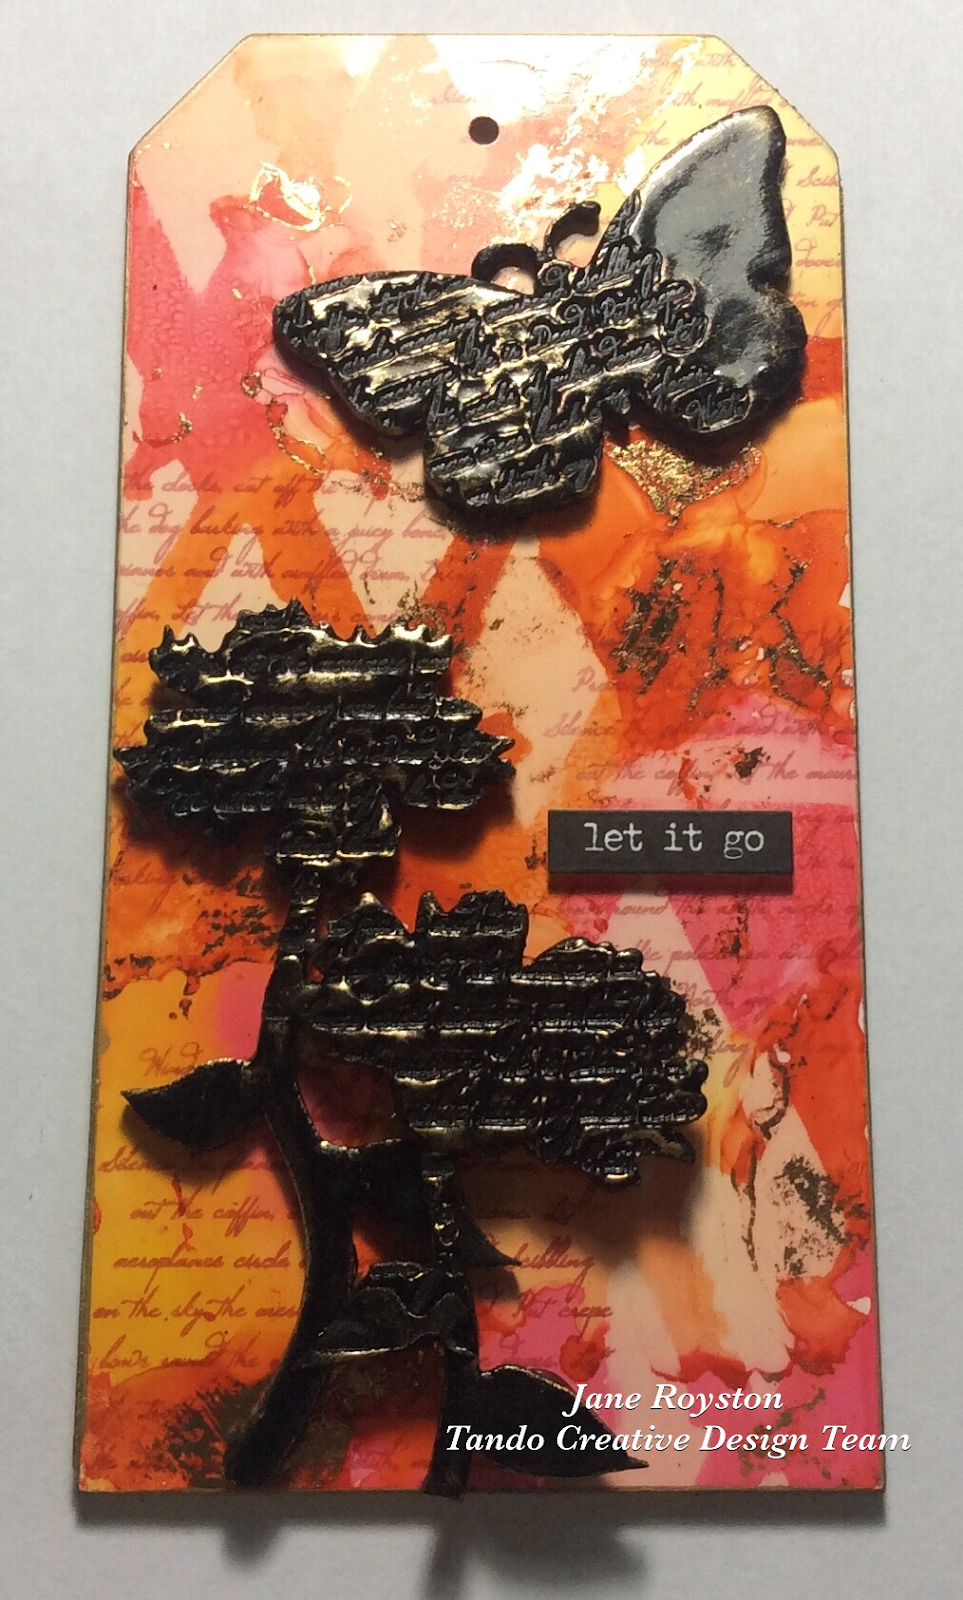
Welcome to my step by step tutorial to create this Grungy Butterfly Tag.


Step 1.


Start with laying your grey board tag on a piece of 300gsm cardstock and cut around it using a craft knife. You will end up with a tag shape piece of card as pictured. punch a hole with a hole punch.

 
Step 2.


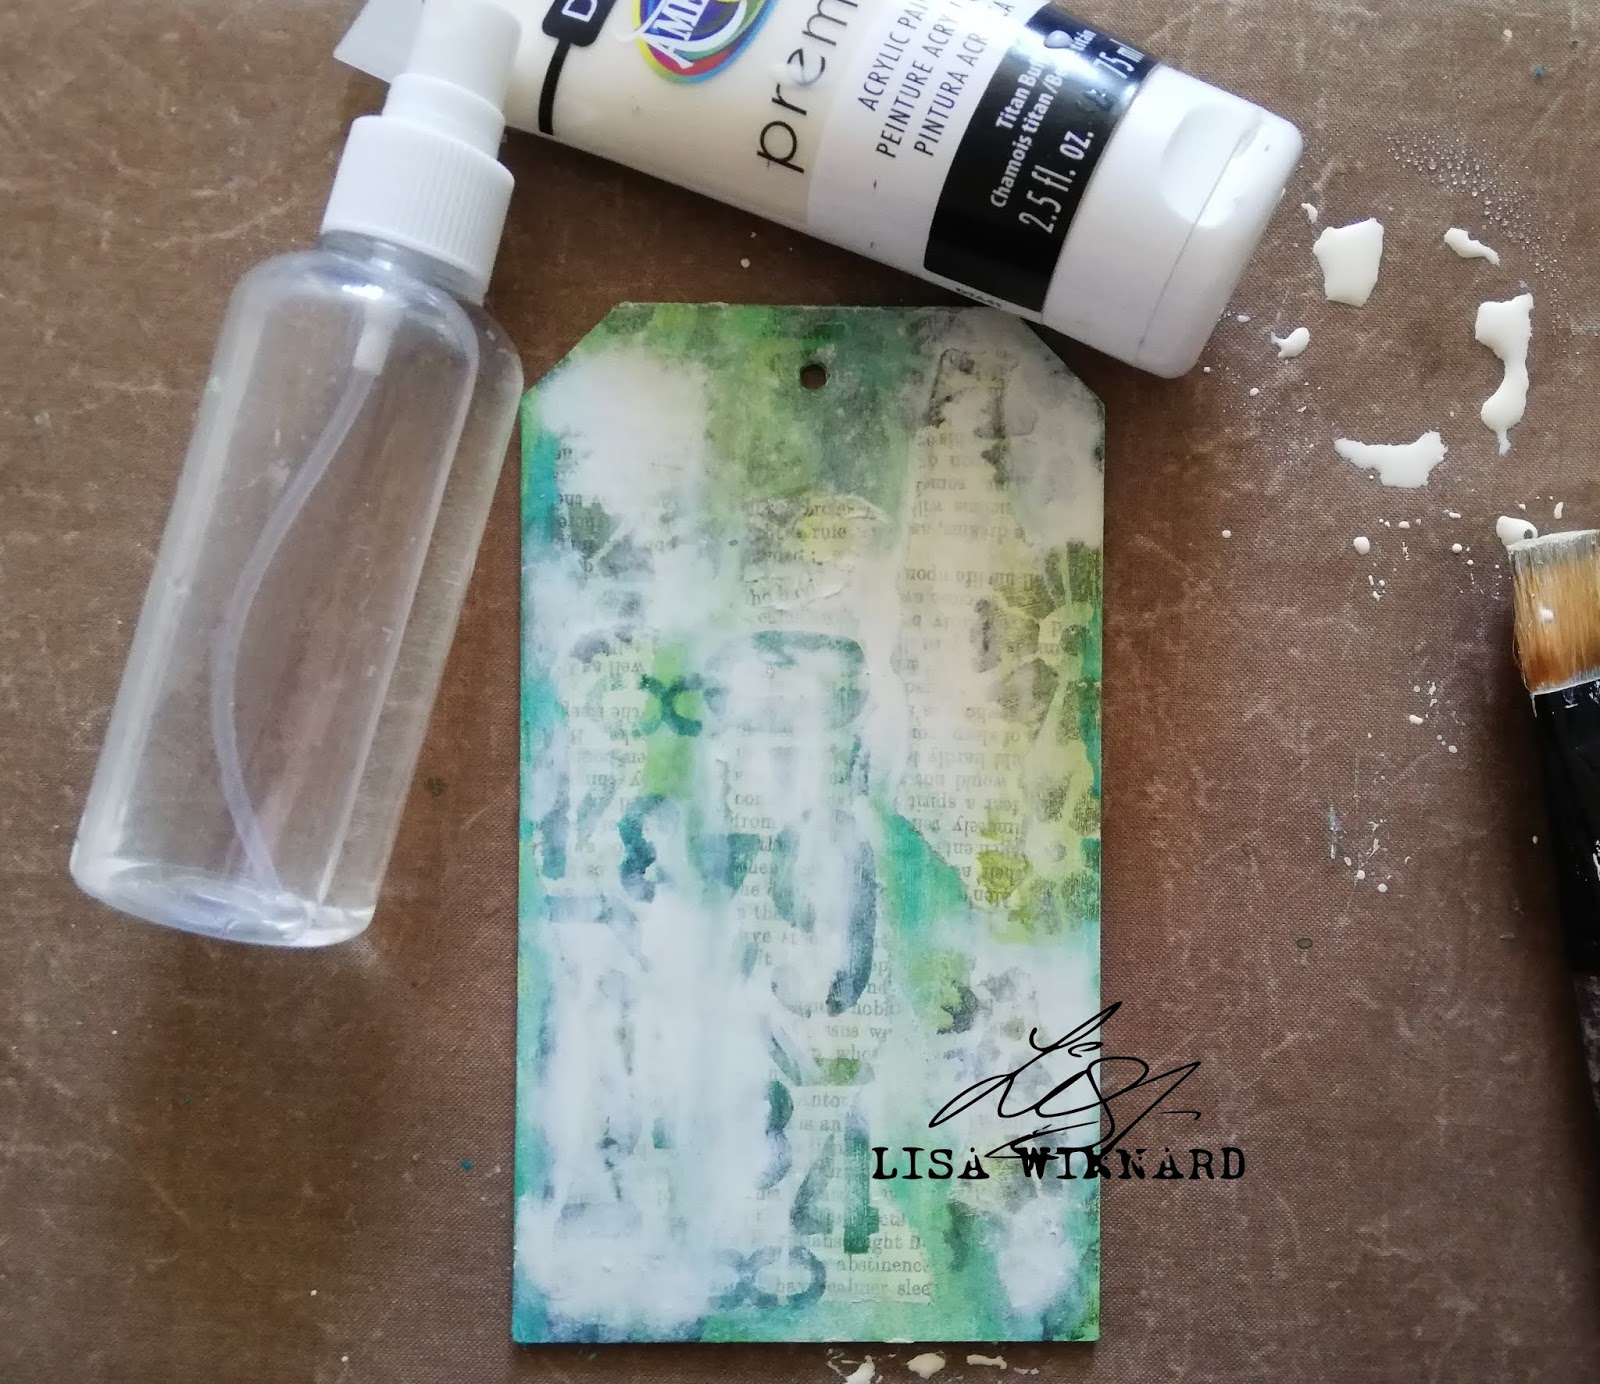
Apply DecoArt Media Fluid Acrylic in Titanium white  ( or any white acrylic paint in your stash) with a sponge to your chosen background stamp.
 
Step 3.
 
 
Press the cardstock tag onto the stamp, run fingers over the back of the tag. Move tag around several times applying more paint to stamp as required until tag is covered. Dry with a heat tool.
 
Step 4.
 
 
Mist Tag with water and spray with distress spray stain in frayed burlap. Blot with kitchen towel and then dry with a heat tool.
 
Step 5.
 
 
Apply Distress Ink in Vintage Photo and Weathered wood to opposite corners as shown with an ink blending tool. The Acrylic paint acts as a resist to the distress ink. Wipe over lightly with a baby wipe to reveal more of the paint stamp background. Dry with a heat tool.
 
Step 6.
 
 
Define edges by applying Walnut Stain distress ink with an ink blending tool.
 
Step 7.
 
 
Apply walnut stain distress ink to the edges of your grey board tag.
 
Step 8.
 
 
Glue your cardstock tag to the grey board tag and roll over with a brayer to make sure everything is firmly adhered.
 
Step 9.
 
 
Apply two strips of Washi Tape to the side of the tag as shown.
 
Step 10.
 
 
Apply vintage photo and weathered woo distress ink  directly to the Tando Thins as shown. Using your background stamp again apply stamping to the diamonds with walnut stain distress ink.
 
Step 11.
 
 
Take a length of string and pull apart to create thin string fibres as shown.
 
Step 12.
 
 
Stamp your chosen butterfly stamp onto 300gsm cardstock with Versafine ink in Onyx Black.
Colour the butterfly with vintage photo and weathered wood distress inks with a water brush and dry with a heat tool. Apply a layer of embossing ink over the whole butterfly with a versa mark ink pad. Sprinkle on  clear embossing powder and heat with a heat tool until melted creating a glossy finish and sealing the distress ink in place.
 
Step 13.
 
 
Apply foam pads to the diamond thins and apply to the tag base. Glue the circle thins on top of the diamonds.  Add your string fibres with a touch of glue. Shape the wings of the butterfly before gluing on top of the string fibres. Finally  apply the numbers to the tag from Andy Skinners Mixed Media Transfer set Poe Diversity to finish.
 
Thanks for stopping by I hope I have Inspired you to give this a go.
Fiona :)
 
Products Used.


Andy Skinner Mixed Media Transfers- Poe Diversity.
 
Tim Holtz
Distress Spray Stain- Frayed Burlap
Distress Inks, Walnut Stain, Vintage Photo and Weathered Wood.
Ideology Tissue Tape- Paperie.
 
Stampendous  Jumbo Butterfly Stamp Set.


Wednesday 17 July 2019

Anything Goes - Dream Tag by Lisa

Hello lovely people! I am here with an 'Anything Goes' for Tando Creative. For this project, I created a step by step of a one-layer tag using a selection of different 
Tando stencils. 


Step-by-step


Step 1 - Using DecoArt Premium Acrylic paints and a Tando greyboard tag, created a background using 3 different colours.


Step 2 - glue some torn book pages on to the tag.


step 3 - Using the DecoArt Premium Acrylics, stencil the tag using Tando Cogs Group 6x6 stencil


step 4 - stencil using the Tando 260mm x 65mm Numbers stencil.


Step 5 & 6 - rub the tag gently with a damp cloth to distress the stencilled areas.


Step 7 - add DecoArt Acrylic Titan Buff paint with water over the tag.


Step 8 - Using the Tando 4 x 4 Distressed Diamond to stencil the tag.


Step 9 - Using DecoArt Media Texture Sand Paste and Tando 4 x 4 Distressed Sequins Stencil the tag.


step 10 - Use DecoArt Premium paint (Paynes Grey) to colour the Texture Sand Paste.


Step 11 - Used Tando 260mm x 65mm Rings stencil on the tag.


Step 12 - Stamp the image on to the tag.


Step 13 - Colour a piece of card using Distress Oxide Ink and water.


Step 14 - Stamp the words on to the coloured card.


Step 15 - Cut out the word from the stamped sentiment.


Step 16 - Add the word to the tag.


FINAL TAG


Thanks for popping by,
Lisa x


Here are all the products I used which are available on the Tando Website.


Cogs Group Mask 15cm x 15cm   Stencil 260mm x 65mm: NUMBERS   Mini Mask - Distressed Diamond   Mini Mask - Distressed Sequins

Stencil 260mm x 65mm: RINGS      Paynes Grey Premium    10off Tags Size 5 120x60mm