Showing posts with label Christmas. Show all posts

Sunday, 27 November 2022

24 Boxes of Advent - Grand Finale by Kim

 So may be you haven't room for 24 of these cubby boxes, but four will work just fine!

Start by building the boxes and drawers -
as in previous posts in this series. Next, take the outer boxes and glue them into a square. Make sure you line up the edges and get them 'square'. 

Once dry I gave them a coat of gesso, then Blue Harbor, fading to Spa Blue at the sides.

Now, to paint a picture over four separate drawer fronts could be difficult so I took a piece of multi media art paper, and prepared one surface that covers all four drawer fronts. 

I started with some old book pages and glued them on to the sheet. When dry I used thin glazes of Santa Red and Forest Green over the text. To add interest I brushed a thin wash of Hansa Yellow (Media Fluid Acrylic) in places over the red and green.

When it was dry I thought the colours were too strong to work as a background so I painted a wash of Titanium White over the top to knock back the colour. Let it dry.


I sketched lightly a simple Christmas tree shape with three layers. With Leaf Green I base coated the top section. With Forest Green with a little Deep Midnight Blue I started the top of next section, then changed back to Leaf Green to blend to the bottom of that section. Repeat for the bottom section.

When dry I dry brushed a little Fawn on the branches, especially those towards the left (that is where my imaginary light source is). Using a large dotting tool, I added the Venetian Gold garland - load the tool and place the first dot at the bottom of the loop, then continue up one side. You should get 5-8 reducing dots from a load. Repeat for the other side of each loop. The wonky star is in this gold, too.

Next, use the large dotter, or the end of a paint brush to add baubles, red, blue,  and yellow. When the dots were dry I used a very small dotter to add a glint of light to the top left of each bauble (remember where the light source is).

I used the same gold for the letters behind the tree - Y U L E. The U and L are only partially visible. They are outlined in black, using a very fine liner brush and a steady hand.

To finish add shading around the tree with a wash of Zinc, then spatter white 'snow' over the whole picture.

When it is dry lay the picture face down and rest the glued together boxes on top to mark the outline. 

OR, you could use papers from your stash.
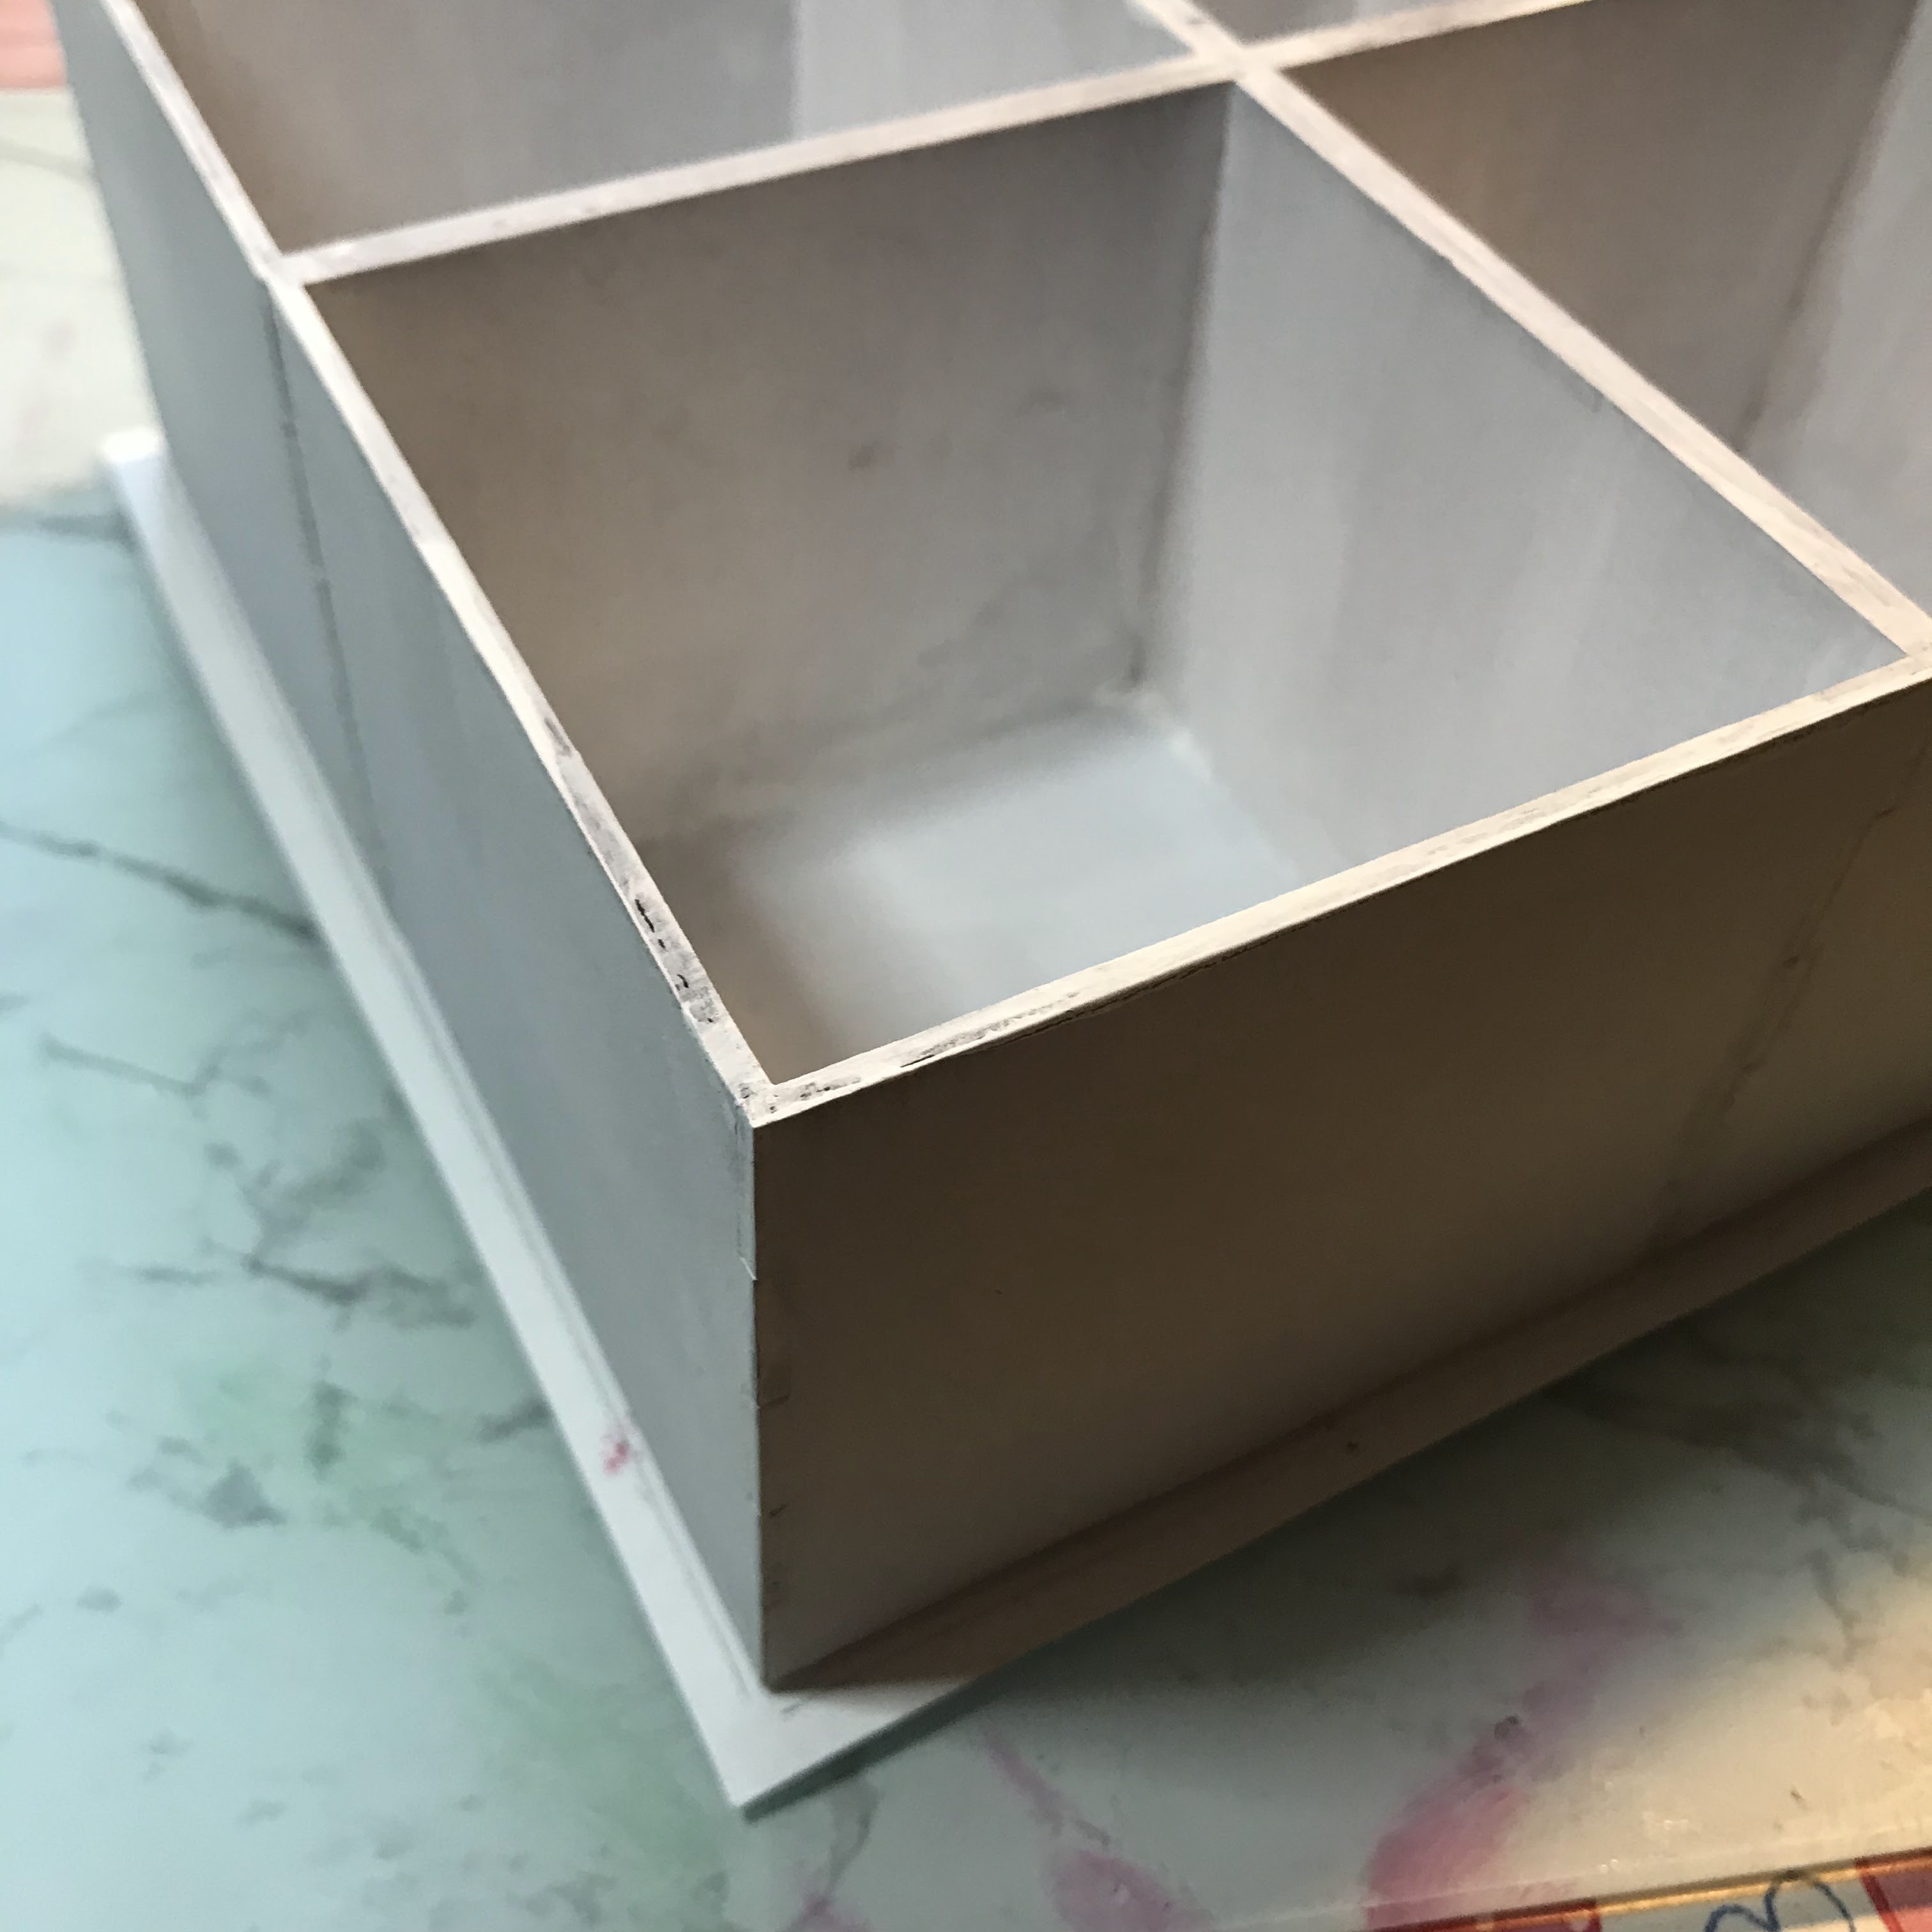


Spread glue over the front of each drawer in turn and place on the back of the picture. Line up each drawer with its neighbour and the outline you drew. Leave to dry. I added some weight to them to make sure they made proper contact with the sheet. (Having made sure the drawers were the right way up for the picture!)

Using a sharp craft knife carefully slit between the boxes to separate them. I found by bending the boxes apart a little it was easier to follow the line - take your time as this is the vital part!

Last I painted the outside edges black - not the edges where the picture joins - then a coat of gloss sealer to bring out the colours.


Thanks for visiting! I hope you have a great Christmas, or whatever other celebration you have for the winter season.

Products:

Background paper, made or bought

Friday, 5 August 2022

24 Boxes of Advent - Dun Drekly by Kim


Part of my inheritance from my mother was a Dremel. It is a multi purpose tool often used by model makers. It has many different bits and spins at very high speeds. (It sounds a bit like a dentist's drill).

So, I thought, let's give it a go on greyboard ...

A short video of the finished box is available at : instagram.com/the_scratchypen/

I put the box together as in previous episodes of '24 Boxes of Advent' then, once dry, got to work with the Dremel. I chose a very small ball shaped bit, and after sketching out the rough stone wall, carved gently into the greyboard to produce the recessed joints between the stones. I was careful not to go too deep. This produced a lovely rustic looking surface.

My original plan was to have just three stones missing from the wall so the viewer could get a glimpse of what was inside, but, I changed my mind and opened up a big window. I sanded the surface lightly to tidy up the edges of the carving.

Next, a base coat of DecoArt Zinc, followed by random dry brushed patches of Burnt Umber, Burnt Orange, True Ochre. For the mossy edges, and the outside of the box I used Forest Green and Wasabi Green. I added snow to the edges (well it is supposed to be Christmas!) with a texture paste. I used a little black under each stone as shadow.

Next, the interior - a diorama. I measured the inside of the drawer section. Across the back is 76mm, from front to back (interior measurement) is 69mm. It is 75mm tall. From a cereal box I cut a piece 185mm wide and 75mm high. Measureed 60mm in from both ends for the folds. This meant there was a backdrop of 65mm wide. By making the walls a bit smaller it increases the 3D effect especially in the fireplace. I used a sharp craft knife to cut out my sketched fireplace.

Now the scene. Choose your wallpaper. Pink and green stripes seemed nice (Really?). And a white skirting board (mouse hole is optional). 

On the left we have two pictures, a portrait of Auntie Mable, and a  scene of rolling hills and sheep on a sunny, summers day. These were painted on small greyboard scraps of 10mm x 15mm.

On the right a Christmas tree. The tall side are 55mm and the bottom of the triangle is 50mm folded in the centre. Decorate your tree with your favourite baubles. The star is in Venetian Gold paint. Other baubles are painted around the room as you see fit.


The end wall. The fire grate is painted with Zinc then the ironwork in Lamp Black. The flames are painted with red, orange and yellow flame-shaped dabs using a small detail brush. The mantle piece is cut from a small piece of balsa wood, and the surround, either side is wooden coffee stirrers. These are painted with a wash of Burnt Umber for a nicer colour. Two small pieces of waste greyboard are painted gold for the wall lights, and a piece of greyboard offcut has cooking foil glued on the surface, and a frame of Lamp Black, for the mirror. Christmas stockings are cut from cereal box and painted. A spot of glue sticks them to the mantle.


The wooden floor is a wash of Burnt Umber painted in stripes, and the fireside rug is more cereal box painted to fit with the rest of the decor.


Once your scene is dry tidy up the creases and slot it in. 


Mother's Dremel

The wooden shutter is built from coffee stirrers and stained with a wash of Burnt Umber. I left the support rails long so that I could add the house name board and use it as a handle to slide open the shutter. I had to make a pair of small cutouts in the box to accommodate the rails.

Products:

Tando Creative Box Storage 

Scraps and greyboard offcuts

DecoArt Americana colours


Tuesday, 7 December 2021

December Colour Theme-Christmas Snowflake Cubbey- Fiona Randall

 Morning All it's Colour theme week on the Tando Blog.

 For my project I used one of the Tando Cubbey's


I used three colours from the colour swatch to create my christmas snowflake cubbey.


After assembly I gave the inside a coat of DecoArt Chalky finish in Carbon and then a coat of DecoArt Media Ultra Matte Varnish to seal. The outside was given a coat of DecoArt Chalky finish in Timeless. Once dry a coat of DecoArt Crackle Medium for chalk paint was applied. This was then dried with a heat tool. ( yes you can dry this product with a heat tool). Once dry DecoArt Chalky Finish in Honour was applied with a sponge. By applying with a sponge it eliminates brush strokes and the possibility of removing the crackle. This was then dried with a heat tool to speed up the crackle effect. 
The edges of the cubbey were then swiped with DecoArt Metallic Lustre in silver spark.
Next up a piece of card stock was embossed with a mini 3d Lumber folder. This was then spritzed and sprayed with Distress Ink Sprays in Chipped Sapphire and Old Paper with a little of the Distress Mica Spray Stain in Snow Flurries for shimmer and shine. This was then glued into the cubbey.
Next up a piece of old book paper was applied to a piece of card stock with decoupage glue. Once dry this was die cut and embossed using the 3D mini impresslits snowflake folder. The edges of the snowflakes were inked with Ground Espresso distress ink.
The Snowflakes were then swiped with the silver spark metallic Lustre to the raised edges.
A Tando  Snowflake was swiped with the silver spark Metallic Lustre and a brad attached to the centre. A small Bookplate was given the same treatment and a sentiment stamped and attached.
 The snowflakes were then layered up and  applied to the Cubbey with a piece of grey board attached to the back to give depth and dimension. The bookplate was then attached to finish.

Side View.


Thanks for taking the time to stop by and Read
Fiona.

PRODUCTS USED.


OTHER PRODUCTS USED.

Tim Holtz Distress Spray Stain- Chipped Sapphire, Old Paper.
Tim Holtz Distress Mica Spray- Snow Flurries
Tim Holtz Mini 3d Embossing Folder- Lumbar
Tim Holts 3D Impresslits- Snowflake.
Tim Holz Distress Ink- Ground Espresso.
Brads.


Wednesday, 24 November 2021

Product Focus- Twinchie Christmas- Fiona Randall

 Morning all Fiona here with a Product Focus Project.

I am really enjoying Seasonal makes at the moment so decided to create a focal piece using Tando Twinchies.


This is quite a large project but so fun to create using scraps of Scrapbooking paper from my stash with Tando Minis to further decorate the piece.
I started by adhering a piece of Scrap Book paper to a 12x12 piece of Tando Grey Board and inked the edges with Ground Espresso Distress Ink.
Next up I cut the squares to cover my Twinchies using a 2 inch square punch from christmas themed scrap booking paper. The paper squares were then adhered to the 25 Twinchies needed and the edges inked with Vintage Photo Distress Ink. Numbers and words were then stenciled and stamped onto the twinchies and coloured with Glitter Gel Pens. Glitter was then added to the Tando Stars and Snowflakes. The Tando Bells and Holly were coloured with Glitter Sparkle Pens.
The Twinchies were then arranged onto the board and Glued into place. Finally the Tando  Stars, Snowflakes, Holly and Bells were glued into place to finish.
A fun project with limited supplies but so effective when complete.
Thanks for taking the time to stop by and read.
Do check back the rest of the week to see what the rest of the team are creating.
Fiona xx.

PRODUCTS USED.


Other Products Used.

Tim Holtz Distress Ink- Vintage Photo, Ground Espresso. 
Tim Holtz Seasonal Glitter- Garland
Glitter Gel Pens.
Christmas Scrapbook Paper- My own Stash
2 inch square punch


Tuesday, 16 November 2021

Let it Snow- Anything Goes Week - Fiona Randall


Morning All t's Anything goes week here on the Tando Blog.

Following on from my Facebook live over on Crafting Together With All Brands last week

You can see the Video HERE

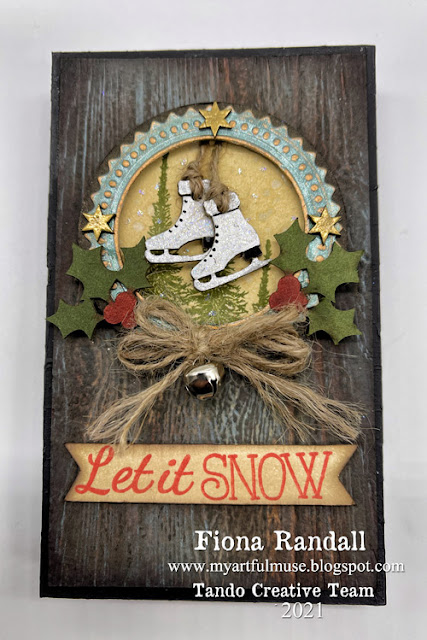
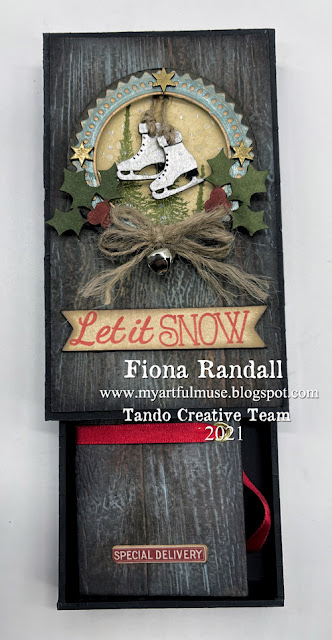
I decided on creating another of the Tando Medium Matchboxes again using a Christmas Theme along with some Christmas Themed Tando Elements.


After assembly of the matchbox both cover and insert drawer were given a coat of DecoArt Chalky Finish in Carbon black. Then finished with a coat of DecoArt Media Ultra Matte Varnish.
Water colour cardstock was embossed with a Lumber 3d Embossing Folder then spritzed and sprayed with Distress Ink and Oxide Sprays. Edged in Ground Espresso Distress Ink. This was then adhered to the matchbox cover with DecoArt Decoupage Matte Glue.
Next up the Decoration using Tando Elements and a Die cut frame. Some stamping and glitter touches and a little Jute String bow with bell added .


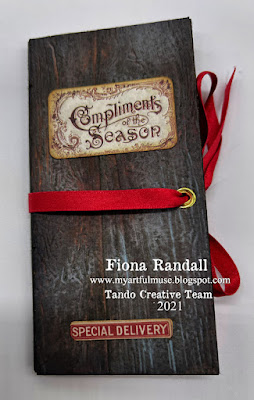
I decided to create a little gift card holder booklet using two of the matchbox inserts for my covers.


The covers were decorated to match the outer matchbox cover. With some ephemera added for interest.


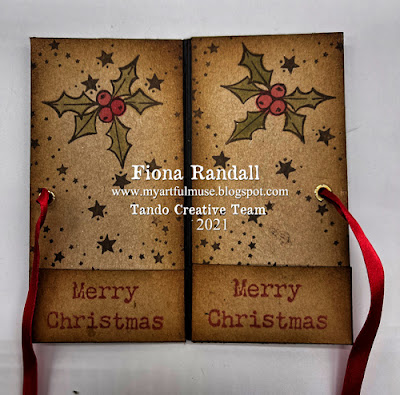
The inside covers were created using craft card and stamped in the christmas theme.
A strip of black card was then cut to create the hinge mechanism for the booklet and adhered to the front and back cover before attaching the Inner covers. holes were then punched into the covers and set with eyelets before threading some ribbon through to act as a closure.
A fun and easy project to complete and something different for gift giving.
Thanks for taking the time to stop by and read. Do come back the rest of the week to see what the DT has in store fore you.

PRODUCTS USED.


OTHER PRODUCTS USED.

Tim Holtz 3d Embossing Folder - Lumber
Tim Holtz Switchlet Embossing Folder- Seal.
Tim Holtz Distress Spray Stain- Walnut Stain, Vintage Photo, Frayed Burlap
Tim Holtz Distress Oxide Spray-  Evergreen Bough.
Tim Holtz Seasonal Distress Mica Spray- Frosted Juniper
Tim Holtz Distress Ink Pad- Ground Esspresso, Antique Linen, Forest Moss.
Tim Holtz Ideology- Christmas Snippets Ephemera.

Jute String
Silver Bell
Glitter
Gold Wax
Black Posca Pen
Ribbon
Gold Eyelets.
Various christmas stamps from my stash.


Tuesday, 22 December 2020

Christmas Week 3- Fiona Randall


Morning All I'm back with my project for week 3 of Christmas.

Before I go any further I would just like to wish you all a very Merry Christmas

and lets hope 2021 is going to be better for all of us.


for my project i used the Layered Frame Arch to create my Christmas theme.
 Lots of painty layers, crackle and distressing. Embossing, Inking and Die Cutting.
I am quite pleased with my christmas makes and won't be a stranger to it in the future.
Do stop by the rest of the week to see what the creative team has in store for you.
See you all in the New Year
Merry Christmas Everyone
Stay Safe
Fiona xx

PRODUCTS USED


OTHER SUPPLIES

Tim Holtz 3d Embossing Folder- Lumber

Distress Spray Stain- Walnut Stain, Frayed Burlap, Gathered Twigs

Distress Inks Pads, Rustic Wilderness, Forest Moss, Aged Mahogany, Candied Apple.

Distress Archival Ink- Ground Espresso

Tim Holtz Thinlet Dies- Holiday Greens

Poinsettia Dies- Sizzix

Kraft Cardstock


Tuesday, 15 December 2020

Christmas Week 2- Fiona Randall


Morning all I'm back with my second Christmas Project for week 2 of Christmas.


I decided to creat a Christmas Sleigh from scratch from Tando Grey Board Sheets.
For the sleigh Blades I cut two strips of Grey Board, rounded the corners on one end then sprayed with water and curved the grey board around a paint bottle.
As the grey board dries it hold the shape of the curve- Neat eh. One dry these were given a coat of media fluid Acrylic in Raw Umber.
Onto the top of the sleigh next. 
A piece of Tando grey board was cut and the top given a rounded shape.
A distressed finish was then added with DecoArt Chalk Paints, then scored with a pokey tool to create the look of wood panels. 
Vintage Music paper was then applied to a small Tando Tag size 1 and the edges inked.  A paper Snowflake was the die cut from Christmas Scrapbook paper from my stash.
 A small Tando Mini Snowflake was given a coat of chalky finish paint and the edges inked and then the snowflake assembled.
This was then attached to the tag along with some stringed silver bells.
 Everything was then assembled to complete the sleigh using off cuts of grey board to give depth and dimension.
Isn't it amazing what you can construct from a sheet of grey board and your imagination.

Thanks for stopping by today
Stay Safe
Fiona xx

PRODUCTS USED.


OTHER SUPPLIES

Tim Holtz Snowflake Rosette Die

Christmas Scrapbook paper

Distress Archival Ink Pad- Ground Espresso

String

Mini Silver Bells

Vintage Music Paper.


Thursday, 10 December 2020

Christmas Week 1- Fiona Randall


It's Christmas here on the Tando Blog.

 So in the run up to Christmas myself and the rest of the 

Tando Team are here to inspire you with some Festive projects.

Anyone who knows me knows I don't do Christmas,

 but I have pushed the boundries of my creativity

and surprised even myself and had a heap load of fun in the process.


I had fun creating this cute Christmas Birdhouse Using collage tissue paper,
Heat Embossing and of course
some painting too.
 This is a great little project to display during the festive season.
Do stop by the rest of the week to see what the Creative Team
has in store for you.
Thanks for stopping by today. 
Stay Safe
Fiona xx

PRODUCTS USED.


OTHER SUPPLIES.

Tim Holtz Collage Tissue Paper- Christmas.

Archival Distress Ink Pad- Ground Espresso.

Distress Ink Pads- Vintage Photo and Festive Berries


Wednesday, 9 December 2020

A Christmas tag by Celia


 Hi there Christmas Crafters!

I’m just starting to get into the Christmas mood now - I’m a slow starter! To kick off Christmas week, I’ve  used one of Fiona’s gorgeous layered tags and turned it into a Christmas bauble. I was channelling the vintage vibe for the colour scheme.

I started off by priming the top tag with white chalk paint so that my colours would be nice and vibrant. Then I painted some patches of bright coloured chalk paints and applied a layer of crackling medium once dry. 


When this was dry I started on the centre. I pulled out lots of bright coloured embossing powders to make my bauble. I painted a section with the Wow embossing brush, being careful not to apply to much of the medium, then added the embossing powder. I did this with each colour. 


Before doing the border, I brushed on a coat of pale green chalk paint, leaving a small border around the cut out section. This crackled very quickly, and produced the colourful crackle effect I was hoping for.


 For the border I carefully drew round the edge with an embossing pen and applied a grungy copper embossing powder (Seth Apter’s Crusty Copper from the Metalz set by Wow) and knocked off any bits that were in the wrong place with a dry brush, before melting. Then I created the top part of the bauble in the same way. I painted the backing tag in gold before adhering it to the top tag. To finish, I went round the edges with some Burnt Umber acrylic.
I hope you get time to do some Christmas Crafting!

Celia x