Showing posts with label Christmas Countdown. Show all posts

Sunday, 27 November 2022

24 Boxes of Advent - Grand Finale by Kim

 So may be you haven't room for 24 of these cubby boxes, but four will work just fine!

Start by building the boxes and drawers -
as in previous posts in this series. Next, take the outer boxes and glue them into a square. Make sure you line up the edges and get them 'square'. 

Once dry I gave them a coat of gesso, then Blue Harbor, fading to Spa Blue at the sides.

Now, to paint a picture over four separate drawer fronts could be difficult so I took a piece of multi media art paper, and prepared one surface that covers all four drawer fronts. 

I started with some old book pages and glued them on to the sheet. When dry I used thin glazes of Santa Red and Forest Green over the text. To add interest I brushed a thin wash of Hansa Yellow (Media Fluid Acrylic) in places over the red and green.

When it was dry I thought the colours were too strong to work as a background so I painted a wash of Titanium White over the top to knock back the colour. Let it dry.


I sketched lightly a simple Christmas tree shape with three layers. With Leaf Green I base coated the top section. With Forest Green with a little Deep Midnight Blue I started the top of next section, then changed back to Leaf Green to blend to the bottom of that section. Repeat for the bottom section.

When dry I dry brushed a little Fawn on the branches, especially those towards the left (that is where my imaginary light source is). Using a large dotting tool, I added the Venetian Gold garland - load the tool and place the first dot at the bottom of the loop, then continue up one side. You should get 5-8 reducing dots from a load. Repeat for the other side of each loop. The wonky star is in this gold, too.

Next, use the large dotter, or the end of a paint brush to add baubles, red, blue,  and yellow. When the dots were dry I used a very small dotter to add a glint of light to the top left of each bauble (remember where the light source is).

I used the same gold for the letters behind the tree - Y U L E. The U and L are only partially visible. They are outlined in black, using a very fine liner brush and a steady hand.

To finish add shading around the tree with a wash of Zinc, then spatter white 'snow' over the whole picture.

When it is dry lay the picture face down and rest the glued together boxes on top to mark the outline. 

OR, you could use papers from your stash.
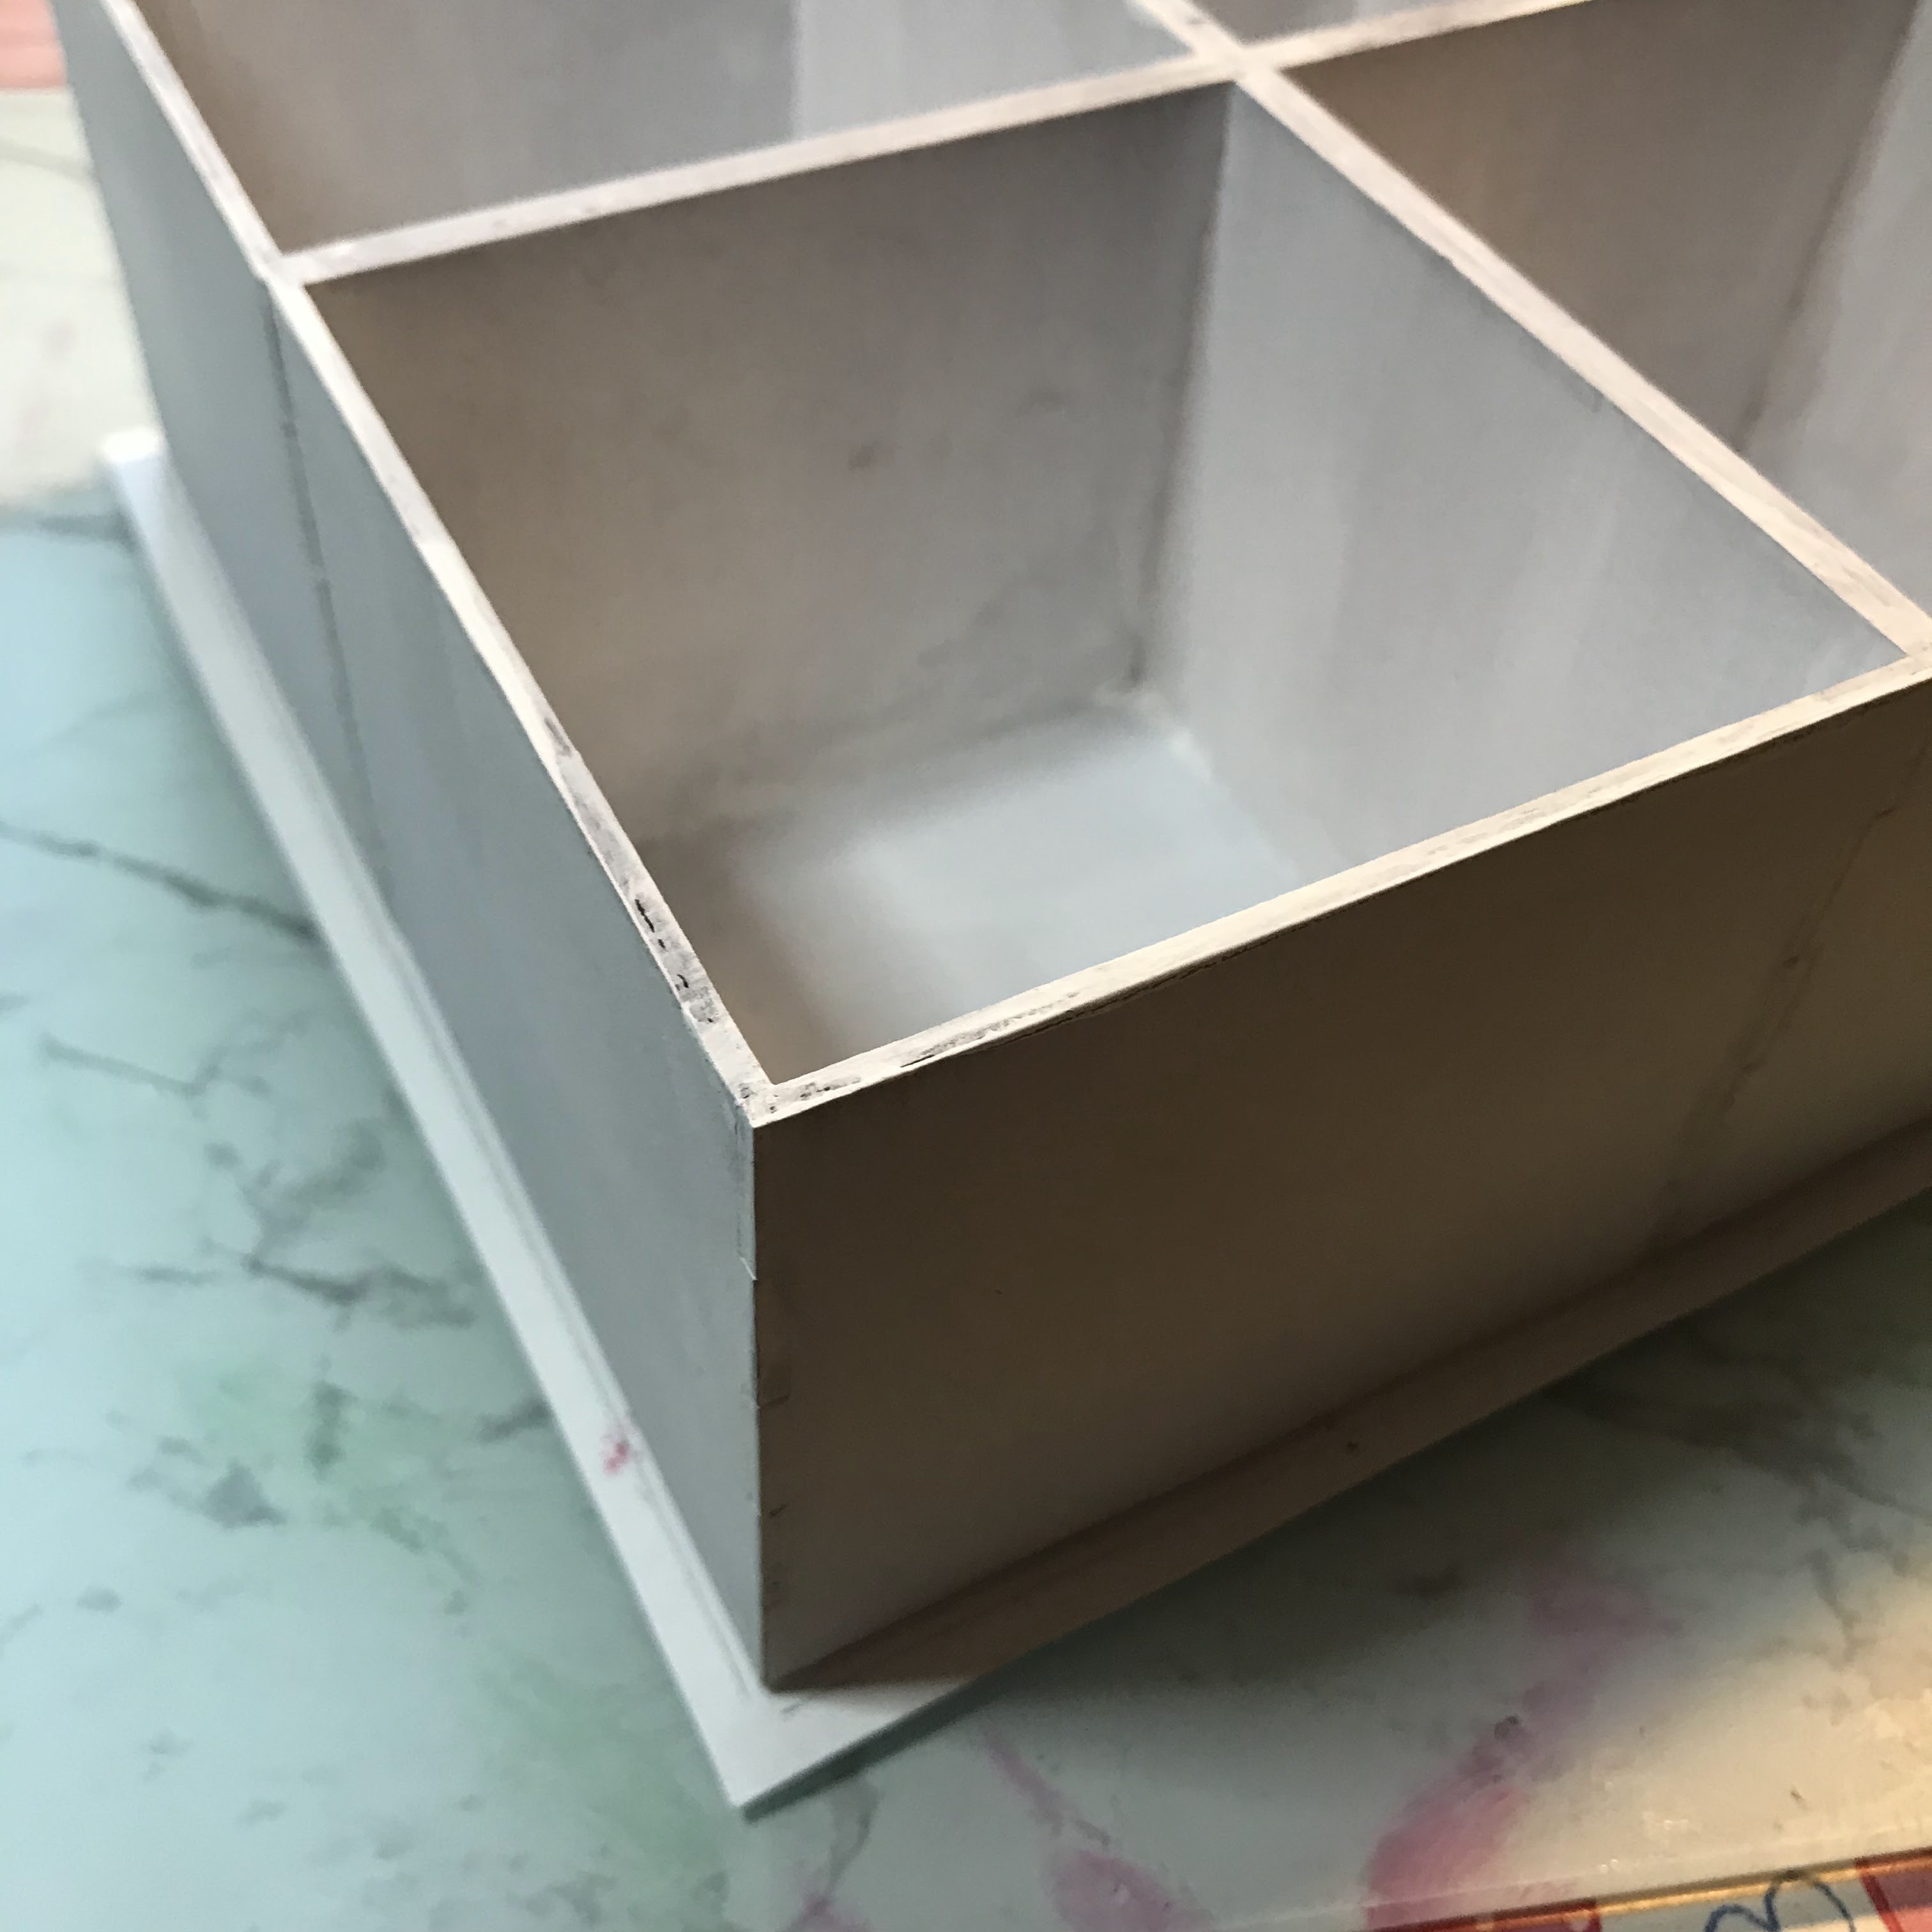


Spread glue over the front of each drawer in turn and place on the back of the picture. Line up each drawer with its neighbour and the outline you drew. Leave to dry. I added some weight to them to make sure they made proper contact with the sheet. (Having made sure the drawers were the right way up for the picture!)

Using a sharp craft knife carefully slit between the boxes to separate them. I found by bending the boxes apart a little it was easier to follow the line - take your time as this is the vital part!

Last I painted the outside edges black - not the edges where the picture joins - then a coat of gloss sealer to bring out the colours.


Thanks for visiting! I hope you have a great Christmas, or whatever other celebration you have for the winter season.

Products:

Background paper, made or bought

Friday, 4 March 2022

24 Boxes of Advent - Plain and Simple - by Kim

 Sometimes plain and simple is good, with may be just a little glitter.

Just two colours, white and blue (DecoArt Blue Harbor), blue at the top, white at the bottom. Blend the two together with horizontal strokes. This makes a great background snow scene.

Once all the sides are covered and dry paint a simple fir tree in white.

With the edge of a flat brush paint in the brown trunk of the tree (I know I only said two colours). Next add the branches of the tree, again with the edge of the flat brush, dab on the fronds, reducing in size as the get to the top. Give them a slight downward slope to make the tree look more natural.

I used an old toothbrush (you could use your current one, but the paint doesn't taste so good) to fly speck slightly watered down white paint for a falling snow effect. I suggest you practice on scrap paper to make sure you get the effect you want, before you splatter your project.

As this is my second Advent box I cut out a number 2 from spare greyboard, painted the edge with blue and glued glitter to the face. A few dabs of glue on the tree and sprinkle a little glitter there, too.

That's it. Simple and effective - and in plenty of time for the Christmas countdown.


Monday, 7 September 2015

Getting Painty Week!

Hello and welcome to a brand new week where we are getting all painty!  I certainly got paint up my arms, down my jeans........haha!  I have been thinking ahead and have painted up a CHRISTMAS COUNTDOWN KIT for you and yes, you do get all the elements to add to it.    The picture of this on the website has paper added to it so I thought to give it a different perspective as well as use non traditional colours.  I have used metallic paints in copper and turquoise.


The background has had SNOWFLAKES stencilled with TEXTURE PASTE before being painted with an off-white and highlighted with a little turquoise.  I have added clear glitter paint here and there to add to the sparkle!!!


If you would like to play along with us you are very welcome!  Take a look at the current months tab at the top of the blog to see how to win a prize!

Thank you for popping by, Karen xxx

Saturday, 1 December 2012

Deck the Halls - Christmas Wreath

Hi, Caro is here. As you know we deck the halls this week. For that I have created this Christmas Wreath. First I have thought that that would be much work and couldn't believe it that i didn't take that long as I thought and I had much fun with crafting this piece.

Please hop over to my blog for details of the how to.


Click on the picture to go to the shop:


Thursday, 22 November 2012

Christmas Countdown by Kaz

For my Christmas Countdown, I am revisiting a kit that was first released in 2009 as a class on UKScrappers. The class made this into a framed countdown, but I have used a 12 x 12 inch canvas board for  mine.


I started off by using the ~{Set of 5 Snowflakes Masks}~ with texture paste across the base board. I also scraped the extra texture paste over the board to give an uneven finish. Once this was dry I used acrylic paints over the whole base blending white with pale blue. Once this was dry I smudged a little oil pastel over the snowflake only to add detail and then smudged some glitter glue over that. The base itself was finished with inky snowflakes and edging. I punched out white card and stamped the numbers onto them.


The trees have been painted with acrylic paint and the edges inked. I replaced the centres and added some Viva Decor Glitter Pen for detail.


The centre piece is again painted with acrylic paints and I stamped and embossed the snowflakes in white. I've doodled borders and added a snowflake from the ~{Tando Minis Snowflakes}~ and a plain circle from ~{Grab Bag of Circles}~. On the ~{original}~ one, ~{Di}~ had used an acrylic overlay for the numbers, but as I was using a dial outside, I punched a hole through the far end of the pointer and fixed that with a brad. The pointer is painted in silver and has a big dollop of GA on it!


I went on the hunt for some letters and found these grungeboard ones. My grungeboard hasn't seen the light of day for YEARS!!! I painted them with acrylic paint and then gently tapped my silver inkpad over them so that they look a bit aged.


Everything has been fixed in place with silicone glue.

Kaz xxx