Showing posts with label Crackle. Show all posts

Tuesday, 7 December 2021

December Colour Theme-Christmas Snowflake Cubbey- Fiona Randall

 Morning All it's Colour theme week on the Tando Blog.

 For my project I used one of the Tando Cubbey's


I used three colours from the colour swatch to create my christmas snowflake cubbey.


After assembly I gave the inside a coat of DecoArt Chalky finish in Carbon and then a coat of DecoArt Media Ultra Matte Varnish to seal. The outside was given a coat of DecoArt Chalky finish in Timeless. Once dry a coat of DecoArt Crackle Medium for chalk paint was applied. This was then dried with a heat tool. ( yes you can dry this product with a heat tool). Once dry DecoArt Chalky Finish in Honour was applied with a sponge. By applying with a sponge it eliminates brush strokes and the possibility of removing the crackle. This was then dried with a heat tool to speed up the crackle effect. 
The edges of the cubbey were then swiped with DecoArt Metallic Lustre in silver spark.
Next up a piece of card stock was embossed with a mini 3d Lumber folder. This was then spritzed and sprayed with Distress Ink Sprays in Chipped Sapphire and Old Paper with a little of the Distress Mica Spray Stain in Snow Flurries for shimmer and shine. This was then glued into the cubbey.
Next up a piece of old book paper was applied to a piece of card stock with decoupage glue. Once dry this was die cut and embossed using the 3D mini impresslits snowflake folder. The edges of the snowflakes were inked with Ground Espresso distress ink.
The Snowflakes were then swiped with the silver spark metallic Lustre to the raised edges.
A Tando  Snowflake was swiped with the silver spark Metallic Lustre and a brad attached to the centre. A small Bookplate was given the same treatment and a sentiment stamped and attached.
 The snowflakes were then layered up and  applied to the Cubbey with a piece of grey board attached to the back to give depth and dimension. The bookplate was then attached to finish.

Side View.


Thanks for taking the time to stop by and Read
Fiona.

PRODUCTS USED.


OTHER PRODUCTS USED.

Tim Holtz Distress Spray Stain- Chipped Sapphire, Old Paper.
Tim Holtz Distress Mica Spray- Snow Flurries
Tim Holtz Mini 3d Embossing Folder- Lumbar
Tim Holts 3D Impresslits- Snowflake.
Tim Holz Distress Ink- Ground Espresso.
Brads.


Thursday, 13 May 2021

Stars Week- Fona Randall


Morning All Fiona here with my contribution for this week. 

The Theme for this week is "STARS"

I've gone with a Mystical theme for my project and decided to alter an A5 Sketchbook cover.
I have used one of my Layered Tags from Set 2 along with the Tando Minis Stars.
 Some stenciling with crackle paste, stamping and splattering with paint.

Thanks for stopping by today.
Stay Safe
Fiona.

PRODUCTS USED.


DecoArt Chalky Finish- Honour

OTHER PRODUCTS.

Stamperia Silver Crackle Paste.

Stamperia Stencil- Sacred Geometery

Tim Holtz Stamps- Tiny Words.

Printed paper- my own

Beaded Chain- My own Stash.

Black Archival Ink Pad.


Tuesday, 22 December 2020

Christmas Week 3- Fiona Randall


Morning All I'm back with my project for week 3 of Christmas.
Before I go any further I would just like to wish you all a very Merry Christmas

and lets hope 2021 is going to be better for all of us.


for my project i used the Layered Frame Arch to create my Christmas theme.
 Lots of painty layers, crackle and distressing. Embossing, Inking and Die Cutting.
I am quite pleased with my christmas makes and won't be a stranger to it in the future.
Do stop by the rest of the week to see what the creative team has in store for you.
See you all in the New Year
Merry Christmas Everyone
Stay Safe
Fiona xx

PRODUCTS USED


OTHER SUPPLIES

Tim Holtz 3d Embossing Folder- Lumber

Distress Spray Stain- Walnut Stain, Frayed Burlap, Gathered Twigs

Distress Inks Pads, Rustic Wilderness, Forest Moss, Aged Mahogany, Candied Apple.

Distress Archival Ink- Ground Espresso

Tim Holtz Thinlet Dies- Holiday Greens

Poinsettia Dies- Sizzix

Kraft Cardstock


Thursday, 9 April 2020

Crackle week - 'Safe' by Nikki


Morning everyone,

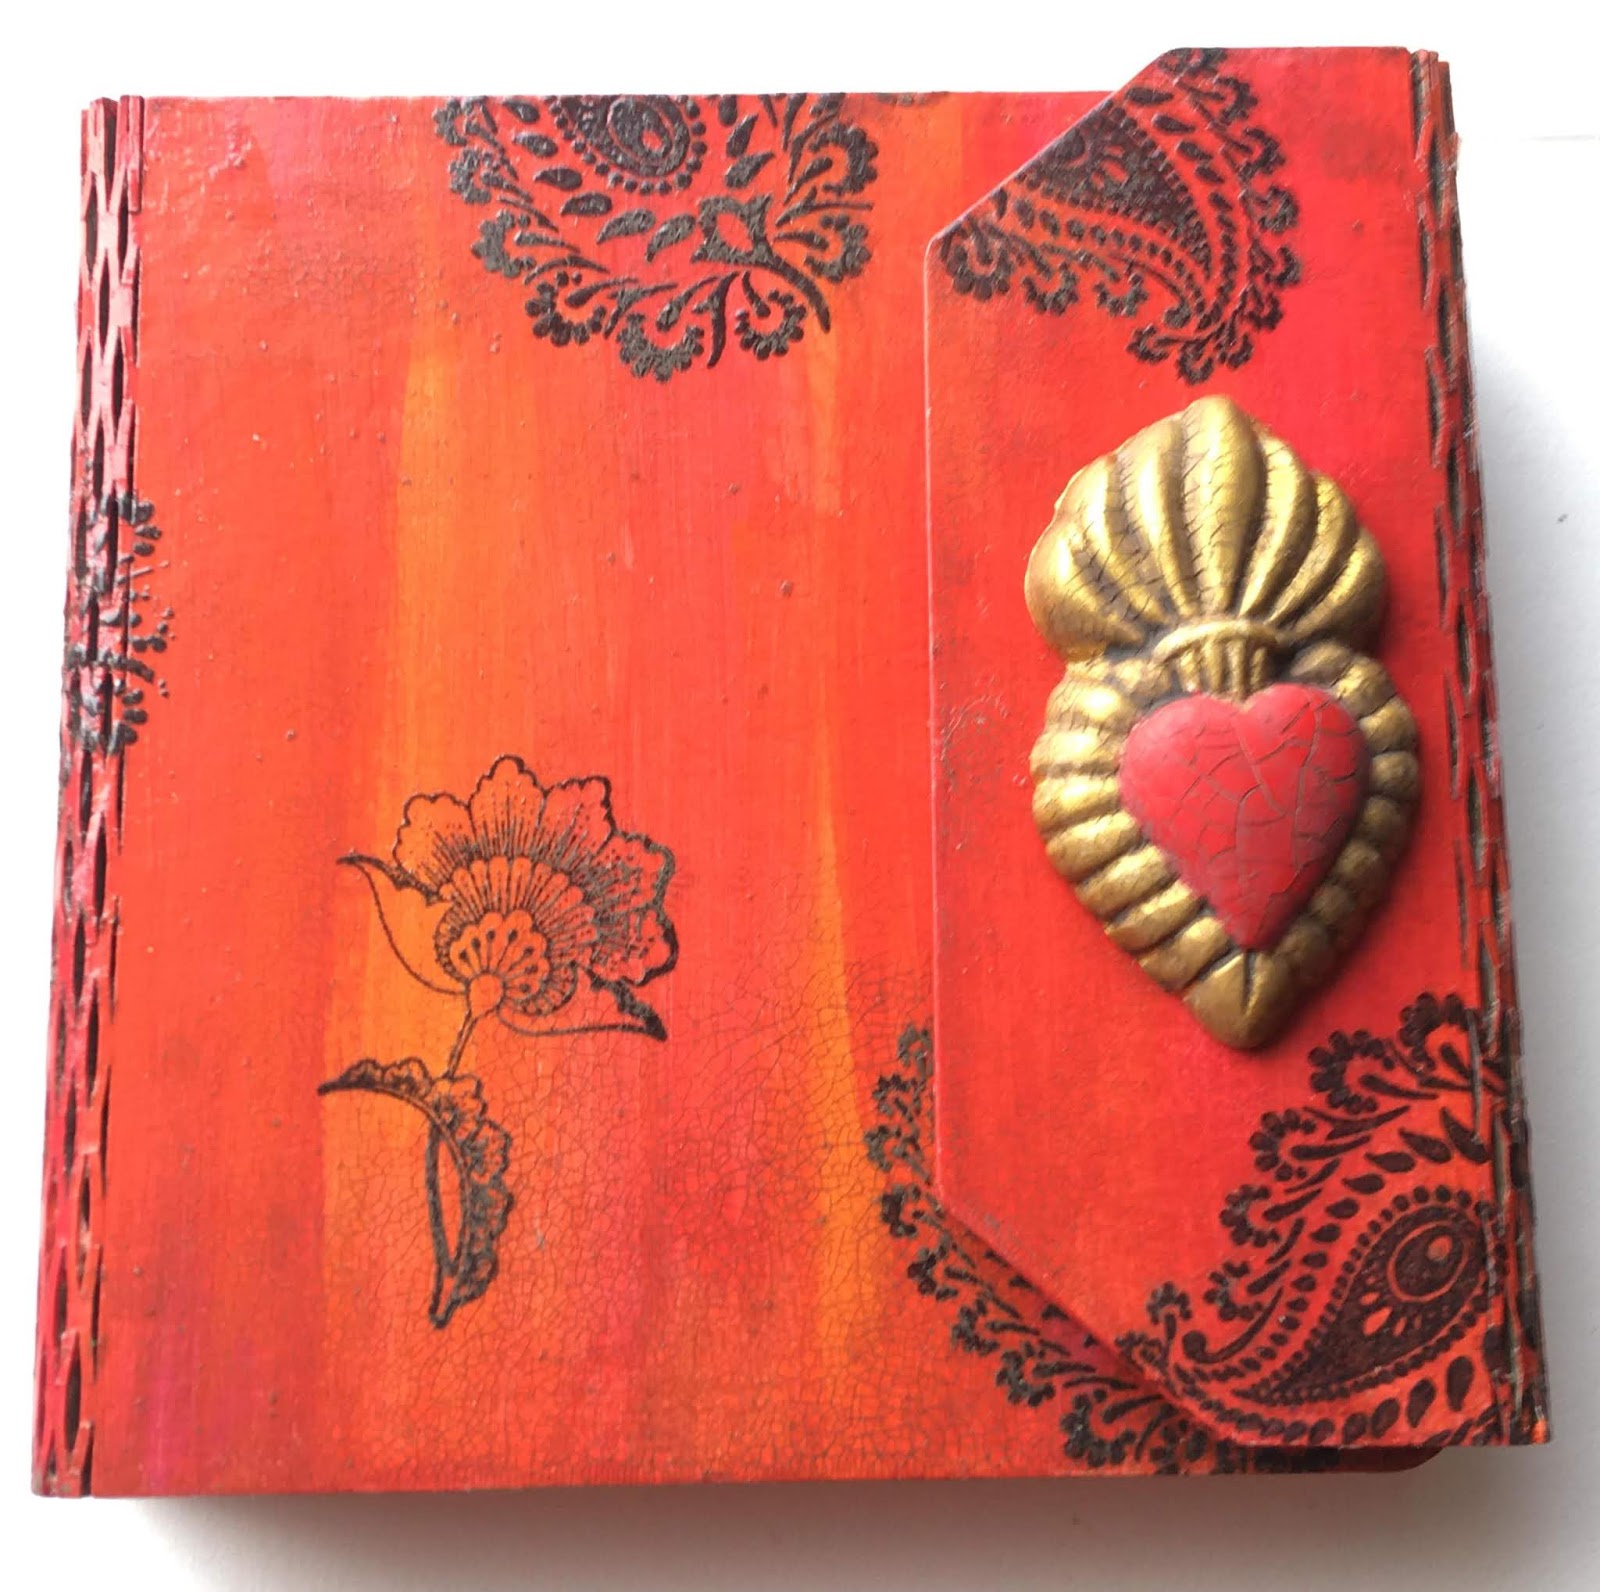
It's my turn this week to do a crackle piece, and I made this tag.

I took a Tando tag and painted in random colours, red, yellow and orange all over, then spritzed with white mister to knock the colours back.  On top of this I put a layer of Crackle glaze.


I stencilled in modelling paste on the heart with the grid stencil, and painted the heart red.  I used the Chalk Crackle medium next, and then a layer of chalk paint to bring out the crackle.


The book plate was simply embossed with mixed media embossing powder, and the word 'safe' taken from the dictionary and framed.  I used Heavy Gel medium to glue all my pieces together, and give the word a protective coating inside the plate.


I went back to the tag once the crackle was dry, and used green patina antiquing cream to age it and show the crackle, and then used mixed media transfers to add detail.  Sometimes I like a colour change!


Hope you like it and have a go yourself. xx

Best Wishes, stay safe.

Nikki.
xxx

Products Used:

Tando Creative:
Tags
Bookplates
Heart

Andy Skinner:
Chalk Paint
Mixed Media Transfers
Mixed Media Embossing Powder - Funky Cold Patina

DecoArt Media:
Heavy Gel Medium
Crackle Glaze
Pyrrole Red Media Line
Primary Yellow Media Line
Vermillion Media Line
White Shimmer Mister
Green Patina Antiquing Cream
Americana Chalk Crackle Medium

Wednesday, 13 November 2019

Texture Paste Cog

Hi there, it’s Celia here with a look at texture pastes. They lend themselves very well to rust effects, and I find they're so useful to add interest to a project.
I decided to use four different pastes together, because why just use one! I used DecoArt Sand Paste on the cogs and stippled some Andy Skinner Lava Paste on the big MDF cog. This needs heat setting to make it puff up. If you stipple it on finely it creates a nice pitted rust effect.
For the base, I used a 6x6 greyboard sheet and stuck on some Tim Holtz Abandoned collage paper. I discovered that the big cog is the same size as the cut outs in Fiona’s new Layered Tags, so I cut one out to put behind the cog. I just sprayed this black.

I used a spatula to apply Andy Skinner's Strata Paste and DecoArt Crackle Paste randomly around the edges of the base board.

When this was dry I stippled on a mixture of DecoArt media fluid acrylics to roughly match the colours of the paper (Burnt Umber, Green Gold, Pthalo green yellow, Transparent Iron Oxide). I also stippled some rusty colours on the big cog. Then I dry brushed the texture pastes with Titan Buff to highlight. I also coated a couple of small cogs from the minis cogs tag with some Ferro.

Then I added a couple of washes to tie it all in together before assembling. I added some silver Gilding Paste to the cog to highlight the rusty texture. The combination of the different texture pastes produces all sorts off yummy crunchy goodness!


And here's the finished piece - 

Thanks for stopping by!

Celia x

Saturday, 26 October 2019

Crackle Week - Nikki K

Morning all,

It's my turn for the Crackle week post, hope you've enjoyed everyone's inspiration this week.

I took one of Di's fab Ring Binders, and painted it first in Everlasting Chalk Paint.  I then added a layer of Americana Chalk Crackle, which only works with the chalk paints.  But instead of doing a different colour for the top layer..  I did a 'same colour' crackle, so Everlasting over the top again.  This still gives a crackle, but more of a subtle texture than contrast.

When the crackle had dried, I added black modelling paste through the Suit's stencil, which I love. I covered the front and back, but left the edges. I then added a wash of Cadmium Red Hue inside and out.  This gave a sheen on top of the black modelling paste, as well as seeping into some of the crackle, and leaving other spaces whiter.


I felt it was bright at this point, and I wanted a darker, more sinister look, for a sort of 'dark Alice in Wonderland' feel.  So I added Black Antiquing Cream and wiped back in places.  I gave a plaster heart the same treatment, red paint then antiquing cream.  I also dry brushed Interference Gold paint to give a sheen.


The whole binder was given a coat of Matte Varnish, to seal the Antiquing Cream and protect it.


I also made a plaque in the same way, with a Tando greyboard square I had, and a plaster skull.


Hope this gives you some ideas,

Best Wishes,

Nikki K.
xxx

Products Used:

Tando Creative
Ring Binder
Greyboard Pieces (Plaque)
Suits Stencil

DecoArt Paints:
Everlasting Chalk Paint
Americana Chalk Crackle
Cadmium Red Hue Media
Black Antiquing Cream
Ultra Matte Varnish
Interference Gold Media
Quinacridone Gold (on plaque)
Raw Umber (on plaque)

Other:
Skull from own Mold
Heart Clock from Stamperia Mold


Friday, 19 April 2019

Anything Goes week - Brenda

We have another anything Goes week for you where we share something that we have been working on for Di or for ourselves. Today I have a small media board I made for one of Di's Hochanda shows where she introduced a number of new stencils from Andy Skinner.
I love going over to west coast America and have been lucky enough to drive quite a large part of Route 66 so this brought back great memories. I also thought by using the design on a media board means it could be used for a journal cover.


The Route 66 badge was stencilled onto a piece of leftover painty paper using  cerulean blue, phthalo blue and paynes grey media fluid acrylics.


The quote was stenciled using black modeling paste.


The background was created using a cracked distressed technique I have used before. The blues were chosen to get a retro look.


Hope you have been enjoying AG week.

Have a great weekend.

hugs Brenda xxx

Tuesday, 21 August 2018

Crackle week - with Nikki K.

Morning everyone,

It feels like ages since I've had a post out.  Did disappear for a couple of weeks to Scotland so it was a nice long break.

This week my colleagues and I are showcasing 'Crackle', and that can be in any form :)

My project is a Tando Mini Binder.

Firstly I painted the binder in Primary Magenta, Pyrrole Orange and Pyrrole Red.


Then added stamps from Chocolate Baroque's new Indian Elephant set, stamped in Versafine Onyx Black and heat embossed with Superfine Clear Embossing Powder.


Next I added a layer of Crackle Glaze,  and left to dry.


 Once dry, add Raw Umber Antiquing cream with your finger, all over the binder, working it into the crackle.  Wait for this to dry completely, then wipe off with a slightly damp baby wipe.  You can leave as much of the patina on as you like, or wipe it back more until you get the desired effect.


The Heart was painted in Pyrrole Red and Metallic Gold, and then covered in crackle glaze the same as the binder.  I also antiqued this, before attaching to the front of the binder.


Antiquing Cream is not permanent unless sealed, so I finished off with a couple of coats of Satin Varnish, leaving the heart matte for contrast.


These binders are brilliant for storing your Tando Stencils! 

Hope you can join the rest of the team this week for their Crackle pieces.

Best Wishes,

Nikki K.
xxx

Products Used:

Tando Ring Binder
DecoArt Media Line Pyrrole Red, Primary Magenta, Pyrrole Orange. Metallic Gold.  Raw Umber Antiquing Cream, Crackle Glaze. Satin Varnish.
Clear Embossing Powder
Versafine Ink
Chocolate Baroque Indian Elephant Stamps.


Friday, 16 February 2018

Anything Goes Week - Time Flies

Morning everyone,

Today I've got a tag/hanging for you that I was playing with backgrounds for a while on, and loved this bright but grungy style.  I also like putting colours together that don't initially 'go', but always end up working.


The background was some red, orange and pink paint, just randomly applied to the tag.  To pull it together I used a Media Mister in Violet, and spritzed the tag all over.  I then spattered black, and then white paint on the tag, drying in between stages so they didn't mix.  A honeycomb heart stencil was used with black modelling paste to give texture, and some number's stencilled to one side.  The sentiment is a printable.


The heart in the centre was stencilled with the treadplate stencil, then given the same red and pink paint treatment as the background.  On top of this, white antiquing cream was added and rubbed back when dry.  I also spattered with black and white paint.


Cogs were added, using a very very simple rust technique, it's just two colours, Burnt Umber and Pyrrole Orange, stabbed loosely with a paintbrush and nice and wet, and then heat dried until the paint bubbles slightly.  This gives great texture and is very quick to do.


The clock in the centre was a metal embellishment with separate hands.  I first gave it the rust treatment without heat, and then used Crackle Glaze all over once glued together.  The crackle glaze helps to hold it as well.  I used White Antiquing cream again in the cracks of the glaze, and wiped back when dry.  I wanted a matt effect on this and the cogs, so used Ultra Matte Varnish to seal.


Don't forget to check out the rest of the teams design's this week :)

Thanks for stopping by.

Nikki K.
xxx

Products Used:
Tando Creative Tags, Cogs, Hearts & Mini Stencil - Criss Cross.
Andy Skinner stencil - Industrial Elements
DecoArt Media: Pyrrole Orange, Pyrrole Red, Primary Magenta, Titanium White, Carbon Black, Burnt Umber.  White Antiquing CreamBlack Modelling PasteMedia Mister-Violet.
Mixed Up Magazine Printables.
Rusty Wire.


Thursday, 31 August 2017

Fragile Heart Tag

Hi there! Hannah here with my very first post for Tando!
I am so excited to be sharing my designs with you all and hope you enjoy the journey with me.

This weeks theme is "Tags"


Using a Tando tag, I have built up layers of DecoArt Media Fluid Acrylic Paints and crackle medium Weather Wood to create a really distressed and grungy background. 


Work up from the base layer, from darkest to lighter colours. With each added layer, rub areas back to reveal the layers underneath.


Add detail in the form of stamped images and greyboard bolts, treated with a rusty paint effect in keeping with the design.


Create your central motief using a greyboard heart loaded with DecoArt Dimensional Effects paste dry brushed with Metallic Gold to highlight the texture.


The tag is assembled and wrapped in Rusty Wire to finish.

Thanks for stopping by!

Tando products used;