Showing posts with label Texture. Show all posts

Friday, 14 February 2020

Texture Week - by Nikki K

Morning all,

It's Texture week this week, and my turn to make a project today.  I hope you've enjoyed the rest of the team's posts this week, and if you haven't seen them, please check them out on the blog, we really appreciate your visit. x

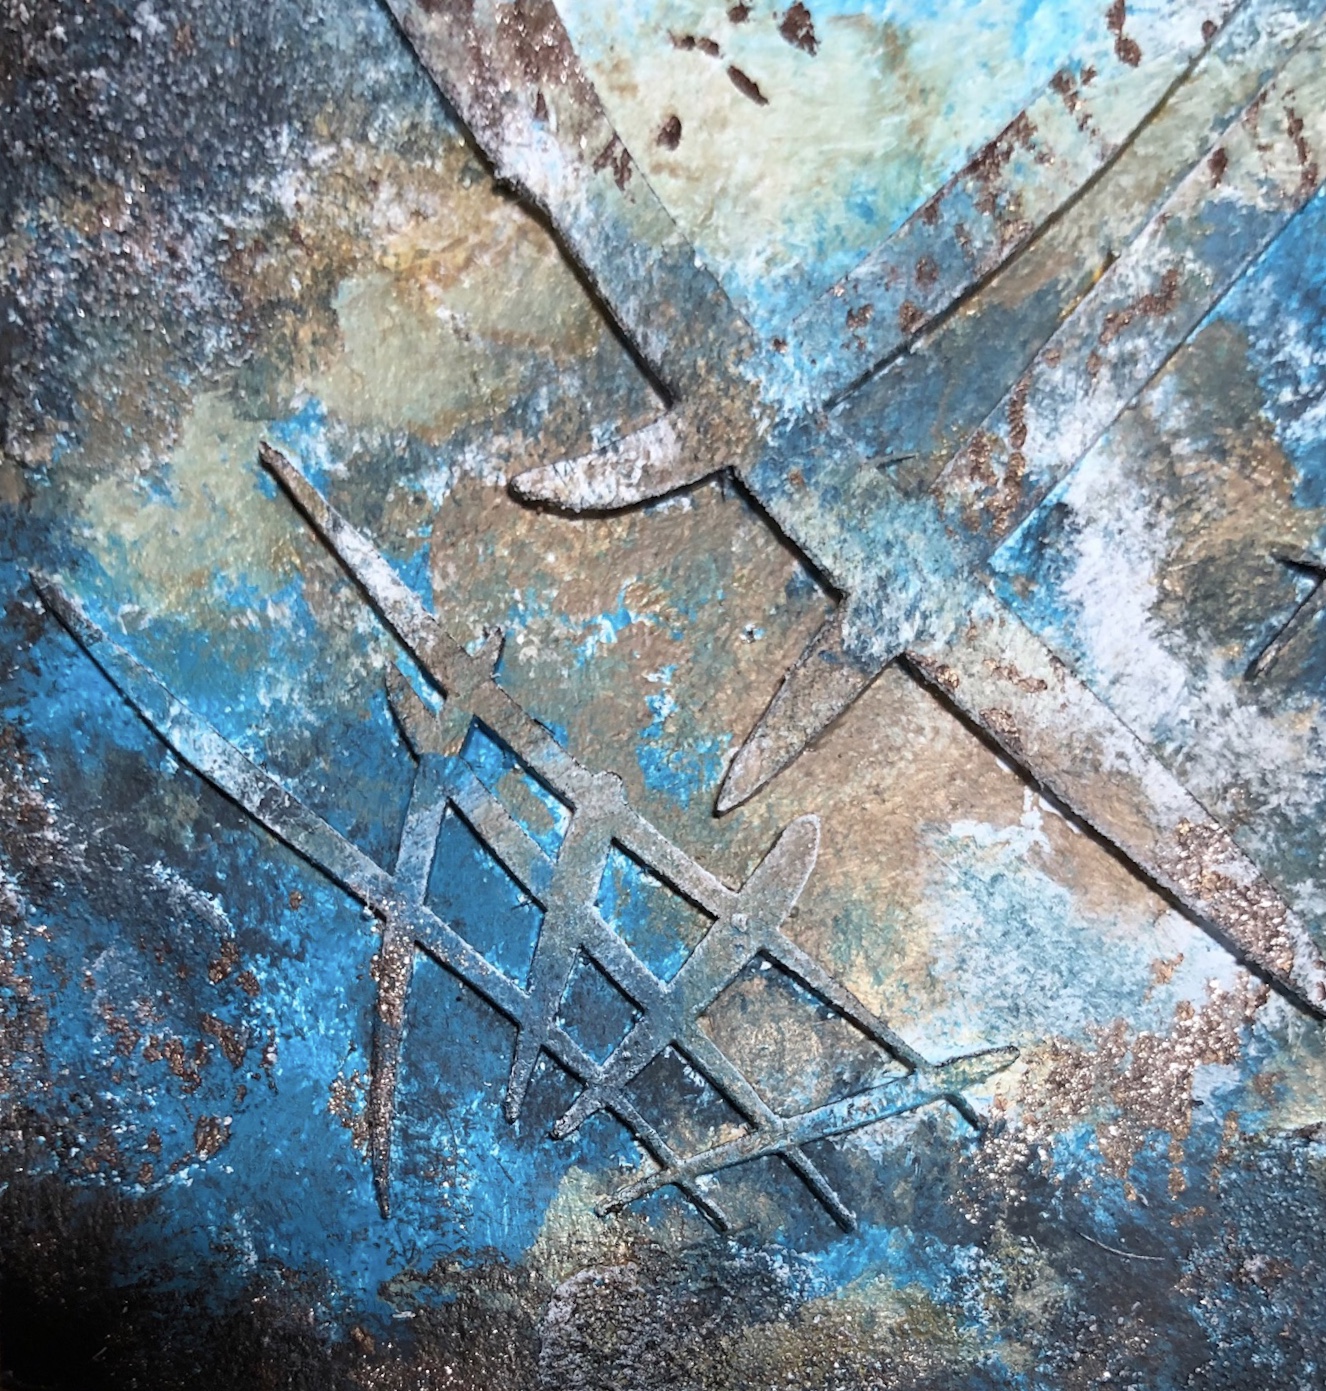
I started by taking one of the fab layered Tags by Fiona for Tando, and putting a thin coat of Texture Sand paste on the bottom layer.  I wanted this to create texture later.

I glued the tags together, and painted the whole tag in black.  Then colours were sponged on to give a galaxy effect, I used Cobalt Blue, Magenta, Cobalt Teal, Dioxazine Purple and White.  For both of these processes I used a sponge to give the paint effect more texture.


The whole tag was then splattered, with white, to give the appearance of stars.

For the aperture's, I mixed Triple Thick Glaze, with a little transparent yellow iron oxide, and put a thin layer in each aperture, so that the texture still showed as lumpy through it.  I didn't want a flat glazed look.


The little bits of black in the moon and stars are from the sponge painting, I like that they show through and give depth.


I love the glazed effect, and you can add any colour paint in a tiny amount to Triple Thick Glaze for it to take on a whole different look.

Hope you enjoyed this today.

Best Wishes,

Nikki

Products Used:
Tando Creative
Layered Tags Bundle 2

DecoArt Paints:
Media Line: Transparent Yellow Iron Oxide, Cobalt Blue, Cobalt Teal Hue, Titanium White, Dioxazine Purple, Primary Magenta.
Texture Sand Paste
Triple Thick Glaze

Other products:
Andy Skinner's Quick Grab Glue


Wednesday, 13 November 2019

Texture Paste Cog

Hi there, it’s Celia here with a look at texture pastes. They lend themselves very well to rust effects, and I find they're so useful to add interest to a project.
I decided to use four different pastes together, because why just use one! I used DecoArt Sand Paste on the cogs and stippled some Andy Skinner Lava Paste on the big MDF cog. This needs heat setting to make it puff up. If you stipple it on finely it creates a nice pitted rust effect.
For the base, I used a 6x6 greyboard sheet and stuck on some Tim Holtz Abandoned collage paper. I discovered that the big cog is the same size as the cut outs in Fiona’s new Layered Tags, so I cut one out to put behind the cog. I just sprayed this black.

I used a spatula to apply Andy Skinner's Strata Paste and DecoArt Crackle Paste randomly around the edges of the base board.

When this was dry I stippled on a mixture of DecoArt media fluid acrylics to roughly match the colours of the paper (Burnt Umber, Green Gold, Pthalo green yellow, Transparent Iron Oxide). I also stippled some rusty colours on the big cog. Then I dry brushed the texture pastes with Titan Buff to highlight. I also coated a couple of small cogs from the minis cogs tag with some Ferro.

Then I added a couple of washes to tie it all in together before assembling. I added some silver Gilding Paste to the cog to highlight the rusty texture. The combination of the different texture pastes produces all sorts off yummy crunchy goodness!


And here's the finished piece - 

Thanks for stopping by!

Celia x

Wednesday, 6 November 2019

Sea Heart

Hi There!

It’s Celia here today and November's colour theme is this gorgeous selection:

I selected my colours - PaperArtsy Midnight, Turquoise and Glacier Ice, and a mixture of an old paint dabber in Mushroom mixed with Yellow Iron Oxide. I chose the Flaming Heart, the Scribbles Heart Thins and a Mini's heart for my tag. I stuck them down and added a few patches of DecoArt Sand Paste before painting them first with PaperArtsy Glacier Ice.

I then stippled in the other colours with a hog hair brush, keeping the darker Midnight round the edge and working the lighter colours towards the centre. I added a bit of DecoArt Ferro for some sparkle and texture and dry brushed the thins with Glacier Ice to highlight.

For the Flaming Heart, I painted the base with Blue Lagoon and used a translucent embossing powder (Emerald Creek Fractured Ice). I used Cosmic Shimmer Lagoon Lilac Aurora on the small heart and Heat it up Aged Gold on the outer heart.
Then it was just a matter of gluing on the Flamed Heart and adding a ribbon coloured with spray inks.

I hope you like my tag! Thanks for stopping by,

Celia x

Friday, 30 August 2019

Heat embossed tag


Hi there!

It's heat embossing week and I would like to show you how I made this embossed tag. I am slightly addicted to heat embossing - I put it on practically everything I make! I'm a massive Seth Apter fan, and he uses it in many different ways. I've used some of his techniques here.

I took a small Tando tag and undercoated it in DecoArt Timeless Chalk paint, then a wash of Burnt Umber fluid acrylic to give a quick background.

Then I stamped over a script stamp with Red Geranium Archival, and one of Seth's stamps in black. The background will hardly show - it just gives another dimension to the top layers.

I used an embossing pen to draw a few random scribbles on the tag, and sprinkled on some chunky gold & white embossing powder by Cosmic Shimmer. I then set this with the heat tool.

Then I swiped the tag with Versamark and sprinkled a layer of Stampendous clear chunky embossing enamel all over the tag. Before you start heating, get a few things ready to sprinkle into the clear enamel while it's hot. I used some Frantage flakes and glitter from Stampendous Encrusted Jewel kits. When the enamel is nice and hot (you can see it moving slightly), remove the heat tool and sprinkle a few flakes or glitter onto the tag. You can use you fingers, some tweezers, or a tiny spoon. Re heat, trying to keep the tool directly above so that the flakes don't get blown about.

Then I repeated this process but with various different embossing powders. You can concentrate different colours in one place, or go for an all over sprinkle. Sometimes you can see patterns develop in the background, and add more colour to those areas. I used Stampendous Seasonings and Aged Scarlet, Emerald Creek Baked Texture Patina Green and Rocky Road, and Andy Skinner's Funky Cold Patina.

Then I swiped the Versamark pad around the edge of the tag and edged it with more Rocky Road. I added another layer of clear chunky, then finally embossed another of Seth's mini stamps EM45 into the hot enamel, inking it first with Versamark. Always use rubber stamps for embossing into hot powder, as the clear acrylic ones will melt!

Embossing powder is a very versatile medium, and can be used in many different ways, as well as for stamping. I hope you feel inspired to have a play! 

Thanks for stopping by!

Celia  x


Tuesday, 19 February 2019

Techniques Journal - by Nikki Killinger


Morning everyone,

We are gearing up for 24 weeks of playing in our Journals/Technique Binders, starting Thursday 28th February at 19.00 GMT.  These will be in the form of step by step articles, Facebook lives, or video, and we hope you can join us in the Tando Creative Zone each week to see them. 

I created the cover of my journal by putting modelling paste through a cogs stencil on the back, and then painting the whole journal in black Gesso.  Some paper from Stamperia was added to the front, in a random edged manner, and further stencilling was added to 'ground' the paper & design. 


I painted washes of Prussian Blue Hue, Quinacridone Gold and touches of Raw Umber over the paper, cogs and words.

   
I decided to use mine as a techniques binder, and painted the words in Pthalo Green Blue, highlighted in Metallic Lustre, and glazed with Triple Thick Glaze.


The whole of the rest of the binder was also highlighted with Metallic Lustre, picking out all the modelling paste detail. 


For my Facebook Live on 14th March, I will be showing a couple of  'faux' techniques similar to those below.


Don't forget to come and join us if you haven't already, in Tando's Creative Zone where it will all be happening, and check out the rest of the team's interpretations of their folders on the blog this week.

Best Wishes,

Nikki K.
xxx

Products Used:


Deep Brick Stencil
Deep Cobbles Stencil
Binder & Tags


Black Gesso
Modelling Paste
Triple Thick Glaze
Metallic Lustre - Copper Kettle
Prussian Blue Hue
Pthalo Green Blue
Quinacridone Gold
Raw Umber

Andy Skinner Cogs Stencil


Other:
Stamperia Paper.


Monday, 7 May 2018

Embossing folder texture

Hi it's Brenda here.
I thought I would create a textured media board for embossing folder week and I liked it so much I decided it would become my 'Make and Take' project at Ministry of Mixology last month. (I was well ahead of myself with projects as I had a holiday coming up and wanted to get loads of projects scheduled well before hand).


I adhered a few pieces of torn/cut left over embossed card randomly onto a media board using matte medium and left it to dry between wax paper under a heavy box.


Don't worry about gluing the pieces over the edges, you can remove these when it's perfectly dry.


Next I scraped over some texture sand paste and heat dried it.


Paint a coat of white gesso to give it some tooth for the next layers and then spend quite some time spritzing water, dipping media acrylic paints into it, letting it move around a little and drying it. I repeated this step lots and lots of times using raw umber, quinacridone gold, burnt sienna and carbon black.


I wanted to highlight the textures a little more so I took a palette knife and white gesso and lightly scraped it over keeping the blade flat to the surface.


The White gesso is very stark so mix a dirty watery wash of paynes grey and quin gold and paint over the whole surface, dry it and seal with a varnish - I used soft touch.


I took some elements I had already rusted and a word (I have no idea why I chose the word 'waiting' although there is something special we are waiting for later in the year - that's my unconscious mind taking over perhaps!) and I put it together to finish it off. I'm really happy with this.


The textures from the embossed card are random and give a completely distressed look to the background.

If you have a try with this technique please let us know.

For now have fun creating.

hugs Brenda xxx


Supplies
Embossed card (my own supplies)


Friday, 13 April 2018

Texture Week at Tando - with Nikki


Morning everyone,

I have a little video for you today, it was shot at the Stitches Trade show so I hope you can see/hear it ok, but I wanted to share with you the fab stencils that Di has done, that are thicker than normal stencils (they are acrylic), and give AMAZING texture when used with Modelling Paste, Sand Texture Paste, etc.

I have added a couple of pics at the end to show the difference between the normal stencils and the deeper ones, so you can see for yourself!


This is the fab texture you get with the Acrylic Brick Stencil:


And this is with the Mini Mask Brick stencil:


To get this brick effect, it's just a simple layer of Burnt Sienna paint, and then a wash of Burnt Umber, or Raw Umber on the darker one.  The 'brick's were then stamped with a texture stamp, to portray worn old bricks, and then I stamped with Andy's 'Unexplained' stamps.

The cobbles were similar, a coating of grey, then a wash of Payne's Grey, and then dry brushed with white to highlight.

Have a good week,

Best Wishes,

Nikki
xx

Materials Used:
Tando Creative Mixed Media Boards.
Bricks Acrylic Stencil
Cobbles Acrylic Stencil
Mini Bricks Stencil
Unexplained Stamp set - Andy Skinner
Toxic Stamp set - Andy Skinner
DecoArt Media Fluid Acrylics
DecoArt Media Modelling Paste.

Thursday, 11 January 2018

Faux Metal week with Nikki


Hi everyone,

It's my turn today here on the Tando Blog, for Faux Metal week.  I inevitably included a lot of rust!

The background is a media board, stencilled with modelling paste, painted in silver, and then a wash of Payne's Grey with a little salt added.  Rub off the salt when dry for a weathered metal look.  I added Quinacridone Gold in certain areas and to the edges, and put some on thick in places, so that when heat dried it bubbled up, giving extra texture.


I gave a pair of wings Andy's Skinner's Rust treatment - and bound them in rusty wire.  The skull was a resin skull I had at home, painted in silver and then antiqued with Black Antiquing Cream.  I added some black stencilling to the background, just a couple of 'marks'.


I gave a book plate (minus it's bottom scroll) a quick rust technique in just two colours, Raw Umber and Pyrrole Orange, and the same with a couple of 'screws'.  Toxic Hazard was stamped onto card, and aged with Yellow Iron Oxide, then cut to fit the book plate.  Onced fixed to the background I added two holes to the top of my board with a Cropodile, and added some more rusty wire with curls.


I had great fun making this guy :)  Hope you like him too.  Don't forget to check out the rest of the team's makes this week too.

Happy Crafting,

Nikki K.
xxx

Products Used:

Tando Creative -
Book Plates
Media Board
Wings
Rusty Wire

DecoArt Media -
Quinacridone Gold
Payne's Grey
Metallic Silver
Yellow Iron Oxide
Black Antiquing Cream
Tinting Base
Modelling Paste
Sand Texture Paste

Andy Skinner Stamp -
Toxic