Showing posts with label 3D. Show all posts

Friday, 30 September 2022

Puzzled? - by Kim

 I had plans for Tando's Jigsaw Puzzle kit - I was going to use photographs and ephemera and antiquing techniques ... but it didn't happen as I hoped, so I did this instead.

First, I wanted to have some 3D effects in the jigsaw for added interest. I put the puzzle together then separated it in to four sections of five pieces. I glued the sections to thick cardboard to get varying thicknesses. One had no extra cardboard, the next 1 layer, the next 2 layers, and the last 3 layers.


The backboard would normally frame the puzzle, but I spread the sections out to the corners leaving a space in the middle. I marked this space on the backboard. 

My idea was to be looking through the puzzle to a dark forest scene behind, so I painted the visible area (no point painting the rest) with Lamp Black, Burnt Orange, and White in a scumbled, blended manner. Then I painted on the bare tree branches in Lamp Black, highlighted with Zinc grey where the light catches them.

The puzzle sections are painted to look like falling autumnal leaves. I set out Lamp Black, Burnt Orange, Tangerine, and Primary Yellow on my pallet and used a slip-slop technique to create the effect. I started with the lighter colours near the centre, getting darker towards the corners.

Before I stuck the sections to the backboard I painted the edges black, and accentuated the joins in the puzzle pieces with black, too.

As a super contrast I used a set of Tando's Leaf Branch, Cut Out Leaves. I cut each leaf from the branch with a craft knife (very carefully!). 

I painted the front with Indian Turquoise, and the edges with black. I arranged them on the project and when I was pleased with the layout I stuck them on.


A great autumnal and Halloween picture to get you started on spooky season. I hope you enjoyed the project. Let us know how you get on.

Thanks for dropping by!

Products:

Tando Creative Jigsaw Puzzle Kit

Tando Creative Cut Out Leaves

DecoArt Americana various colours

Tuesday, 7 June 2022

Hex Tech Tuesday - Time warp hexs by Kim

 It's Hex Tech Tuesday! This time I have a simple design for anyone to try.


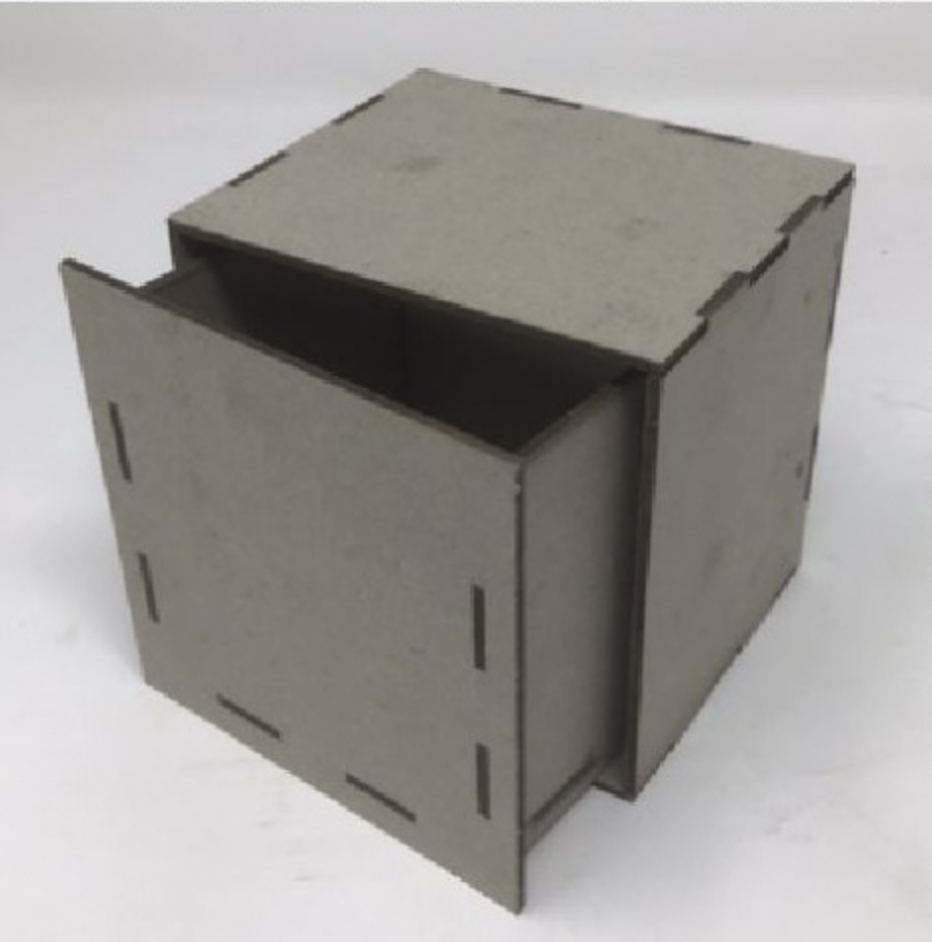
I used Hexagon frames from Tando's Hexagons set, and a large box and drawer set. The set fits together really easily, so no problems there.


Once the glue was dry I started with a base coat of DecoArt Lamp Black all over the box and drawer, inside and out. While that was drying I chose my hexagon frames: 2 with 5cm sides, 1 with 4cm sides, 1 with 3cm sides.

To get the 3D effect I started with the 2 x 5cm hexs and glued them on top of each other with the sides offset (as in the picture). On top of that was glued the 4cm hex. This was in the same aspect as the first hex, but the tips of the points only just overlapped the one below, so you'll have to make sure it is lined up just right. The 3cm hex was oriented the same direction as the second, but the tips of the points only just reach the edge of the inside of the 4cm hex. So with this one I eased it inside the 4cm hex.

Once all the fiddly bits were dry I painted the whole group with DecoArt Titanium White. I wanted bright and gaudy colours for the dots on the white hexs, and found Daler Rowney System 3 fluorescent colours in Pink, Yellow, Orange, Green, and Blue. You may decide to use a different, tasteful combination. The dots were applied with an embossing tool with different sized ends. The group of hexs was set aside to dry.

On the front of the drawer, where the hexs are to be attached, I found the centre, and marked where the corners of the inner hex will be. Then from the corners towards the centre I added reducing dots. When all six corners have been done this gives the impression of a vanishing centre - through a time warp!

The edge of the drawer front was painted white. More reducing white dots were added to the box for decoration and to continue the effect of movement.

The group of hexs was then glued in position on the front of the box, making sure the corners of the inner hex matched the dotty pattern.

Thanks for dropping by. What are you creating with your hexagons? 

Products:

Tando Creatives Large boxes and drawers

Hexagon frames from the Hexagon set

DecoArt Americana Colours


Tuesday, 31 May 2022

Hex Tech Tuesday - 60s Retro Pop Art by Kim

  My idea for this design came from the angular shapes of the hexagons and the abstract art of the 1960s - particularly Piet Mondrian pop art.

I arranged the hexs and hex frames on the front cover in an attractive manner, and when happy with the placement I glued them on. I painted the background, outside the hexs, with DecoArt Americana True Red. 


When it was dry I applied DecoArt Media Crackle Paste thickly to the area painted red. My pot of crackle paste is quite old and I wasn’t sure if it would ‘crackle’ but it did, rather well. I left it overnight to ensure the  crackle process was complete and the paste had dried, and showed the red background through the cracks.


The background inside the hex frames I painted with DecoArt Americana Lamp Black. It was at this stage I had the idea of the chopstick ‘piercing’ the cover. I cut the chopstick at an angle to match the hexagon then shaved the cut ends so that they give the impression of disappearing through the cover. It is not glued in place yet.


To add to the 3D effect I cut a large hex into pieces but retained the angles of the hexagon and glued them on to the original set.


As the theme is 60s retro I went for a simple block design with bold colours - Titanium White, True Red, Lamp Black, with a touch of Bright Yellow to set it off. See the pictures for placement of colours. (Tip: Bright Yellow works better with either a white or Primary Yellow base coat as it is quite transparent)


I glued on the chopstick and, to enhance the 3D effect, I added shading with Lamp Black where it ‘enters and exits’ the cover.


The back cover is simply base coated with Titanium White and stamped with a model motif (by  Daniel Torrente) and sentiment suitable for the theme (by Limited Edition). I used black archival ink directly on the painted surface.


The covers and spine were joined with a hessian strip glued outside on the back cover and spine, and inside the front cover so as not to interfere with the design.


I haven't made book signatures to go inside this cover, but these would be made and sewn to the spine before adding the hessian, which would cover and hide the stitching.


Thanks for visiting … far out, man!


Products:

Tando Creative Book Binding cover (A5) (new)

Tando Creative Hexagons

DecoArt Crackle Paste

DecoArt Americana Colours

Hessian 

Found chopstick

Monday, 21 March 2022

Faux Printers Block Clock - by Kim

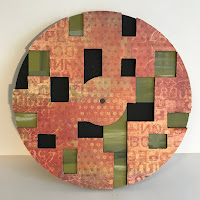
 I took my time (!) with this one as it needs thinking through. First I had to think through the colours scheme. There are three layers to consider. I started by choosing the top layer and worked the colours from that. I worked from a 12x12 Basicgrey scrapbooking paper, 'Infatuation' from their Fusion range.

Read Tando's instructions - they are included in the pack and will help. Don't try to rush this project.

First I marked the back of each of the greyboard sheets with the pieces to be removed later (each sheet is different) according to the instructions.

As the top sheet will have the patterned paper glued on, I removed the marked sections then laid the sheet, face down, on the glued paper. When dry I trimmed the paper and removed the outer ring.

The middle sheet was painted, I used Moss Green from the patterned paper as my lead, with a little white, grey, and black for interest. The marked sections


remained in place until the paint was dry.

On the MDF back sheet I painted black only the areas that would be visible, but you could paint the whole surface black if you wanted to. I glued the layers together making sure that all the sections lined up. I painted the exposed edge of the clock with black to keep it neat.

Next the numbers. There are a lot. Tando's instructions suggest they are left in the sheet to paint them. This is good advice. As I wanted to paint the sides of some of the numbers I had to remove them - but it was a fiddle. The big 12, 3, 6, 9 are grey with white sides.


The numbers on the patterned paper are grey, those on the green middle sheet are white, and those on the black areas are gold. I stuck them on with reference to the instructions.

Mount the clock works, the hands, and a battery (battery not in the kit) - and ... tick tock.

Products:

Tando Printer Block Clock

DecoArt Colours, various

Patterned paper of your choice


Saturday, 12 March 2022

Punch & Judy photo box - by Kim


 More blank boxes. This was originally going to be one box as a photo frame/box fitting for a Victorian family photograph - but it 'just growed'.

I used both the large shallow box and the large deep box. Let's start with the deep box.

I wanted a theatrical stage as my setting, so I marked out pelmet, curtains, tie-backs and stage. Using a very sharp craft knife I carefully cut out my shape. To add a little 3D effect I carved some additional texture into the edges of the drapery. I painted black all the surfaces that would end up inside the box, then glued the box together with PVA.

I painted the outside of the 'theatre' with a medium brown, then used Paynes Grey Fluid acrylic to add some shadows to the drapes. I also darkened the outline - like a vignette - with Paynes Grey so the detail would gradually fade away.

Once happy with the shading I outlined the drapes with Venetian Gold, to look more theatre like.


It was at this point, when looking for an appropriate photo, that the Punch & Judy idea struck.

So, back to my stash of leftovers. For the header board I used a piece of art board, the two wings (and other bits and pieces) are made from Tando Offcuts.

I base coated the header and wings with Primary Yellow, then dry brushed Scarlet, then Calico Red around the edges. I planned out the decoration very lightly in pencil - making sure the letters looked central.


I used Forest Green for the letters, with Venetian Gold embellishment to the 'thick' strokes. Then I added the brush stroke design in Calico Red, Titanium White, and Primary Blue. On the large strokes on the header I added gold. When painting the design on the wings I kept them side by side to make sure they matched. 

Next I added the gold coach line around the edge using a liner brush. I highlighted the line with a ruled line in black fine marker pen.


The drapes under the stage were cut from grey board, base coated in medium blue, Primary blue shadows and Blue Harbor highlights. A little gold for the tie-ups.

I glued the parts together with solvent based glue for a quick 'grab'. I made a couple of supports for the header board for extra support.

The second box is the shallow box. No cutting this time, just glue it together. Base coat with Titanium White (two coats). Then on one large side and two long edges I marked out the stripes for the canvas.

My stripes are 1cm, but to get them in the centre I started with a 0.5cm white stripe at the edge, this meant I finished the other edge with a white stripe, too. I painted the sides of the 'theatre' box to match the base.

The Calico Red stripes needed two coats. I used a No 4 liner brush to outline the sides of the stripes, then filled in with a small flat brush. To help the liner flow you can use a little 'extender' or 'flow medium' with the paint.

The base can be glued to the top if you like. Make sure it is centrally placed to look neat. To make the whole thing more stable I glued a spare mixed media board to the bottom, added a layer of DecoArt Texture Sand and some Mini Art Stones. When dry I used Burnt Orange and Moon Yellow stippled on to colour 'the beach'.

Select a suitable picture and place it in the 'theatre'. I found a picture of Punch & Judy, fussy cut round the edge, removed the faces and replaced them with my wife's and my faces, just for fun.

Products:

Tando Creative Blank boxes large deep and shallow

Tando Creative Offcuts

DecoArt Americana Colours, various

DecoArt Texture Sand

Friday, 13 April 2018

Texture Week at Tando - with Nikki


Morning everyone,

I have a little video for you today, it was shot at the Stitches Trade show so I hope you can see/hear it ok, but I wanted to share with you the fab stencils that Di has done, that are thicker than normal stencils (they are acrylic), and give AMAZING texture when used with Modelling Paste, Sand Texture Paste, etc.

I have added a couple of pics at the end to show the difference between the normal stencils and the deeper ones, so you can see for yourself!


This is the fab texture you get with the Acrylic Brick Stencil:


And this is with the Mini Mask Brick stencil:


To get this brick effect, it's just a simple layer of Burnt Sienna paint, and then a wash of Burnt Umber, or Raw Umber on the darker one.  The 'brick's were then stamped with a texture stamp, to portray worn old bricks, and then I stamped with Andy's 'Unexplained' stamps.

The cobbles were similar, a coating of grey, then a wash of Payne's Grey, and then dry brushed with white to highlight.

Have a good week,

Best Wishes,

Nikki
xx

Materials Used:
Tando Creative Mixed Media Boards.
Bricks Acrylic Stencil
Cobbles Acrylic Stencil
Mini Bricks Stencil
Unexplained Stamp set - Andy Skinner
Toxic Stamp set - Andy Skinner
DecoArt Media Fluid Acrylics
DecoArt Media Modelling Paste.

Saturday, 4 November 2017

November Colour Theme - Tic Tac Toe Tutorial

It's a new month and with that a new colour theme! This month we indulge in a gorgeous pink and grey palette.


For my project I have chosen to work with this fab Tic Tac Toe box.


I have worked with tonal colours in pinks and greys, stencilling the box and game pieces in a variety of stencil designs.


The game pieces have also been painted in a similar way to the box, with pink colours being used for one piece type and greys for the other.


I have included pearls and crystals to further embellish and edged everything in metallic silver to finish.  For more details there is a Tutorial PDF for you to download *HERE*

Tando products used;


Thursday, 24 August 2017

3D Skeleton Shrine


Hi! Dana here today sharing the Shrine I altered for the 3D theme this week. The holiday decorations have already hit the stores, so I thought it would be fun to get a bit of a head start on my Halloween crafting. I altered a shrine a couple weeks ago that was pretty and elegant (click HERE to see that piece), so I was ready for this project to be a little more frightful.

I started this project by priming both sides of all the pieces of the shrine with a white spray primer. Next, I spread DecoArt White Modelling Paste over the Stripes Mask onto the outer sides and roof of the shrine. Once the paste was dry, I sprayed the same pieces with a silver mist. Finally, I inked the pieces with several colors of chalk ink and assembled walls of the shrine, holding the pieces together with hot glue.


Next, I spritzed the inside of the shrine with yellow and black mist. I love the moldy looking result! I used hot glue to attach a skeleton, resin rose, and moss to the back wall of the shrine. I added some gold rhinestone trim around the base of the shrine.


I finished this piece by gluing on the roof. I embellished the roof with metallic sticker trim, more moss, and a brass cross that I distressed with Black Diamond ColoriQue.

You can find the products I used for this project in the Tando Creative Retail Store. We'd love to see your creativity! Share your work with us in Tando's Creative Zone on Facebook.