Saturday 31 October 2020

Happy Hallowe'en

 Happy Hallowe'en tandoettes…!

What a wet and windy, cold and miserable Saturday, just right for hallowe'en and the impending announcement of a second lockdown today!!

So, what better way than to add a bit of colour than to share with you my matchbox from this week's Hochanda show - did you see them?  Di was fabulous as always and shared so may techniques (you can always watch on rewind if you missed them)

So, here is my matchbox and inserts….


Thanks for popping in today and stay safe everyone.

Carol xx


Wednesday 28 October 2020

Halloween Week- Nevermore- Fiona Randall


Morning all it's Halloween Week here on the Tando Blog.

Rather than the Traditional Halloween of Scary withches, Pumpkins, Skeletons and Bats I decided to go Dark and Gothic With a Poe themed project.


I started with a Tando Gothic Arch Layered frame and glued together all the frame pieces and then gave it a coat of DecoArt Chalky Finish in Carbon. Then added a couple of coats of DecoArt Ultra Matte Varnish to seal. I then decided to create my background Paper using a gothic Halloween Stamp from Tim Holtz. I used the old technique of stamping with versamark ink adding embossing powder and heat set. Next I inked all over with black soot distress ink. I then covered with a piece of paper and applied a hot iron all over to remove the embossing powder leaving me with a grungy distressed background. I  then cut a piece of Tando greyboard to the desired size and added the background paper and then inked the edges with a Black Archival Ink Pad. I then cut another panel of grey board to size used an edger die to achieve the Ornate edge at the top. I then gave this the same treatment as the frame. The gothic layered fram comes with arch shaped inner pieces and I applied the left over background paper to this also. I then glued the frame to the arch base and inserted the paper covered inner piece. A tando bookplate was then painted and a stamped image of Poe attached. this was then glued to the inner frame. Some Tando Harlequin extra thins were given the same embossing treatment as the background paper. A raven and the title were then stamped and fussy cut. Finally all the layers were applied to the base layered up with off cuts of grey board to give depth and dimension. The title and the raven added to complete.

I hope you have enjoyed this short little tutorial. Do stop by the rest of the week to see what the other Team Members have in store for you.
Thanks for stopping by today
Stay Safe
Hugs Fiona.


PRODUCTS USED.


Other Products

Archival Ink- Black

Tim Holtz Distress Embossing Glaze Hickory Smoke

Tim Holtz Distress Ink- Black Soot

Tim Holtz Stampers Anonymous Halloween Background Stamps.

Poe and Raven Stamps- Discontinued from my own stash.


Friday 23 October 2020

3D Week - by Nikki Killinger

 Hi all,

It's my turn for this weeks 3D theme and I'm sharing a different take on Di's 'Butterfly Frame' workshop.

I painted the backboard in midnight chalk paint, and then applied crackle glaze with a sponge.  The top coat was chalkboard grey.  This left a fine crackle.  I highlighted it with red paint just by dry brushing, and stamped a text stamp over the top.  

The next layer is the arched frame, and was painted in midnight, and then dry brushed in silver.  

The top frame was also painted in midnight, and crackle glaze applied.  Over this I sponged warm white, which gives a distressed crackled look.

I whitewashed the text page, and adhered the painted plaster heart to the centre of the frame.  

Some transfers were added on the frame, and the diamonds were painted black and stamped in red text.

Hope you like it.  

You can still purchase the workshop here, and it will have instructions for Di's lovely Butterfly Frame.  I just thought I would show you a darker take on it. x

Have fun crafting,

Best Wishes,

Nikki

x


Thursday 22 October 2020

3D Week by Jan

 Hello folks,

This week we are all a-buzz on the design team! We might look like elegant swans, but below the surface we are paddling like crazy,  tweaking our tutorials, testing our live feeds, testing our setups, making sure the sound levels are right, furiously re-checking and testing (well the newer members of the team are anyway 😂) and its all looking good 👍

If you are signed up to the Comfy Pyjama On Line Retreat and have seen my intro (Unit 13),  I mention that I'm a mixed media creator and I describe that as 'I stick stuff to other stuff'! As this weeks theme is 3D, and there might be new creators in our audience, I thought I'd show you some of the stuff I'd stuck together recently... Did I mention we'd been really busy with testing and re-testing ☺. I cant even begin to tell you how much work and brilliant co-ordination Di and Lesley, and everyone has put in. The response from all the delegates has been wonderful.

Did I mention we are buzzing? 😀.

Back to my little project: here I've used a 2.5' square of Tando greyboard that came in a mixed bag in the 'Happy Box' we normally have at the Mixology Retreat.


I coated the greyboard with light to dark washes of green and gold, drying each layer as i went, then a layer of Decoart crackle glaze and when that had dried applied a wash over the whole piece of Decoart prussian blue, adding a darker wash around the edge with the same blue.
I chose a Tando heart that has had Decoart modelling paste applied roughly, painted red and then covered in black Decoart Antiquing Cream, wiped back with a damp baby wipe. The tando clockface simply had a covering of embosssing powder - i love how simple and effective embossing powder looks. I then added some metal mineral powder in random spots to give it a more grungy feel and delved into my stash for some bits that I thought would go together - I think the proper term is 'to audition' pieces or 'to offer up' the pieces to see how they look together, before you get to glueing them down. I like the way the different metals, resin, textures and colours work together. I really like making smaller pieces, it allows you to experiment with your stash of treasures, without completely emptying out your collections.


I hope to see you over the weekend, in one or more of the classes, have fun and join in as much as you can for maximum enjoyment. Dont forget to keep those raffle numbers to hand as the prizes are really fab... Being the last class of the weekend, Di has reserved an especially wonderful prize 😙 

Thanks for popping in, and don't forget to check out the posts from the rest of the design team in the blog.


clock faces: https://www.tando-creative.co.uk/MNTGSCLCKS.html

hearts: https://www.tando-creative.co.uk/GRBBGHEARTS.html

Decoart paint: https://www.tando-creative.co.uk/media-fluid-acrylics.html

Embossing powder: https://www.tando-creative.co.uk/FREG037.html

and various bits from my stash.


Wednesday 21 October 2020

3D Week- Fiona Randall

 
Morning all Fiona here with this weeks theme 3D.
 I have used one of the Tando Ring Binders as my base substrate but I cut the flap off to make a book binder. Icoated the whole binder inside and out with DecoArt Chalky Finish in Carbon Black. I embossed a piece of 300gsm Black Cradstock with a 3d embossing folder. Cut to size to fit the front cover and glued into place. I then gave the whole binder a coat of DecoArt Media Ultra Matte Varnish inside and Out. I then constructed my centre piece using Various Tando elements and layered them up until I was happy. Then gave it a Rusty Patina effect and finished with some white splatters and Metallic Lustre. This was then mounted onto the front cover of the binder to finish.
Thanks for stopping by today.
Stay Safe
Fiona xx
 
Products Used.


Friday 16 October 2020

Anything Goes Week- Fiona Randall


Morning all Fiona here with my project for this weeks theme Anything Goes.
I love Tando Grey Board sheets and decided to construct a little shrine. It was so easy to cut and construct this little box shape. A background paper was created with Distress Inks and some stamping. The box was given a distressed effect with DecoArt Chalky finish paints and the background paper was glued into place. The edges were swiped with DecoArt Metallic Lustre in Burnished Brass. Embossed Die cut trims were given a coat of DecoArt Media fluid acrylic in gold dried then given a coat of DecoArt Antiquing cream in black and wiped back to give an aged finish. A Tando bookplate was given a coat of DecoArt tinting base and then glazed using speckled egg distress embossing glaze. The Tando layered butterfly base was given a coat of Speckled egg Distress paint and the top layer of the butterfly was ran through an embossing folder and given the same treatment as the embossed trim. The bookplate and the butterfly were then layered up onto the background within the shrine.  The wooden Finials were given a coat of paint and sanded in areas to distress. Metalic Lustre in burnished brass was then swiped over the distressed areas before gluing onto the base and the top of the shrine. To finish the word dream from a Chocolate Baroque stamp set was stamped onto white card stock and attached to the butterfly. I am quite pleased how this turned out. It is amazing what you can create from a few pieces of Grey Board- that's why I love the stuff.
Thanks for stopping by today
Stay Safe 
Fiona xx

Products Used.


Other Products
 
Tim Holtz Distress Embossing Glaze- Speckled Egg
 
Tim Holtz Distress Paint- Speckled Egg
 
Tim Holtz Distress Ink- Vintage Photo and Speckled Egg
 
Archival Ink pad-Potting Soil
 
Wood Finials
 

Friday 9 October 2020

Nature Theme - Owl House


Good morning, Heidi here to share another project.

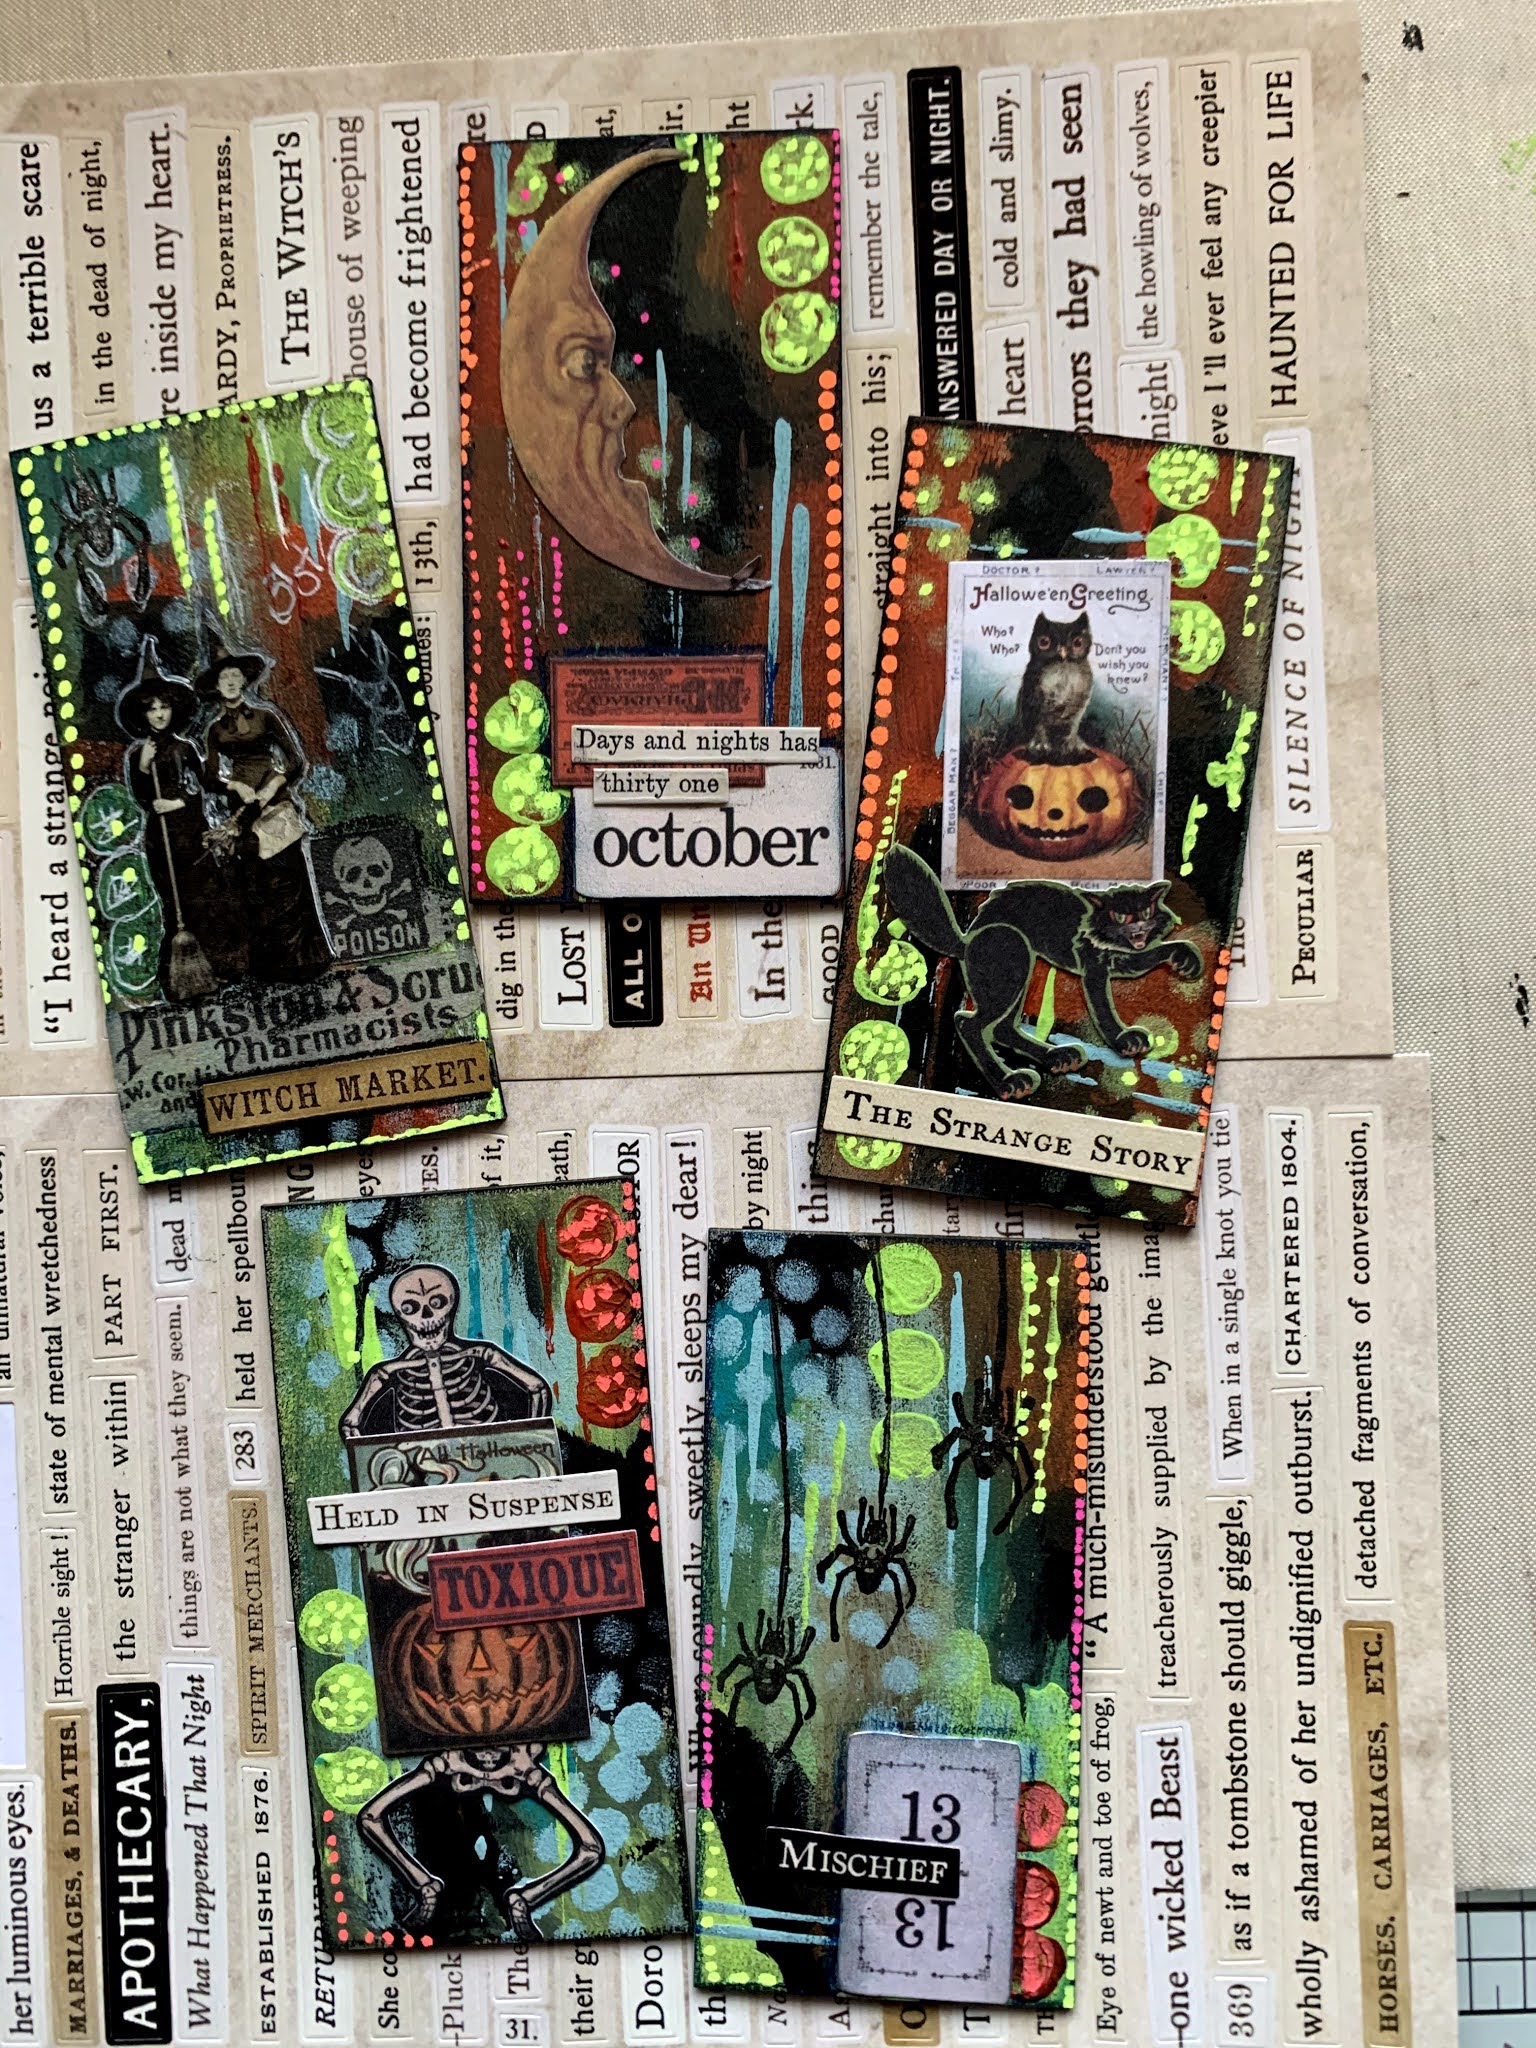
We have the wonderful theme of 'Nature' this week, such a great subject to craft with and the little elements from the Tando Mini Tags fit so well.


Here is my project using the following Tando products :

Tando 3D Houses and front

Tando Mini 'Owls'

Tando - Mini Tags - Hearts, Flowers, Leaves and Woodland


Other products Used :

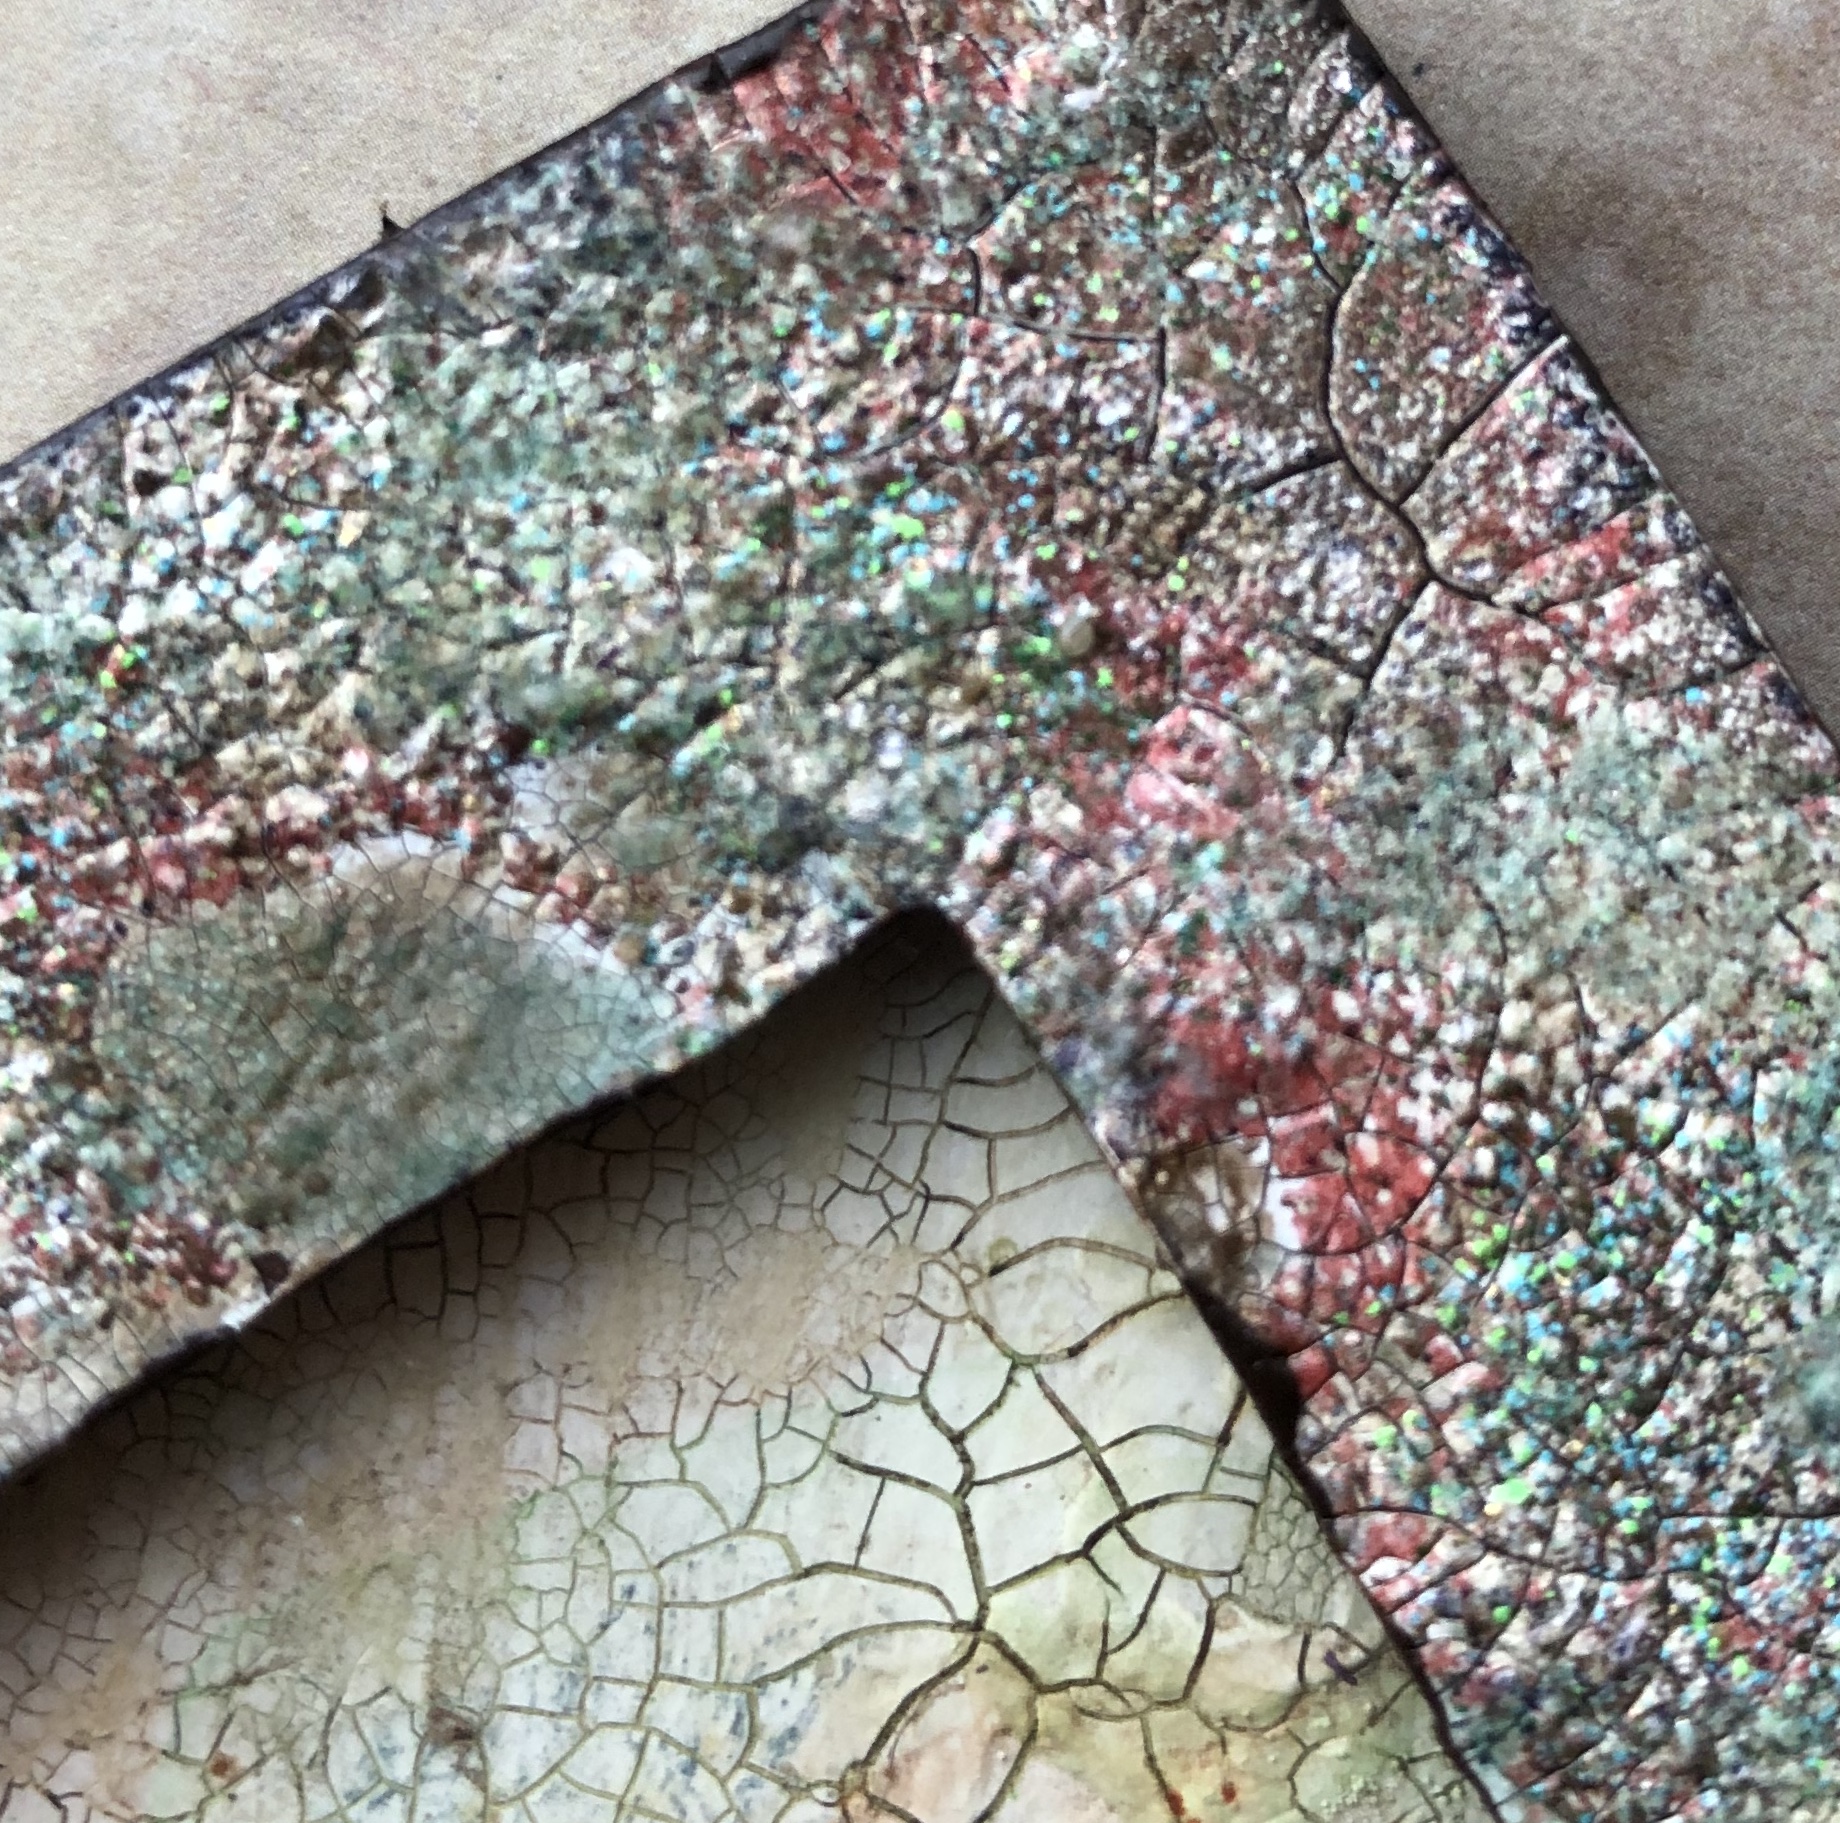
Tim Holtz - Distress Sprays - 'Vintage Photo', 'Crackling Campfire' and 'Antique Linen'

Americana Decor Chalky Finish paints - 'Enchanted' and 'Inheritance' (available from Tando shop)

DecoArt Media paints - 'Pymole Red' and 'Titan Buff' (available from Tando shop)

Hobby Art Stamp set - 'Mix it Up'

Thats Crafty stamp set - 'Lots of Words'

Watercolour card, Archival Inkpad 'Coffee', Posca Pen and some cotton threads.

Method :

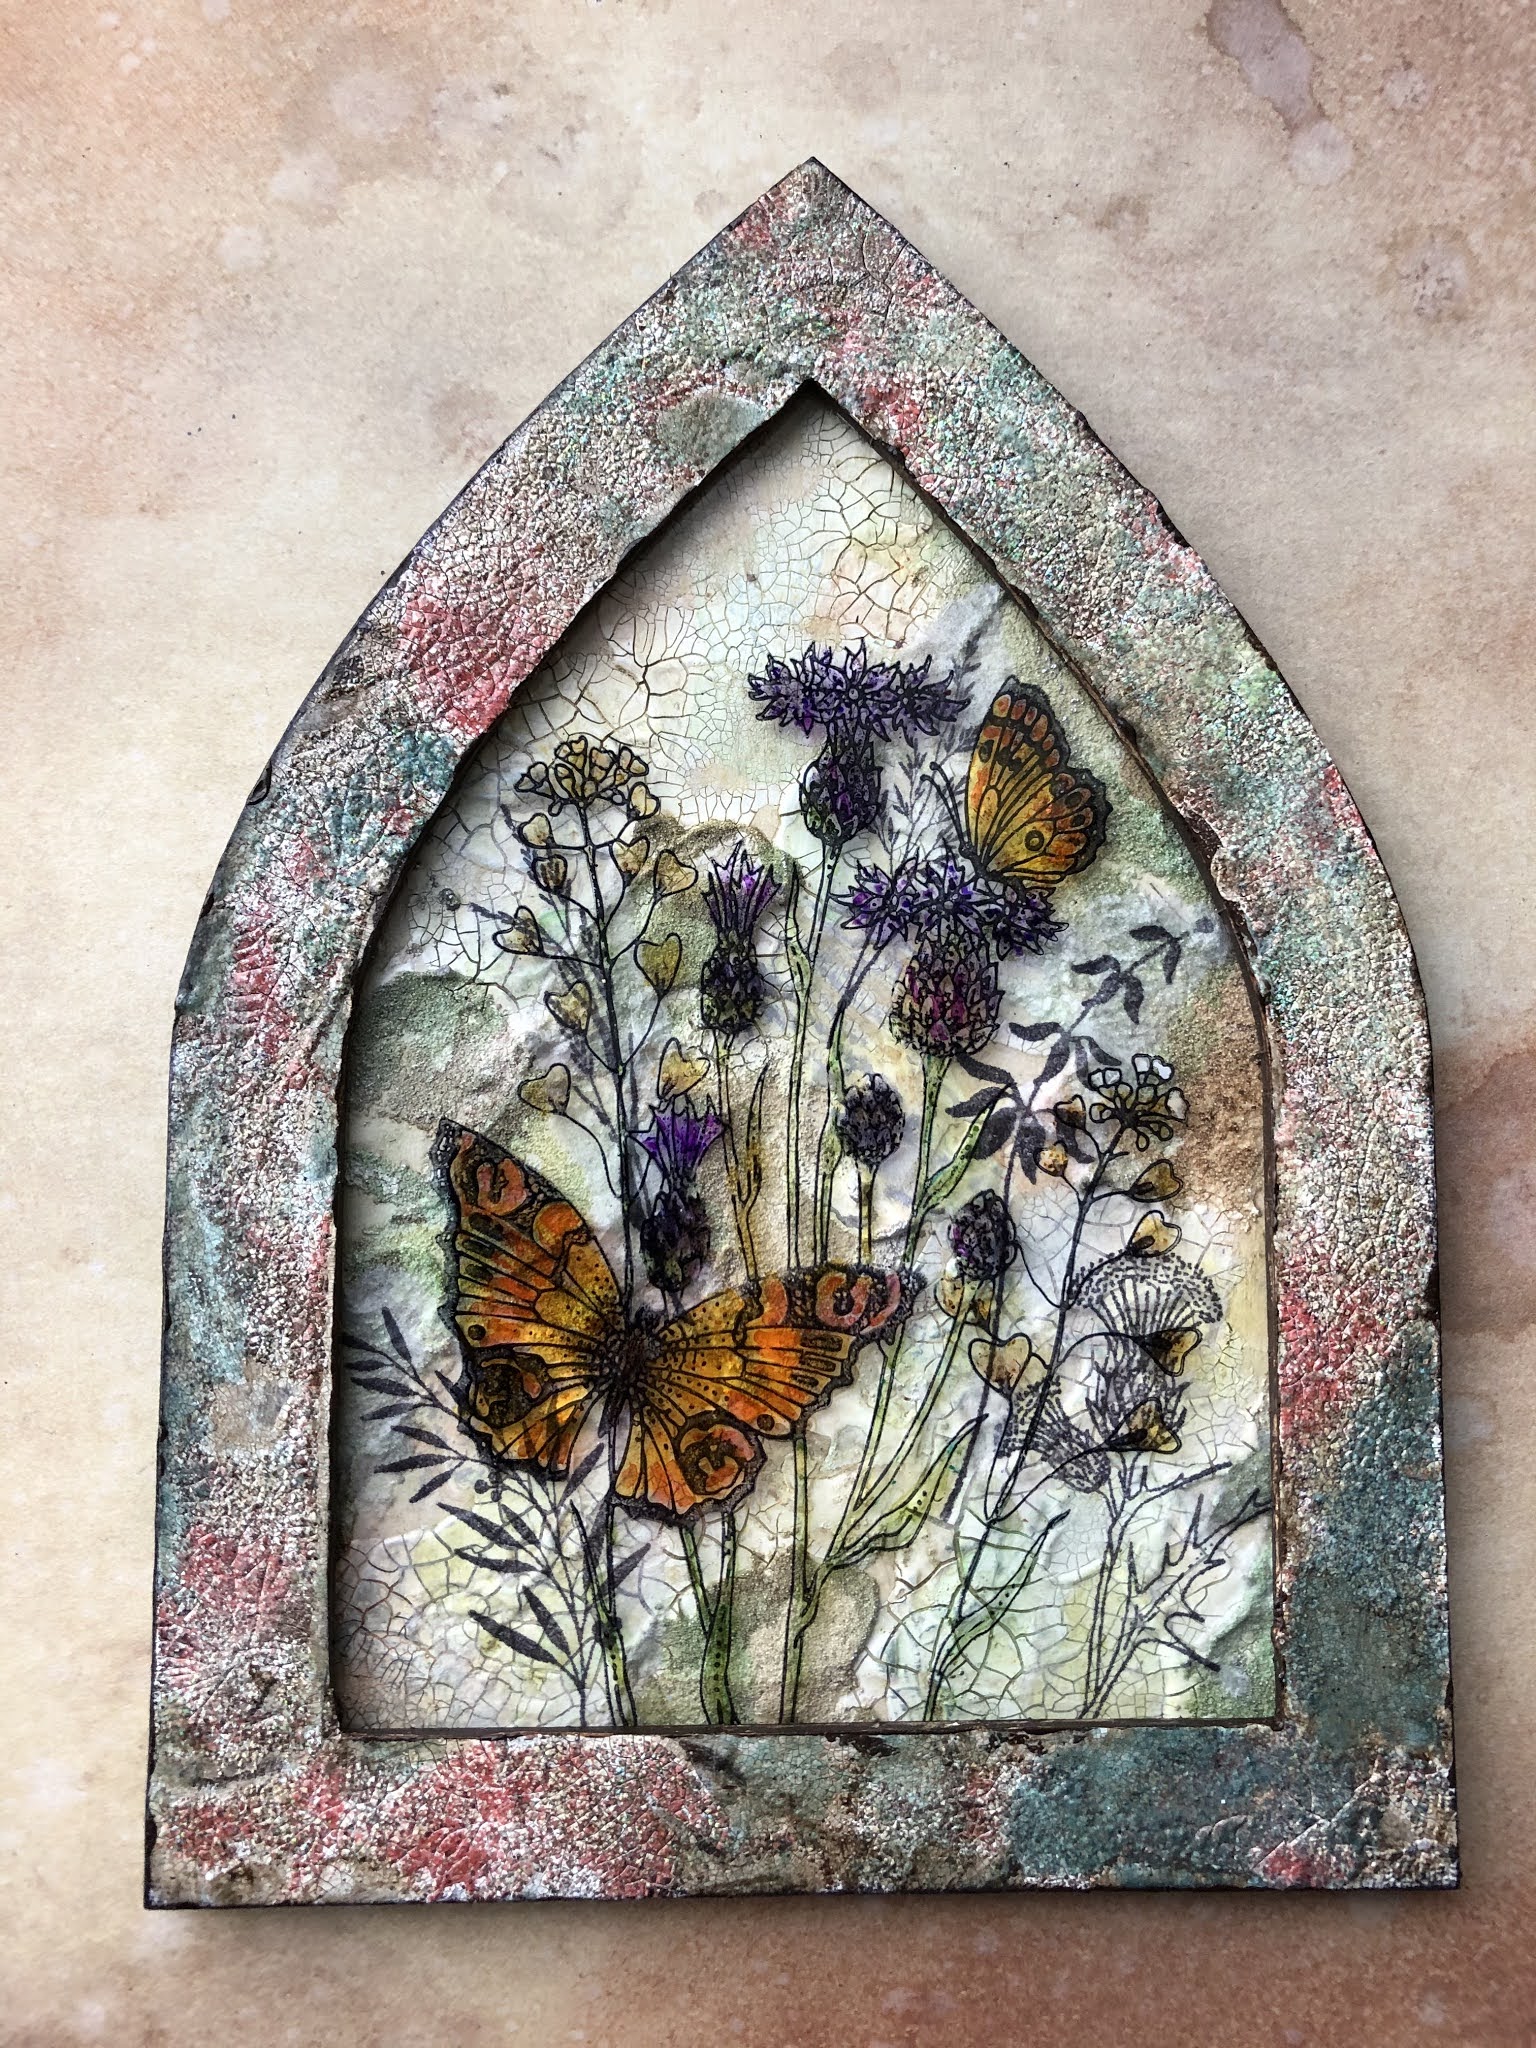
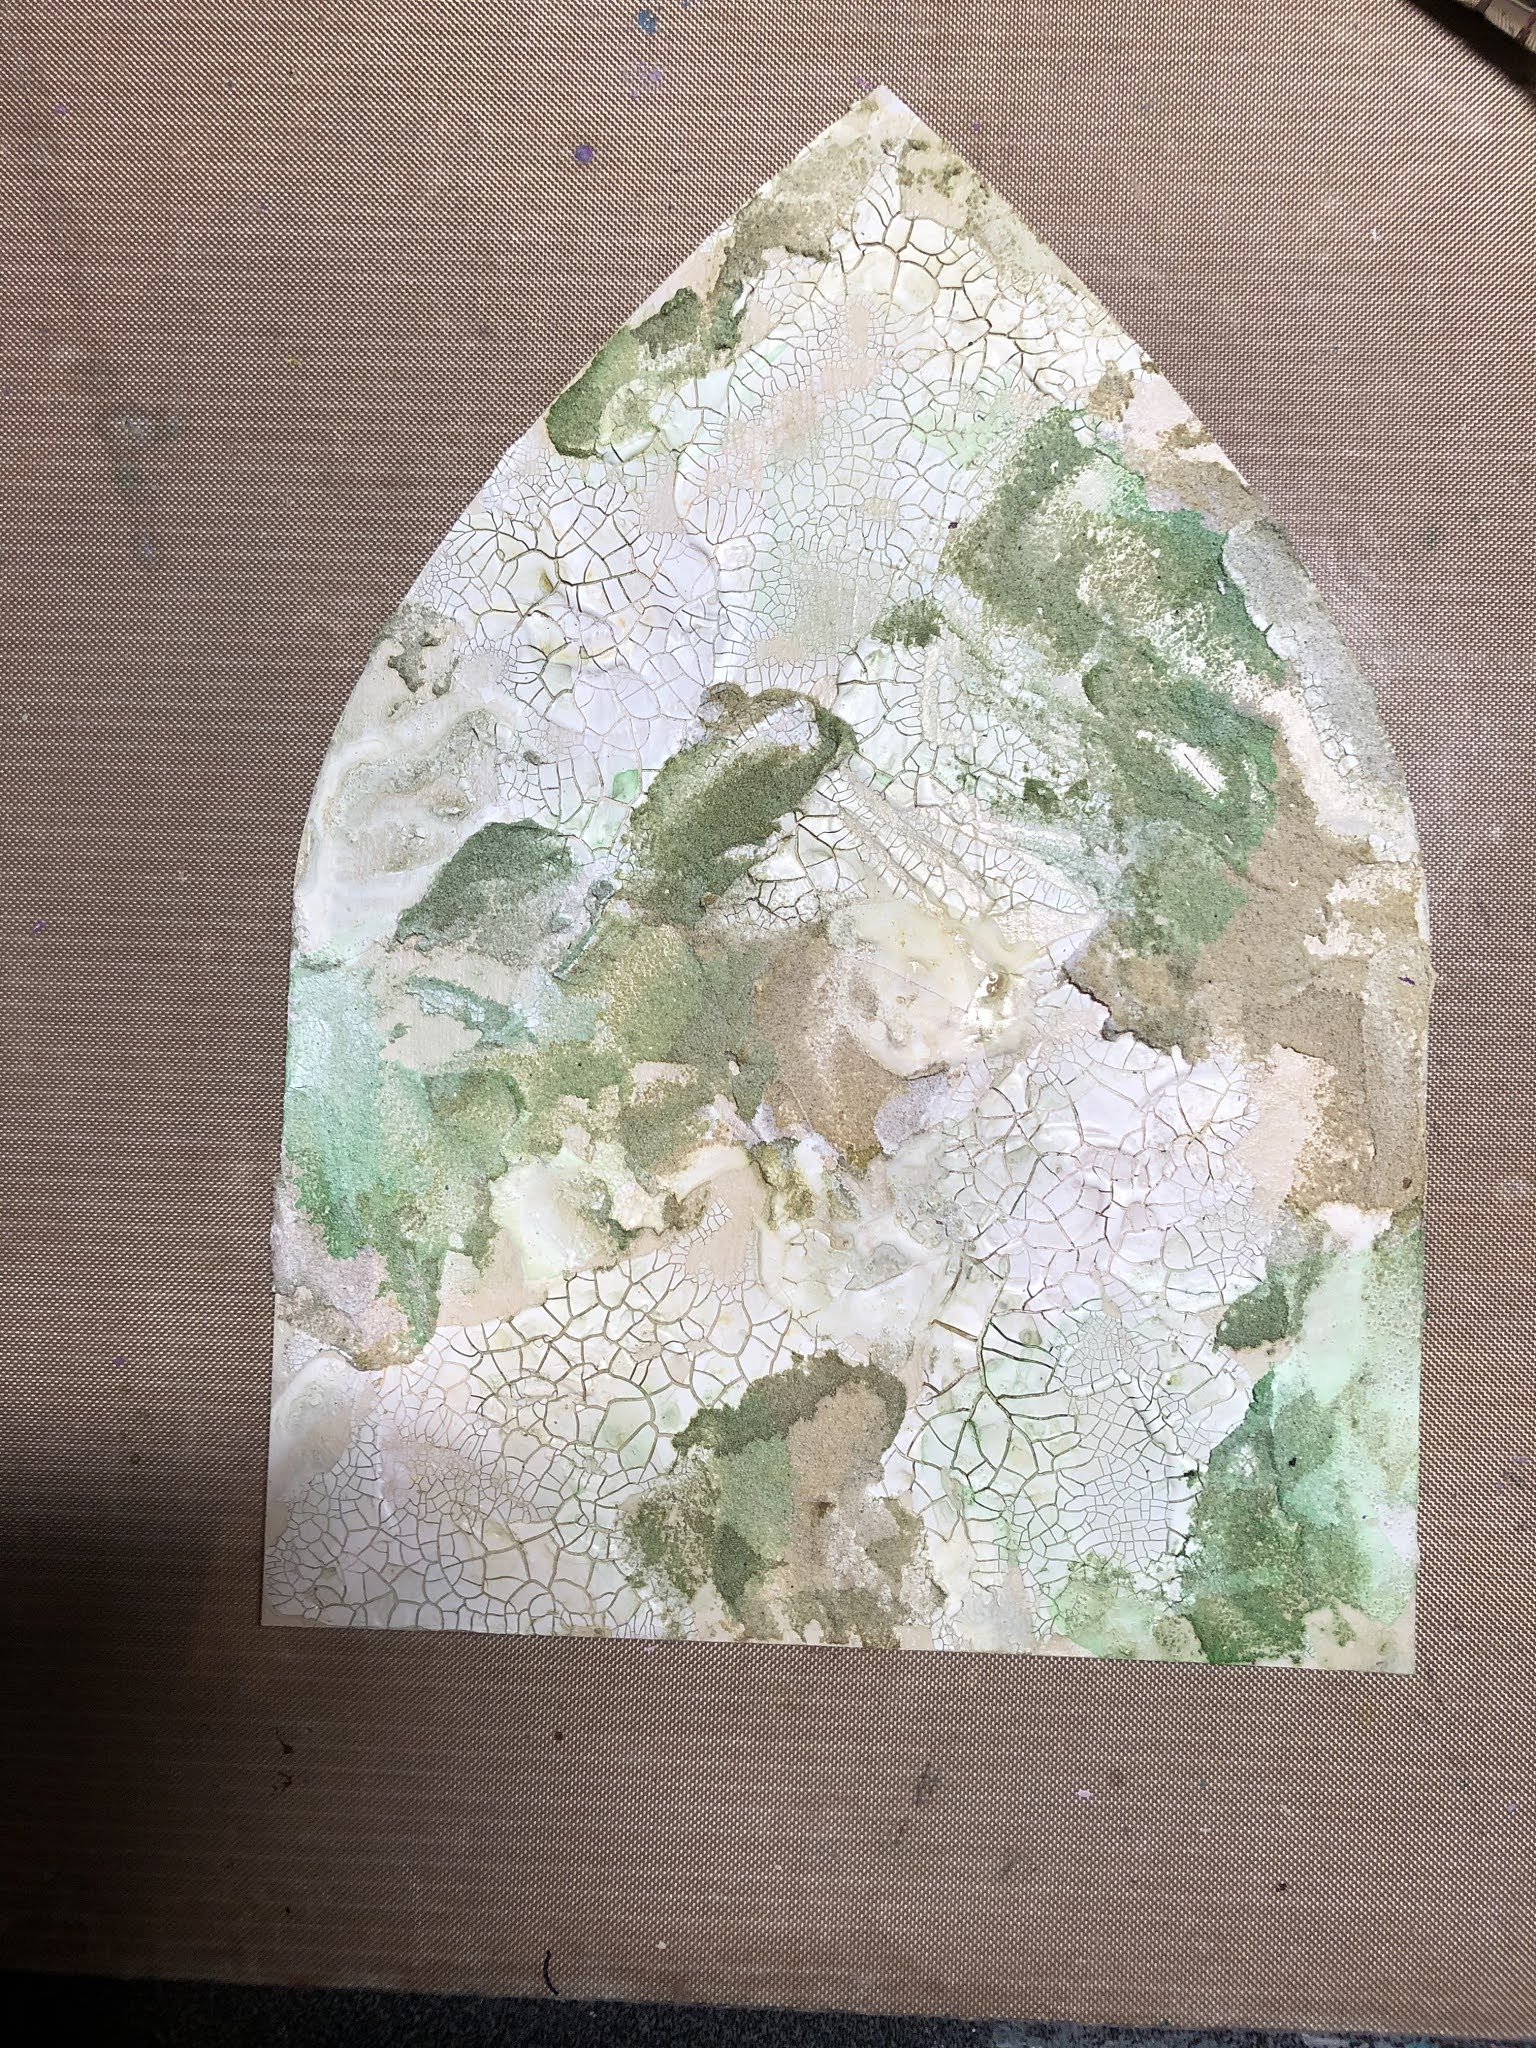
Start by drawing around house shape twice, measure and cut pieces of water colour card, to cover roof and sides of house.

Spray Distress inks across the card pieces and dry off with heat gun.

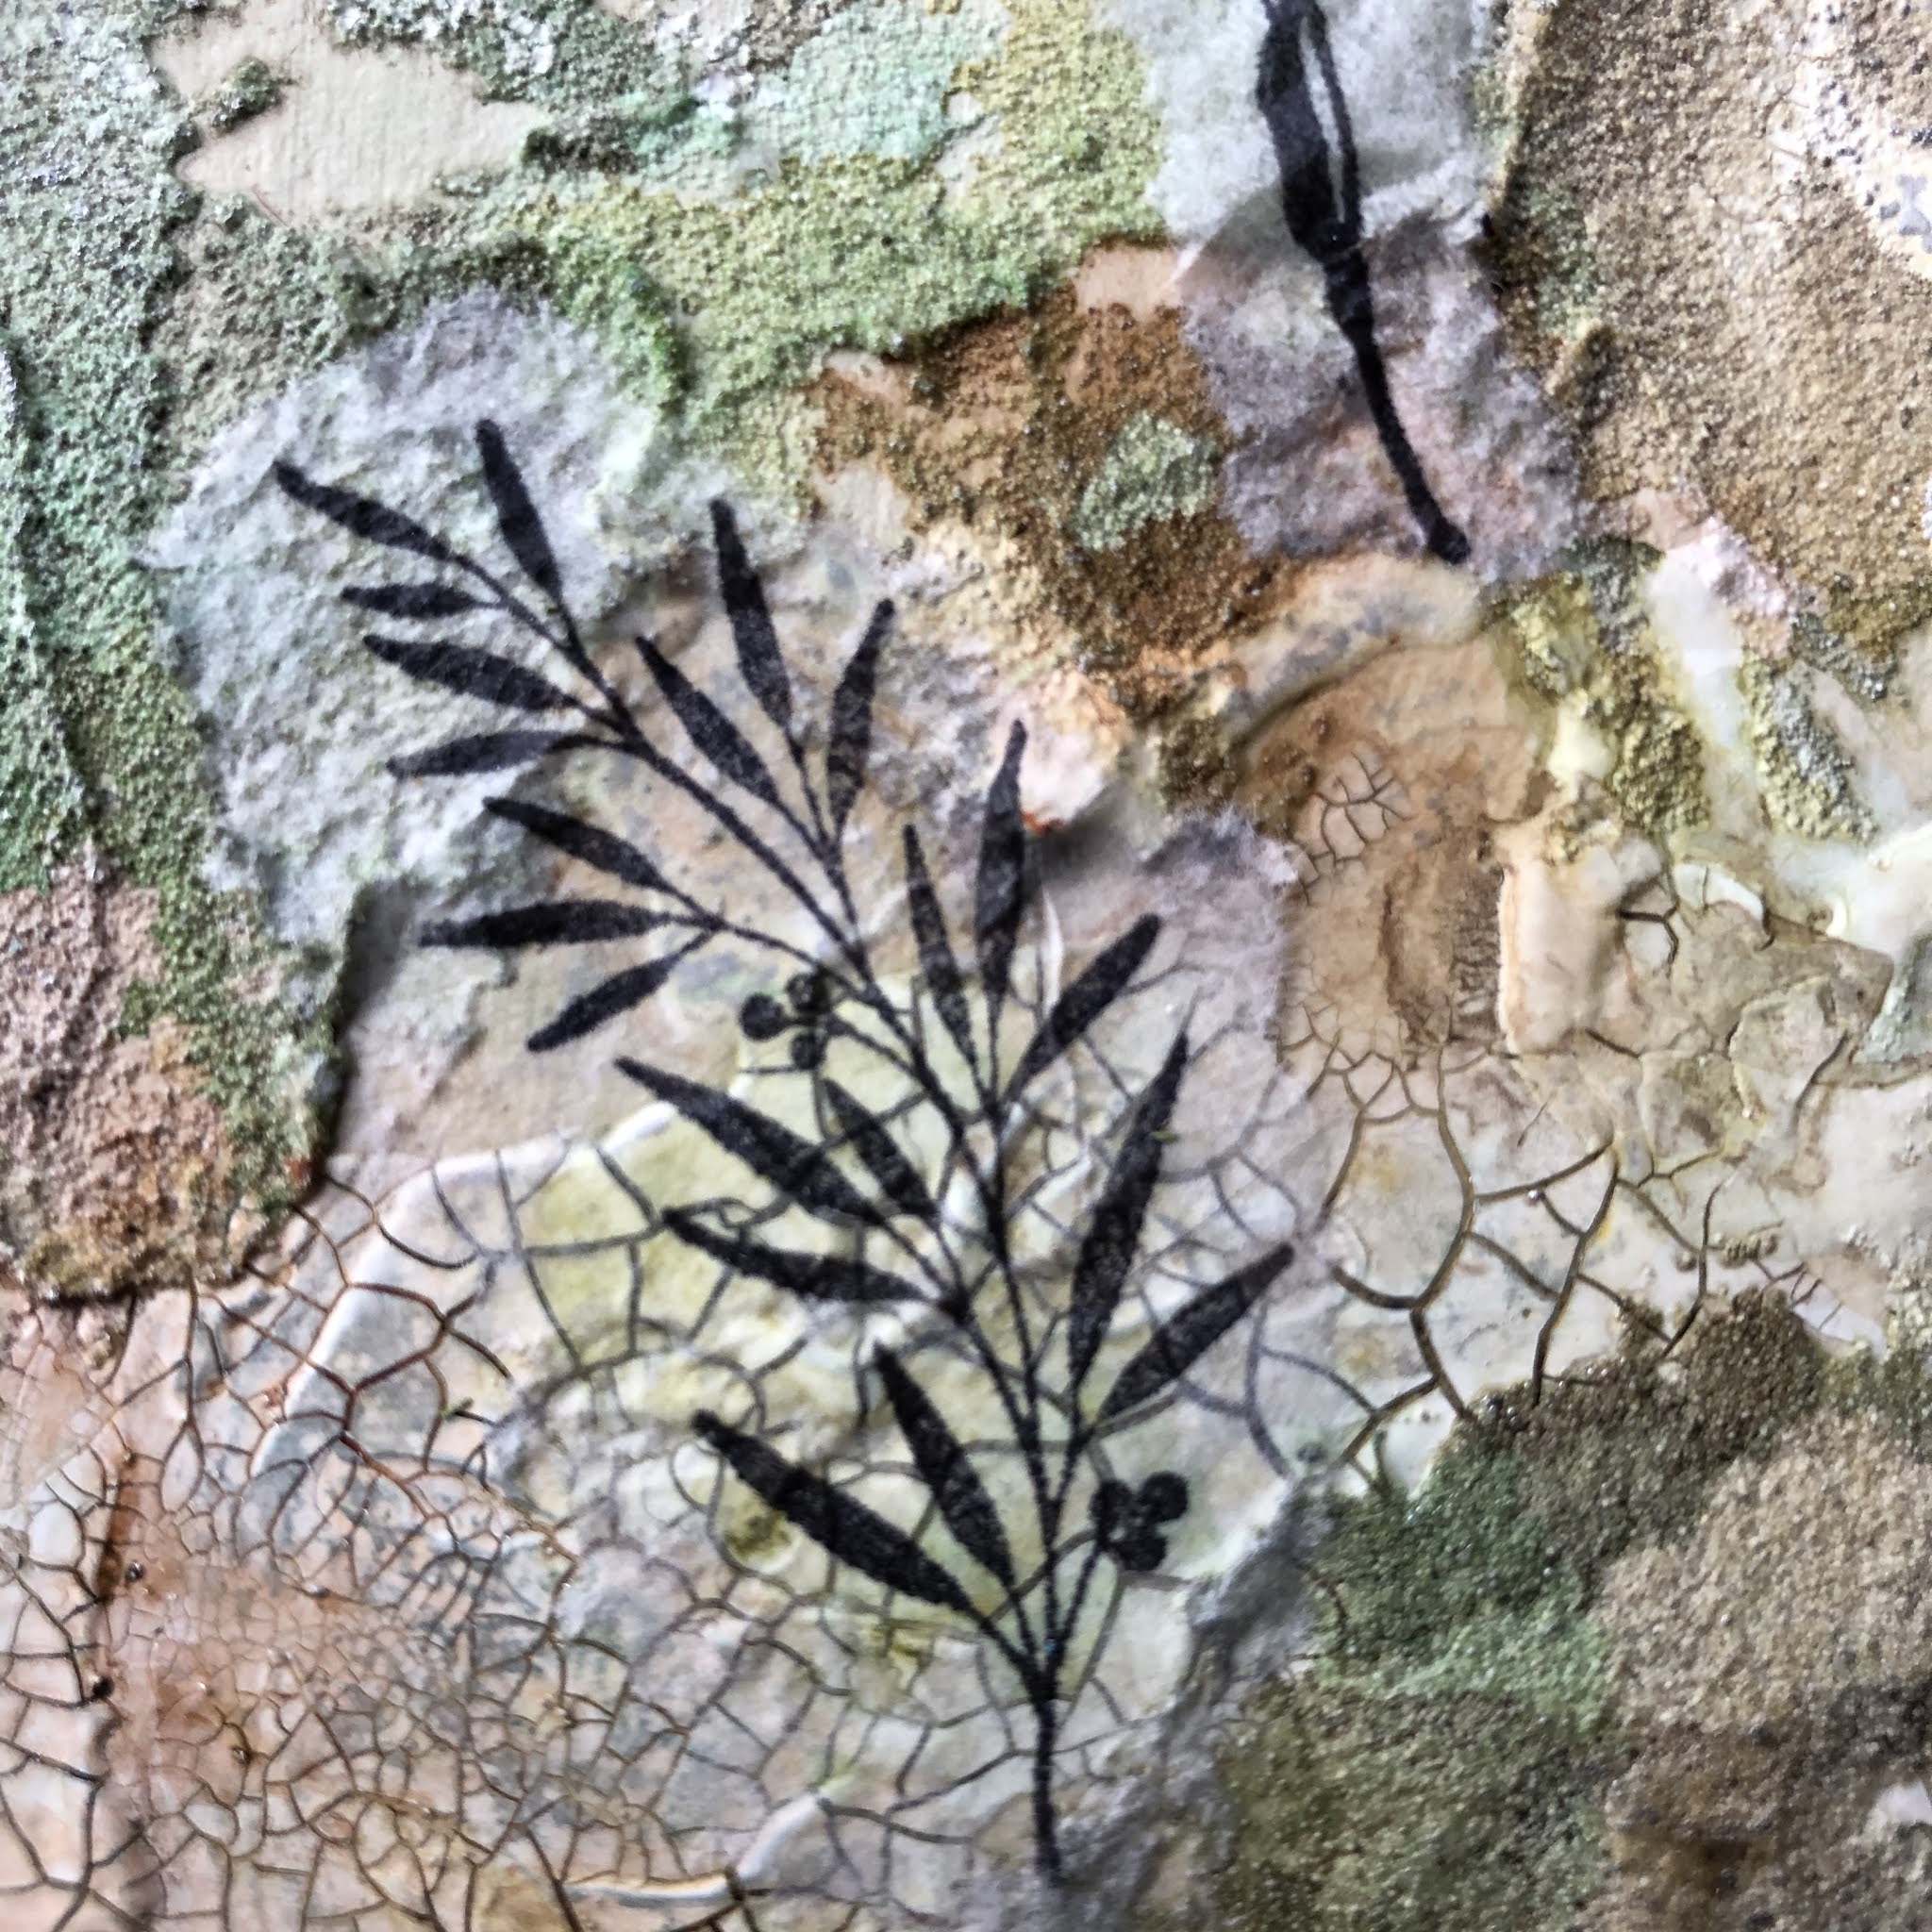
Paint all nature elements using DecoArt paints and leave to dry.

Using Archival ink to stamp elements around the house and on roof pieces. Once dry, stick pieces down onto house.

Stamp up little sentiment elements, cut out and edge with inkpad.

Stick down all elements adding cotton threads under the owl.

Add grey board elements as desired, then sentiments and lastly posca pen dots.

That's my project completed, hope you have enjoyed it and another Tando project will be along soon.


Heidi x


Thursday 8 October 2020

Nature Week -Fiona Randall

 
Morning All Fiona here with this weeks theme Nature. I decided to create a Nature themed Mini Book. I have been participating in The Tando Mini Book Club which is a monthly subscription online book club. Where you can learn how to create the inner pages to fit into the Tando range of mini books by way of regular Facebook Lives and videos in a private group on Facebook .

 
These inner pages of the mini book were created following one of the tutorials Di Oliver has shown in the club so far.  The pages have been Inked Stamped and collaged using a Nature theme.

 
A little book full of creatures of Nature from Bugs to Butterflies.

 
What's not to like. I love it. So if you would like to create something like this and a whole lot more of different inserts and pages for Mini Books. Hop on over to the Tando Site and sign up......

Do stop by the rest of the week to see what the creative team have in store for you.
Thanks for stopping by today, Stay Safe
Fiona xx


TANDO PRODUCTS USED.


Other Products.

Ranger Distress Ink Spray Stain- Gathered Twigs.

Ranger Distress Ink- Vintage Photo

Ranger Distress Embossing Glaze- Vintage Photo

Ranger Archival Ink- Black Soot

Tim Holtz- Entemology Stamps

Tim Holtz Baroque Stamps

Collage Elements- My own Designs from My stash.


Tando Mini Book Club Monthly SubscriptionMini Book Club SubscriptionTando Mini Book Club SubscriptionTando Mini Book Club SubscriptionMini Book ClubMini Book ClubMini Book ClubMini Book Club

Wednesday 7 October 2020

Through the arched window


Hi there!

It’s Celia here with this weeks theme -  nature. I've just got hold of some of the Chocolate Baroque flower stamps, so I thought these would be perfect. I used a large arch for this project. I thought it would be fun to try and make it into a window.

I painted the arch frame with Burnt Umber and the back with Titan Buff. Then I applied some crackle paste to the frame and immediately sprinkled some different embossing powders over, whilst the paste was still wet. Then I set it aside to dry. I have been binge-watching Tim Holtz's fb lives and the one on embossing glazes gave me this idea. When the paste was dry and cracked, I heated the embossing powder. As it melts, it runs down into the cracks to give a very cool effect. I dabbed on some paint in a few areas to blend it all together.


For the back piece, I blobbed on some crackle paste, sand paste and modelling paste to get some texture going on. When this was dry, I went in with some washes of Burnt Umber, Sap Green and Transparent Yellow Iron Oxide, dabbing them on in different places. I kept adding paint until I was happy with the result. Then I added some gilding paste in a few places for highlights.

For the window, I used a piece of acrylic that came with some stamps. I cut it to just smaller than the arch frame, and stamped the flowers from the Thistle Butterfly set from Chocolate Baroque, using black Stazon. I used a stamping platform for this as I am a terrible stamper and usually smudge it! Then I coloured it. I started using Promarkers, but as they are alcohol based they smudged the ink. I dabbed it on carefully in some places and used various other pens to get the effect I wanted. 

I wanted to add some leaves to the background, but since it's all bumpy I couldn't stamp directly on. So I stamped on to tissue and glued it on with mat medium. The edges disappeared nicely into the texture, so I was pleased with the result!


To assemble the piece, I stuck the acetate to the frame with double sided tape. I then used some book tape to make a hinge so that the window opens and closes.

Here's the finished frame:

Thanks for stopping by,

Celia x


Saturday 3 October 2020

Colour week

 Hello, Carol with you this week.  What a change in the weather since last weekend! think we've missed out Autumn altogether and hurtled into winter.

Today I'm showing you my October 366 folder and files.  If your a regular visitor to our blog on colour week you will  know that each months colours have been used for my files and folders and today I'm going to show you some of the pages I've inserted (or will be inserting) into those files…

So, firstly here are this months colours:-


and here are my folders and files…


and here are a couple of weeks inserts… these are my August inserts for weeks 1 and 2...


The challenge can be found here with the tando products here

TFL xx

Thursday 1 October 2020

October Colour Theme- Fiona Randall


This is the colour theme for October


I have decided to use one of my layered tags for this project.


I started by creating an inky background to sandwich between the two tags. Next up I gave the decorative top tag a coat of DecoArt Media Tinting Base. I then used and embossing ink pen to to go around the frame part of the tag then I embossed this with Tim Holtz Distress Embossing Glaze in Hickory Smoke. I then stamped randomly over the rest of the tag with script and swirl stamps with Watering can Archival ink. I then blocked out some of the areas with the tinting base to give a vignette effect to the tag. I then applied DecoArt Media modelling paste through the Tando Mini Flourish Stencil to the corners. When dry I added washes of DecoArt Media Fluid Acrylic in Prussian Blue Hue to the corners allowing it to pool in the stencilled areas. I then glued the inky cardstock to the base tag before adhering the top tag to the base tag. I added a Bee Mould from Zuri Inc which was cast in resin, painted black and then some royal blue gilding wax added to highlight. A piece of seam binding was then coloured to match and threaded through and tied in a bow.
To finish a quote chip was added to the bottom.
 
 
Thanks for taking the time to stop by and read
Stay Safe Fiona x


 Products Used.


Other Products
 
Ranger Archival Ink- Watering Can
 
Ranger Tim Holtz Distress Embossing Glaze- Hickory Smoke
 
Tim Holtz Ideology Quote Chips
 
Prima Finnabair Metallique Wax- Mystic Turquoise
 
Bee Mould- Zuri Designs Inc
 
Seam Binding
 
Immix Chroma Burst- Boysenberry Skin