Showing posts with label Texture paste. Show all posts

Wednesday, 13 November 2019

Texture Paste Cog

Hi there, it’s Celia here with a look at texture pastes. They lend themselves very well to rust effects, and I find they're so useful to add interest to a project.
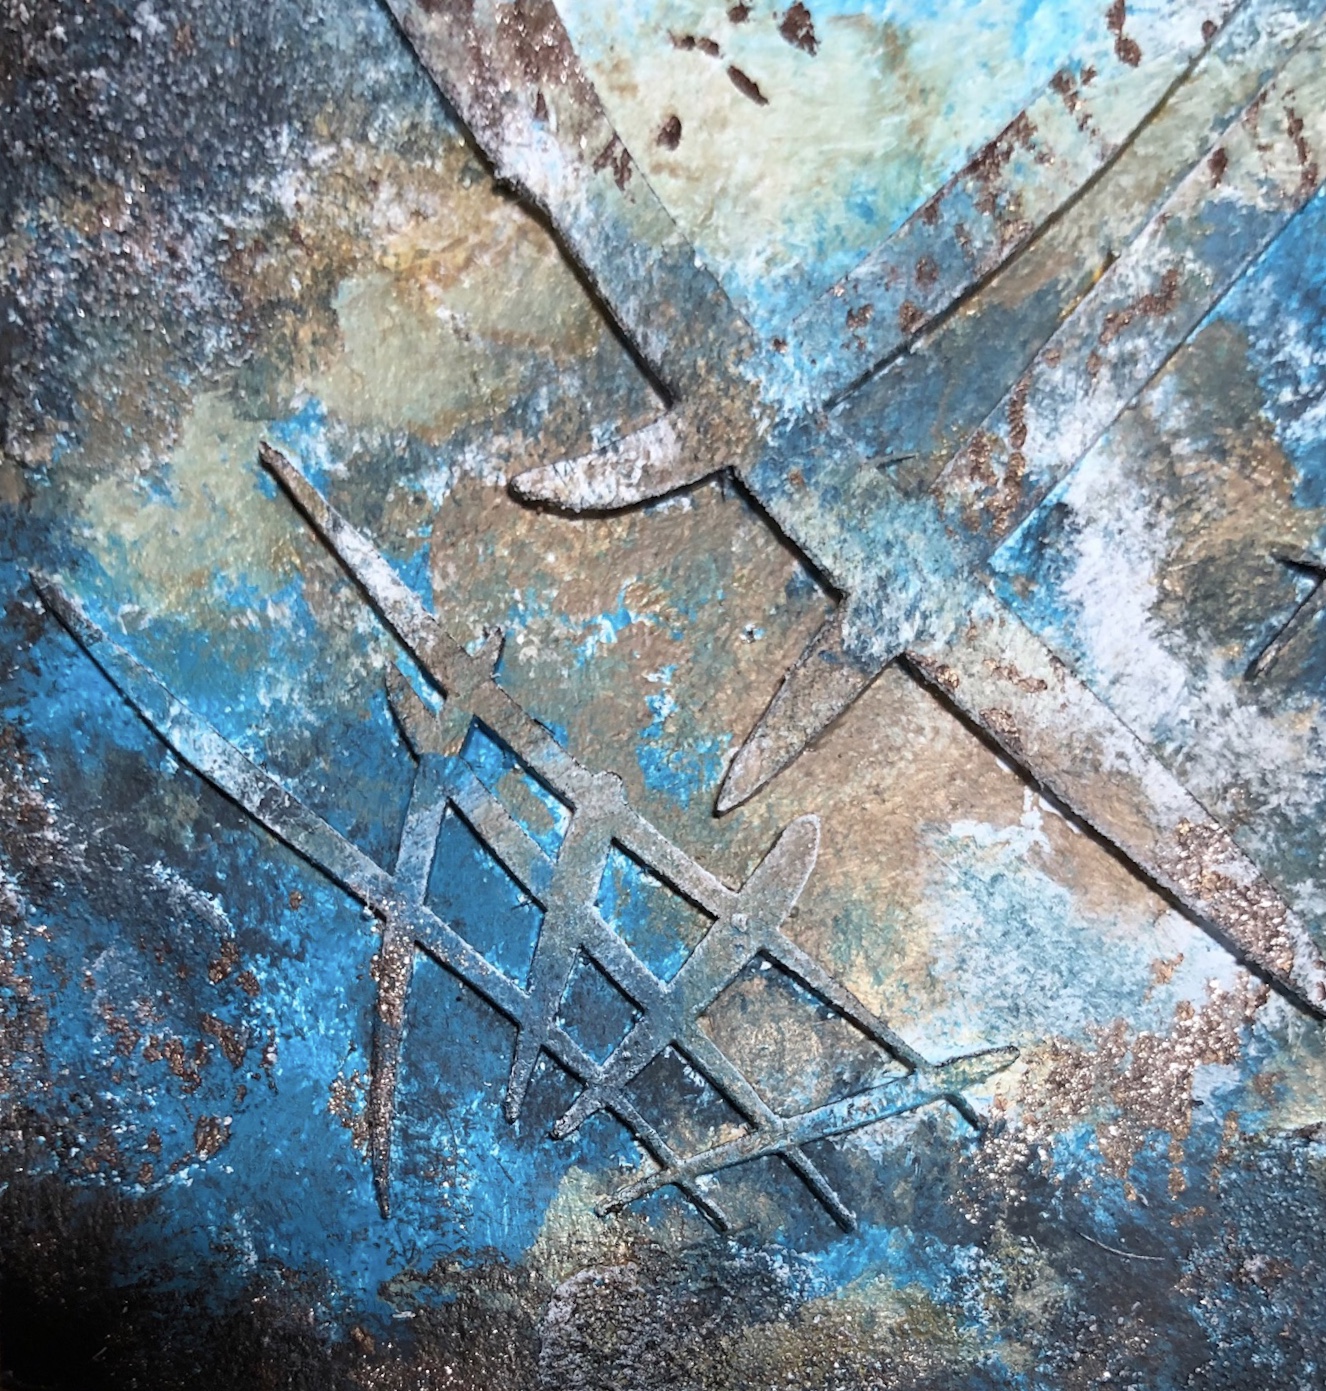
I decided to use four different pastes together, because why just use one! I used DecoArt Sand Paste on the cogs and stippled some Andy Skinner Lava Paste on the big MDF cog. This needs heat setting to make it puff up. If you stipple it on finely it creates a nice pitted rust effect.
For the base, I used a 6x6 greyboard sheet and stuck on some Tim Holtz Abandoned collage paper. I discovered that the big cog is the same size as the cut outs in Fiona’s new Layered Tags, so I cut one out to put behind the cog. I just sprayed this black.

I used a spatula to apply Andy Skinner's Strata Paste and DecoArt Crackle Paste randomly around the edges of the base board.

When this was dry I stippled on a mixture of DecoArt media fluid acrylics to roughly match the colours of the paper (Burnt Umber, Green Gold, Pthalo green yellow, Transparent Iron Oxide). I also stippled some rusty colours on the big cog. Then I dry brushed the texture pastes with Titan Buff to highlight. I also coated a couple of small cogs from the minis cogs tag with some Ferro.

Then I added a couple of washes to tie it all in together before assembling. I added some silver Gilding Paste to the cog to highlight the rusty texture. The combination of the different texture pastes produces all sorts off yummy crunchy goodness!


And here's the finished piece - 

Thanks for stopping by!

Celia x

Wednesday, 6 November 2019

Sea Heart

Hi There!

It’s Celia here today and November's colour theme is this gorgeous selection:

I selected my colours - PaperArtsy Midnight, Turquoise and Glacier Ice, and a mixture of an old paint dabber in Mushroom mixed with Yellow Iron Oxide. I chose the Flaming Heart, the Scribbles Heart Thins and a Mini's heart for my tag. I stuck them down and added a few patches of DecoArt Sand Paste before painting them first with PaperArtsy Glacier Ice.

I then stippled in the other colours with a hog hair brush, keeping the darker Midnight round the edge and working the lighter colours towards the centre. I added a bit of DecoArt Ferro for some sparkle and texture and dry brushed the thins with Glacier Ice to highlight.

For the Flaming Heart, I painted the base with Blue Lagoon and used a translucent embossing powder (Emerald Creek Fractured Ice). I used Cosmic Shimmer Lagoon Lilac Aurora on the small heart and Heat it up Aged Gold on the outer heart.
Then it was just a matter of gluing on the Flamed Heart and adding a ribbon coloured with spray inks.

I hope you like my tag! Thanks for stopping by,

Celia x

Saturday, 12 March 2016

Texture Paste Week - Celebrate Arch


Hi! Dana here today sharing the arch I created for the Texture Paste theme this week. I used a portion of my favorite Arabian-Style Layered Arch Frame for the base of this piece. I covered the chipboard with a book page and then used two masks, the Mini Distressed Sequins and the Random Circles, with chalk ink and whipped spackle to add color and depth. I cut a piece from a Grass Flexistrip to run across the bottom of the arch. Before embellishing, I lightly sprayed the arch with white mist.

You can find the products that I used for this piece in the Tando Creative Retail Store! We'd love to see what you create for our Texture Paste Challenge! To be in with a chance of winning some great Tando goodies of your choice, please make a piece based on our weekly themes and link your project, not just your blog, using the inlinkz tool located at the top of the Tando Blog. You don't have to use any Tando product, but, if you do, you will be entered into the draw twice! There are no limits to how many times you enter, however, we do request that you only enter your piece for 5 challenges. We look forward to seeing your creations!

Thanks for stopping by today!

Thursday, 17 December 2015

Winter Holidays

Hi all, Liz here today with a project for our theme Winter Holidays,
I just couldn't resist this lovely Mini Christmas scenelit to alter,

It comes in layers which you glue together, so gives a fabulous 3D effect when finished,
I started with the back and worked to the front, the frame would be covered up so i just did the moon, which I stippled with some texture paste then when dry coloured with some of the Deco Art paynes grey, Titan buff and then finally with some Raw/umber antiquing cream wiping some off with a wet wipe,
The house roofs have Modeling paste through  a mini distressed sequin mask, then when dry I painted them with Deco Art white Gesso and lastly some glamour dust glitter, these sparkle lovely in real life, the bottom of the houses have been painted with Titan buff and Burnt umber,

The fur trees in the middle were painted with blue/green light acylics and Titan buff then I added some liquid applique over the top for a snow effect,

The wooden fence and Gate have been given some crackle paint then when dry painted with Burnt umber over the top, this looks like aged wood in real life, again i added liquid applique here and there for effect, the bells are painted with Silver fluid acylics,
For the Snow effect on the base I used some of the Modeling paste, making it thicker in some places using my knife to create ridges here and there too, again I added a hint of glitter, 
I then painted the tree on the frame with crackle paste and when dry painted it with white gesso, then when dry some  Raw umber antiquing cream swiped over with a wet wipe, the frame is also first colured with white Gesso then I added a little of the silver fluid acrylic onto the wet wipe and swiped this over the top, this just gives a hint of colour,

I finished off the display with some die cut leaves and flowers from The Ribbon Girl,

We have had a lot rain but no snow so at least this makes me feel like a Christmas morning,
This is my last post before Christmas, so I wish you all a lovely and Happy Holiday season,
Hugs Liz xx


Saturday, 1 August 2015

Butterfly Heart Its Summertime with Dee

Hi everyone its Dee here today with my Summertime make.
I have done a heart for you with Deco art Misters and 
One of the hearts from the pack of five bag.
Firstly I covered the area's that I wanted crackle in deco art 
crackle paste. The surface of the Tando heart is 
brilliant so I haven't used gesso.
I used a glue gun to attach the copper embellishment to the base of the heart.
next 3D gel was used to attach the glass beads above the
 copper embellishment.
I allowed this to dry overnight so that the crackles would be big it 
is always better to allow it to dry on its own if you 
have the time.
media-mister-yellow-green, Turquoise ShimmerViolet Shimmer.
I sprinkled shabby white Frantage embossing powder.
Next I rubbed Media Interference - Violet & Turquoise, over
the crackle with my finger.
The butterfly is an old PSX stamp that I stamped x 2 onto
media mister sprayed card. This was then clear
embossed.
This shows how vibrant the colours are with the Media misters.
I have used every kind of spray and this is the most vibrant
as it is paint rather than dye based, so it is not translucent.
That's it for today folks as always would love 
to hear what you think so don't forget
 to leave me a comment.
Cheers Dee x

Products Used


  1. Tando Creative Hearts bag of 5
  2. Deco Art media misters:- yellow-green, Turquoise ShimmerViolet Shimmer.
  3. Deco Art media cackle paste
  4. Old PSX butterfly stamp, glass beads, copper embellishment & ribbon all from my stash.