Showing posts with label Chalk Paint. Show all posts

Monday, 8 May 2023

A Little Birdie House- Fiona Randall

 Happy Coronation Monday everyone.

 I am stopping by to bring you a little quick and easy project using a little wooden Bird House


This is the completed project.


The Tiny Birdhouse in it's undecorated state.

I started by giving the birdhouse a coat of DecoArt Media Tinting Base and dried with a heat tool.
I then gave the roof, base and the peg for the bird to sit on a coat of DecoArt Chalky Finish in Honour.
This is a wonderful dark Navy Blue Colour. 
I then gave the roof a coat of DecoArt Crackle for chalky finish paints. 
I then dried with a heat tool keeping it moving until the crackle had dried clear.
 I then applied with a sponge DecoArt Chalky finish in Everlasting. By dabbing the paint on with a sponge you will not over work and remove the crackle medium as you would with a brush.
 I find this method more forgiving and gives a much more even finish with the added bonus of no brushstrokes. I then dried with a heat tool until the cracks appeared.
I then applied washi tape from my stash which just happened to be the right width all around the walls of the birdhouse as shown. 
also washi tape was applied to the edge of the base as shown. I had a little pedestal to display the bird house on  which was already painted painted white.
To finish I fussy cut a little bird from my stash of Ephemera and attached to the birdhouse using 3d foam tape.
 I also stamped a little chocolate Baroque butterfly and glued at a jaunty angle to the roof.
A Fun, Quick and easy little project that has a vintage feel to it.

Products Used.

Tiny Wooden Birdhouse


Washi Tape and Bird Ephemera from my own stash


Tuesday, 15 October 2019

Mini Houses

Hi there, Celia here!

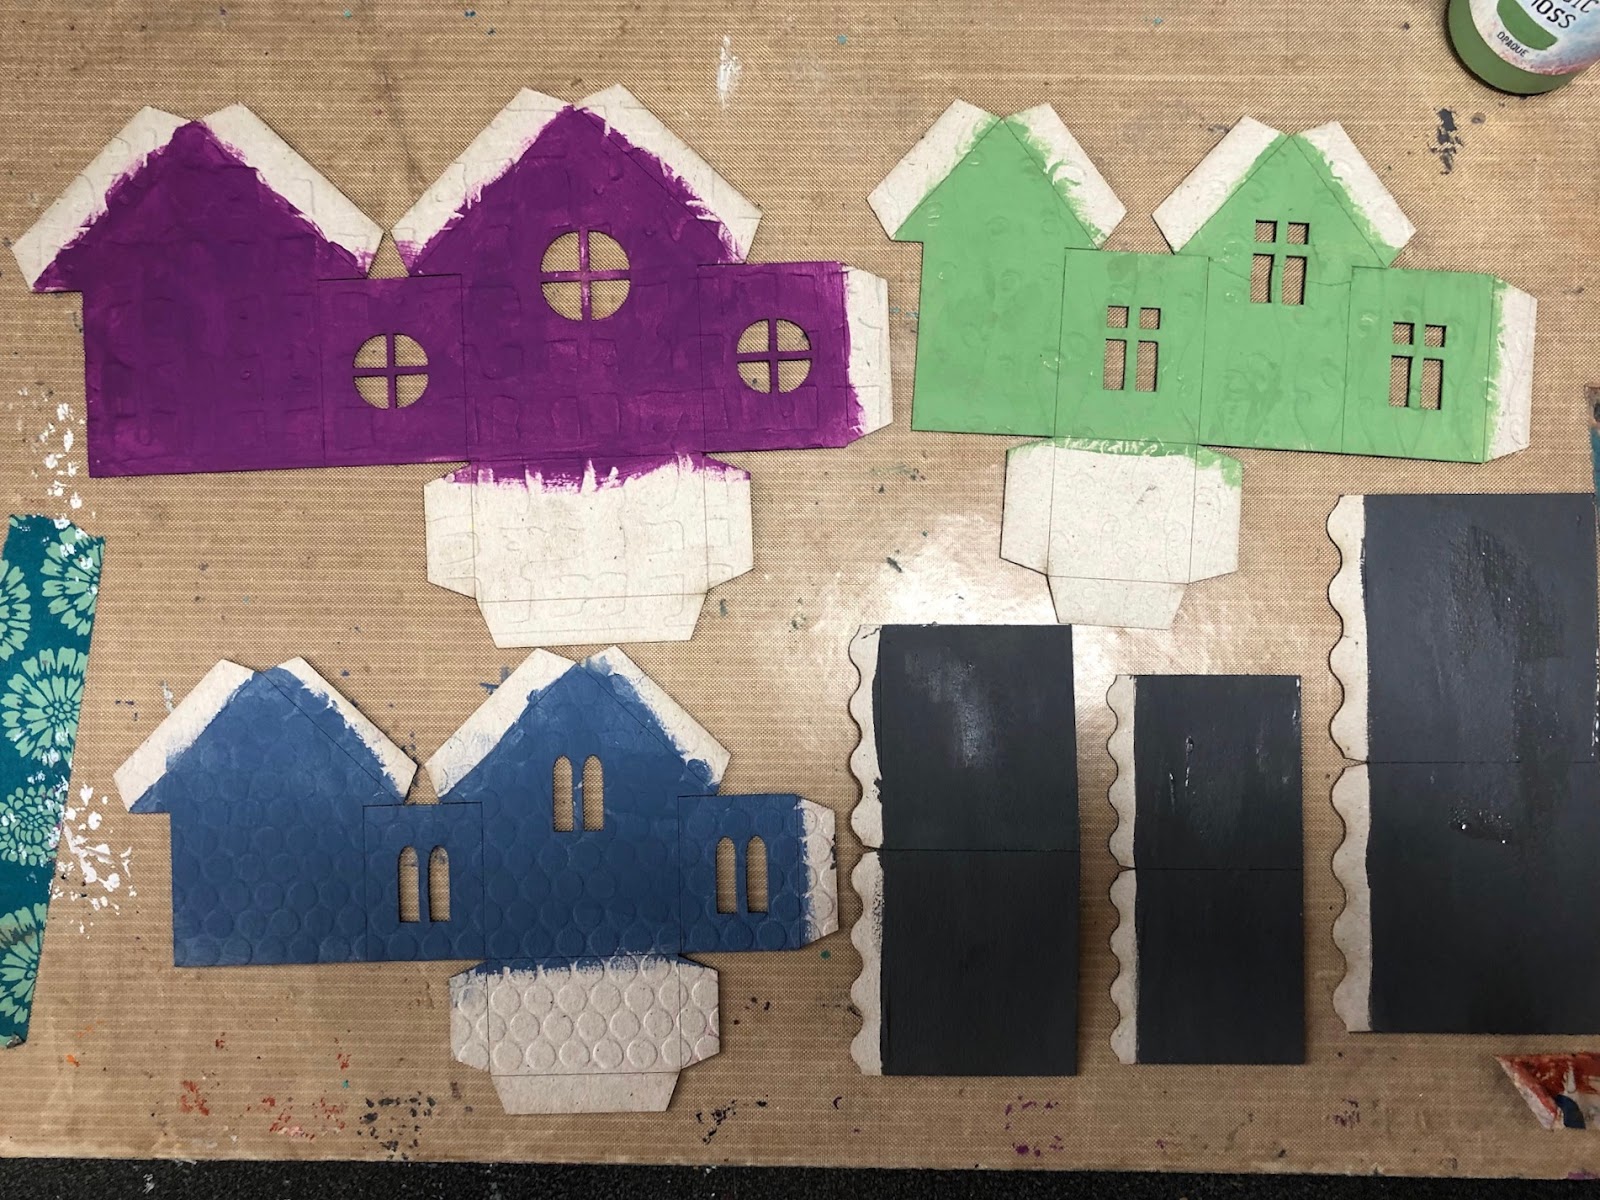
This week it's 'anything goes', so I thought I'd have a little play with these cute mini houses. I decided to go colourful and a bit fairy. I embossed them first for a bit of texture, then primed each of them in a different colour using chalk paint. 

Then I stamped them with the Chocolate Baroque Abstract Fragments stamps and added some washes of Decoart Fluid Acrylics, allowing them to pool around the texture from the embossing.

For the rooves, I first primed them in Relic chalk paint, then stamped one of the Abstract Fragments stamps with Versafine and heat embossed with a Cosmic Shimmer powder to get the tiles effect. 

I also used heat embossing powder on the doors and windows.

A bit more stamping with some flowers, then assembled. I think these houses are really cute - you could make a whole village!

Thanks for stopping by,

Celia  x

Friday, 30 August 2019

Heat embossed tag


Hi there!

It's heat embossing week and I would like to show you how I made this embossed tag. I am slightly addicted to heat embossing - I put it on practically everything I make! I'm a massive Seth Apter fan, and he uses it in many different ways. I've used some of his techniques here.

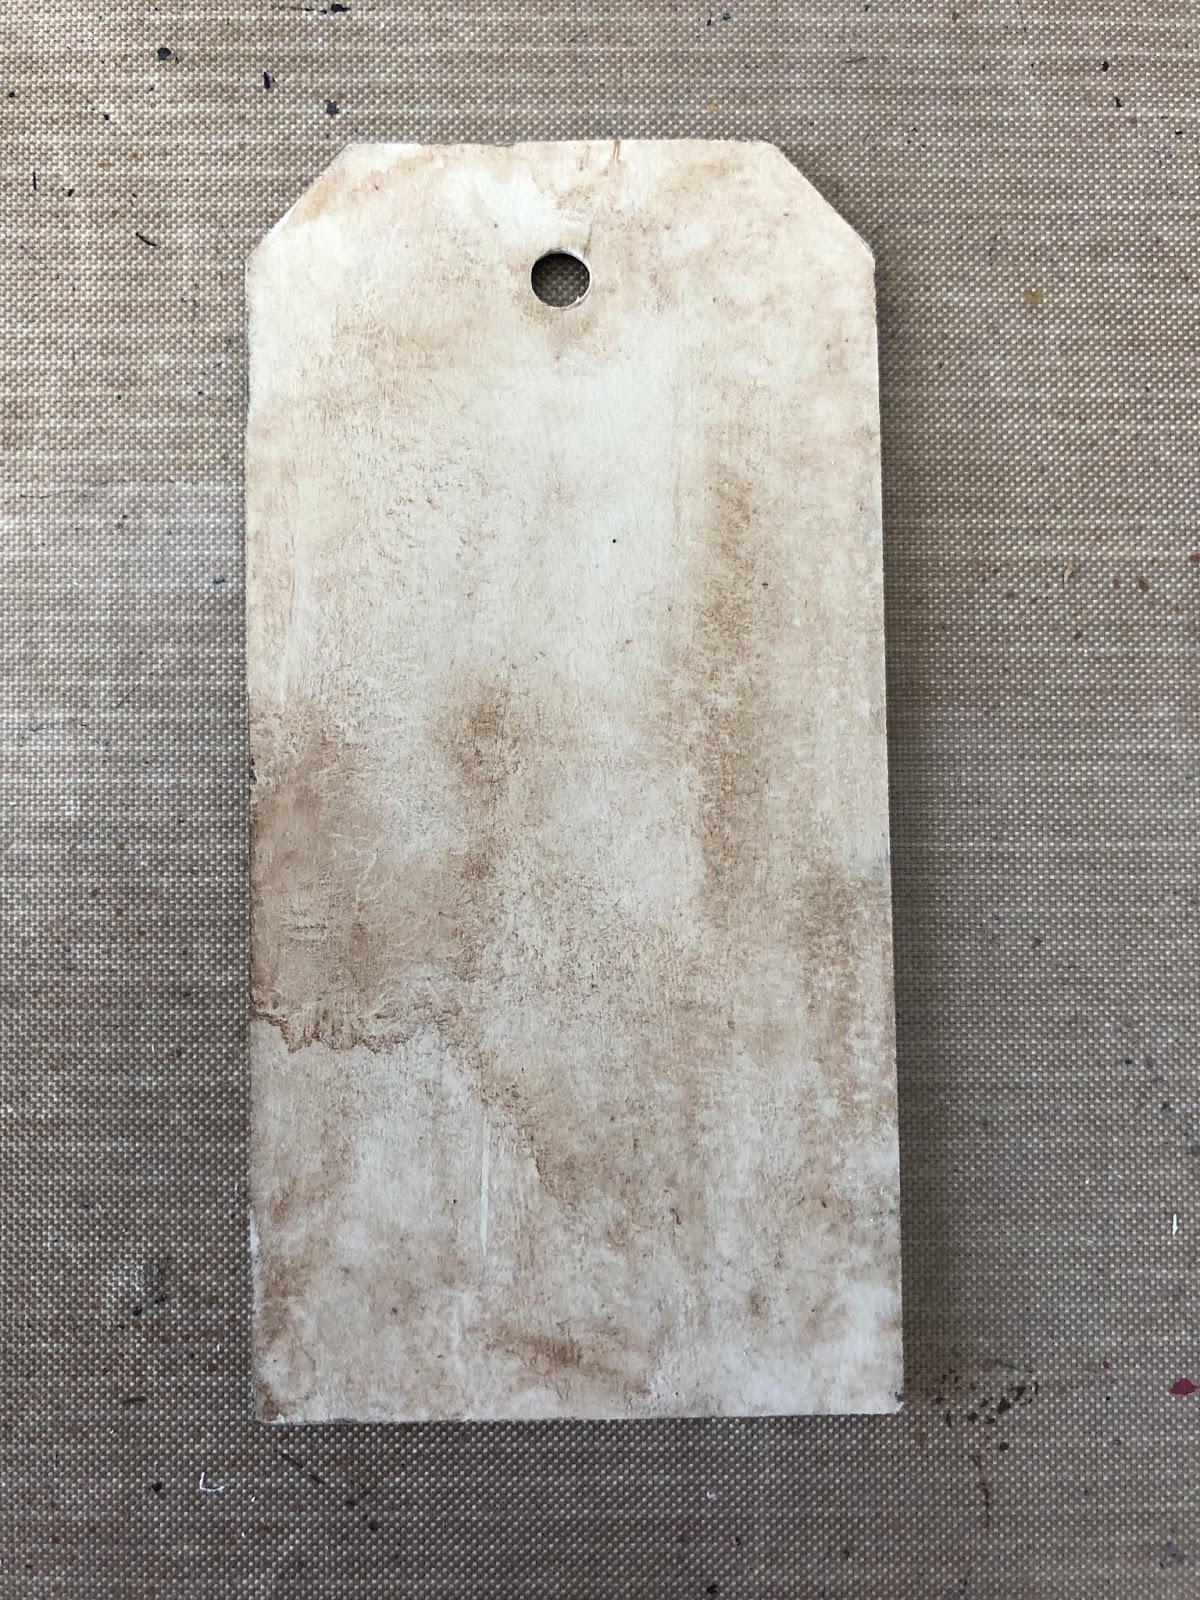
I took a small Tando tag and undercoated it in DecoArt Timeless Chalk paint, then a wash of Burnt Umber fluid acrylic to give a quick background.

Then I stamped over a script stamp with Red Geranium Archival, and one of Seth's stamps in black. The background will hardly show - it just gives another dimension to the top layers.

I used an embossing pen to draw a few random scribbles on the tag, and sprinkled on some chunky gold & white embossing powder by Cosmic Shimmer. I then set this with the heat tool.

Then I swiped the tag with Versamark and sprinkled a layer of Stampendous clear chunky embossing enamel all over the tag. Before you start heating, get a few things ready to sprinkle into the clear enamel while it's hot. I used some Frantage flakes and glitter from Stampendous Encrusted Jewel kits. When the enamel is nice and hot (you can see it moving slightly), remove the heat tool and sprinkle a few flakes or glitter onto the tag. You can use you fingers, some tweezers, or a tiny spoon. Re heat, trying to keep the tool directly above so that the flakes don't get blown about.

Then I repeated this process but with various different embossing powders. You can concentrate different colours in one place, or go for an all over sprinkle. Sometimes you can see patterns develop in the background, and add more colour to those areas. I used Stampendous Seasonings and Aged Scarlet, Emerald Creek Baked Texture Patina Green and Rocky Road, and Andy Skinner's Funky Cold Patina.

Then I swiped the Versamark pad around the edge of the tag and edged it with more Rocky Road. I added another layer of clear chunky, then finally embossed another of Seth's mini stamps EM45 into the hot enamel, inking it first with Versamark. Always use rubber stamps for embossing into hot powder, as the clear acrylic ones will melt!

Embossing powder is a very versatile medium, and can be used in many different ways, as well as for stamping. I hope you feel inspired to have a play! 

Thanks for stopping by!

Celia  x