Showing posts with label Chocolate Baroque. Show all posts

Monday, 8 May 2023

A Little Birdie House- Fiona Randall

 Happy Coronation Monday everyone.

 I am stopping by to bring you a little quick and easy project using a little wooden Bird House


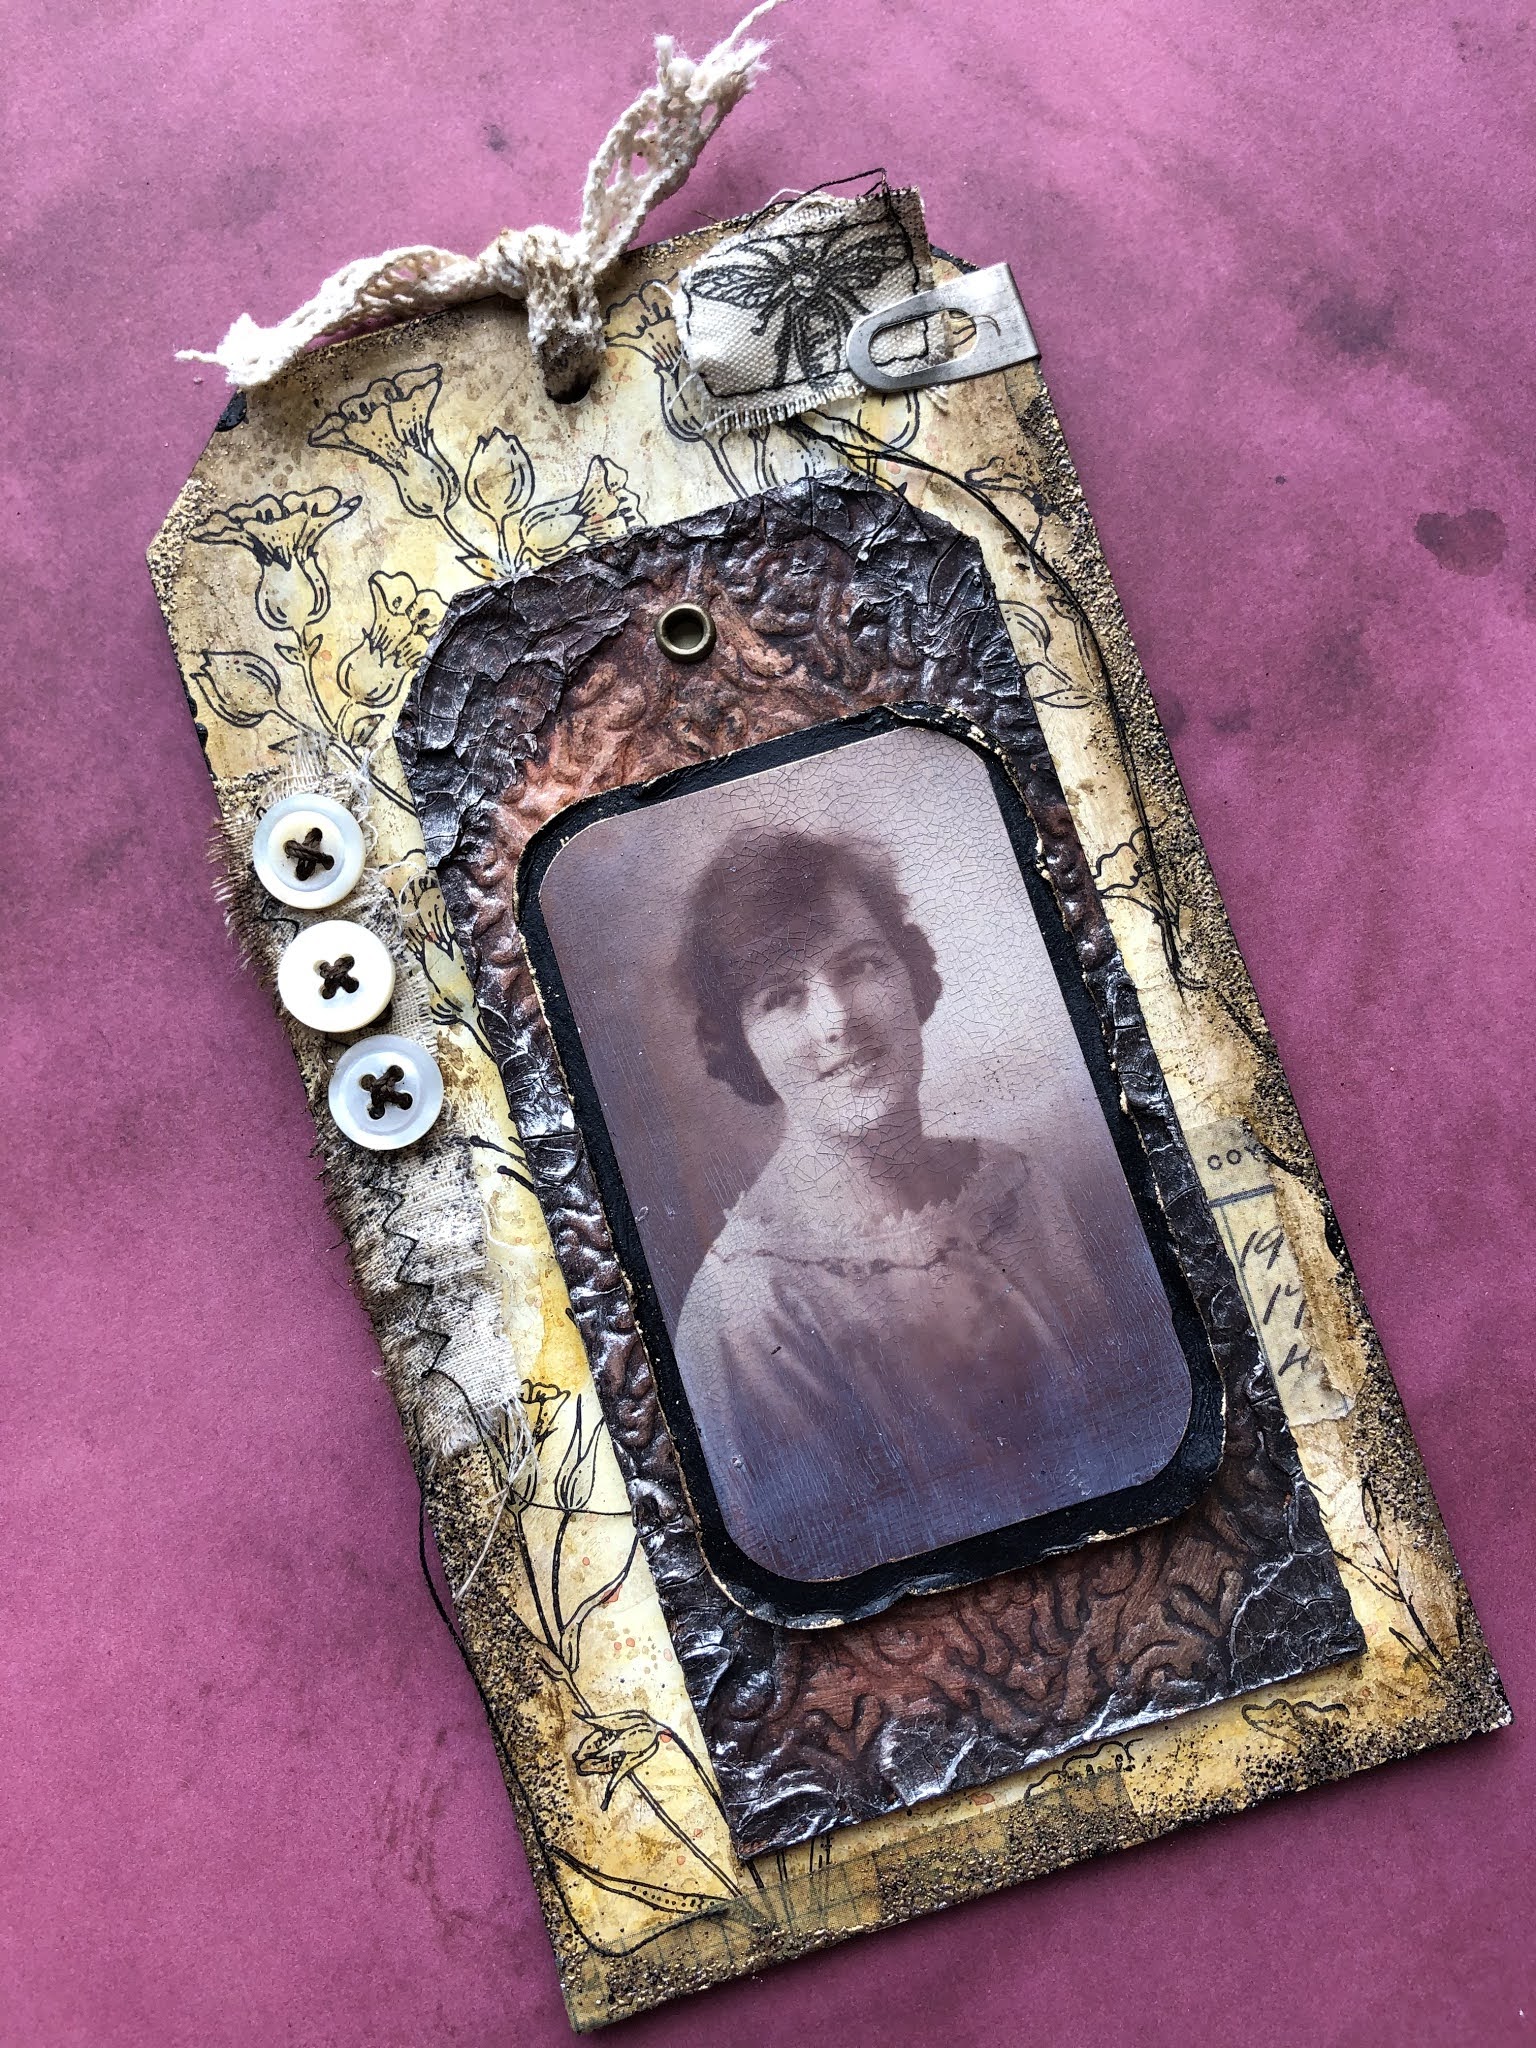
This is the completed project.


The Tiny Birdhouse in it's undecorated state.

I started by giving the birdhouse a coat of DecoArt Media Tinting Base and dried with a heat tool.
I then gave the roof, base and the peg for the bird to sit on a coat of DecoArt Chalky Finish in Honour.
This is a wonderful dark Navy Blue Colour. 
I then gave the roof a coat of DecoArt Crackle for chalky finish paints. 
I then dried with a heat tool keeping it moving until the crackle had dried clear.
 I then applied with a sponge DecoArt Chalky finish in Everlasting. By dabbing the paint on with a sponge you will not over work and remove the crackle medium as you would with a brush.
 I find this method more forgiving and gives a much more even finish with the added bonus of no brushstrokes. I then dried with a heat tool until the cracks appeared.
I then applied washi tape from my stash which just happened to be the right width all around the walls of the birdhouse as shown. 
also washi tape was applied to the edge of the base as shown. I had a little pedestal to display the bird house on  which was already painted painted white.
To finish I fussy cut a little bird from my stash of Ephemera and attached to the birdhouse using 3d foam tape.
 I also stamped a little chocolate Baroque butterfly and glued at a jaunty angle to the roof.
A Fun, Quick and easy little project that has a vintage feel to it.

Products Used.

Tiny Wooden Birdhouse


Washi Tape and Bird Ephemera from my own stash


Sunday, 29 January 2023

Colour Inspiration January 2023- Fiona Randall


Hello and welcome to my contribution for the January Colour Inspiration.

Here are the colours provided to kickstart our mojo for the New Year.


For my project I decided to construct one of the Tando Mini Books.


I started by constructing the book and gave it a coat of DecoArt Americana Chalky Finish in Carbon. I then gave it a coat of DecoArt Media Ultra Matte Varnish when dry to protect and seal.
I then cut two pieces of cardstock for the back and front covers. These were sprayed with spray stains from the Steampunk Soiree set from Lindy's Stamp Gang and dried with a heat tool. Stencilling was added with white gesso and stamping with Black Archival Ink. The edges were also inked before adhering to the front and back covers of the book. Nect up I embossed a Small Tando frame with some Embossing Powder. I then stamped a Butterfly from a  Chocolate Baroque Stamp Set onto white card and fussy Cut out. The frame was attached to the front cover and the butterfly glued into place as shown. To finish I added sentiment strips made with a Dynamo Label maker and attached to the front cover as shown.
A quick and easy project with limited supplies to kick start the New Year.
Thanks for taking the time to stop by and read.
Hugs Fiona.

PRODUCTS USED.


Other Products Used

Lindy's Stamp Gang Steampunk Soiree Shimmer spray set


Tuesday, 28 June 2022

Hex Tex Tuesday- Abstract Wall Art- Fiona Randall


Welcome back for another Hex Tex Tuesday.

I love abstract art so decided to create a simple wall panel using the hexagons in a Monochromatic style.


I cut a Panel measuring 8x8ins from a Tando Grey Board Sheet and gave it a coat of DecoArt Chalky Finish in Carbon to both sides of the panel. Once dry I gave both sides of the panel a coat of DecoArt Ultra Matte varnish to seal and protect the chalky finish.
For this project I used 7 of the  hexagons . 

I gave all the hexagons a coat of DecoArt Media Tinting  base and dried with a heat tool.
Once dry I stamped all the hexagons with textures from Chocolate Baroque's Harlequin Fragments Rubber Stamp Set with Black Archival Ink.
I cut one of the hexagons as shown in the diagram below.


I drew a line from corner to corner left to right and then right to left.
As you will see you end up with a cross and have two diamond and two triangle shapes.
Cut along the cross lines with a ruler and a craft knife.

Next up arrange your hexagons onto the panel as shown.
To finish add a sentiment strip if desired.
I chose to go with a Monochromatic theme but this would look just as good using a riot of colour. The possibilities are endless.
A quick and easy project that would look great on any wall in your home or studio.
Thanks for taking the time to stop by and read
Fiona.

PRODUCTS USED.


Wednesday, 8 June 2022

Spread Your Wings. Butterfly Tag Plaque- Fiona Randall


Morning all Fiona Here with another Butterfly Tag Plaque.


I used one of the Tando Long Tags which come in a pack of 5 and are great value for money. I traced around the tag onto a piece of white card stock and cut with a craft knife.
Next up I sprinkled some Lindy's Magical powders ( you can use Brushos too) onto a tim holtz acrylic stamping block. Now this was a happy accident as the block has a grid system etched into it so you can line up your stamps and I sprinkled the powders onto this side by mistake as opposed to the smooth side.. I gave the block a spritz of water and then used the block as a stamp to transfer the now dissolved powders onto the tag. This is where the happy accident occurred as you can see it picked up the grid lines of the block too. What a cool effect. This was then attached to the long tag with DecoArt Decoupage Matte Glue.
Next I applied a coat of white DecoArt Media Gesso to two of the Tando Square frames and dried with a heat tool. I then gave them a spritz of water and applied the Lindy's magicals as a watercolur and dried. I then splattered with a brush another colour from the set of Lindy's magicals to both frames and then inked the edges with black archival ink when dry.
I then gave a coat of DecoArt Chalky Finish in Carbon to one of the Tando Mini Keys and added a chinese coin to the top of it as shown.
I then stamped two butterflys from Chocolate Baroqus Butterfly mind stamp set with versafine ink onto a piece of vellum. Then heat embossed with white embossing powder. The butterflies were then fussy cut out. I added a wash of colour to the smaller of the butterflies with Lindy's magicals.
I then glued the frames to to the tag and then glued the key on top of the frames. The butterflies were then glued and layered together and some black gems added to form the body. This was then attached to the key as shown.
I then stamped the sentiment from the Butterfly Mind Stamp set with black Archival Ink and cut out. I then layered onto black card stock and trimmed before applying to the tag base.
I then cut a piece of Tando Grey Board to size and attached a piece of the same white card stock to create a totally white base. I could have painted this but I wanted the same colour base  as the tag.
I am quite pleased how this happy accident turned out.
Thanks for stopping by today
Fiona xx

PRODUCTS USED.


OTHER PRODUCTS.

Lindy's Stamp Gang Magicals- Deutch Deserts.

White Card Stock 300gsm

Black Archival Ink Pad

Versamark Ink Pad

WOW White Embossing Powder

Tiny Black Gems.

Small Chinese Coin


Wednesday, 31 March 2021

Spring Binder


Morning All Fiona here with a project for this weeks theme on the blog 'SPRING'


I have decorated a little Tando A6 Binder in a spring theme and of course
I just had to add a Butterfly.
First up the binder was given a coat Of DecoArt Chalky Finish in Carbon on both the inside and out.
I then applied two coats of DecoArt Ultra Matte Varnish to seal the binder.
A distress Ink sprayed background  was created with some stamping and heat embossing to create a panel for the binder.
More heat embossing on the Tando Moroccan Grid. Also the flowers and the butterfly were heat embossed on Duralar Film for a Dreamy effect.
 An antique mirror effect was applied to a tando acrylic circle and circle frames cut from Tando Grey Board using a circle die were added. 
Finally a Tim Holtz chipboard quote added to finish.

I am embracing the bright colours and loving it.
Thanks for stopping by today
Stay Safe
Fiona.

PRODUCTS USED.


OTHER SUPPLIES.

Tim Holtz Distress Ink Spray Stain- Picked Raspberry, Candied Apple and Mustard Seed.

Tim Holtz Stamps- Ledger Script, Urban Elements, Urban Tapestry.

Tim Holtz Quote Chips

Ranger Distress Archival Ink- Picked Raspberry and Vintage Photo.

Paper Artsy Tracy Scott Stamps- TS052

WOW Embossing Enamel- White

Cosmic Shimmer Ultra Thick Embossing Enamel- Vintage Tarnished Gold

Versamark Ink Pad

Duralar Film


Wednesday, 9 September 2020

A Vintage Tag


Hi there!

Celia here with a tag for our ‘vintage’ theme this week. I have been making a few vintagey things recently, which is a change from my usual bright colours.

I picked out a couple of tando tags (size 5 and size 9) and a media board. I embossed the small tag with an embossing folder, then primed the tags with Whisper chalk paint and the media board with Relic. Then I added some washes of Yellow Iron Oxide and Raw Umber to age them, followed by English iron oxide on the smaller tag.


Then I added some stamping to the large tag, using the Harebell stamps from Chocolate Baroque. Also some random texture stamps in brown Archival. Then I used some crackle paste round the edges of the small tag and painted it brown when dry, followed by black antiquing cream and some silver gilding paste.


I found an old picture of my granny, scanned it and reduced it in size & printed it onto photo paper. I gave it a coat of matte medium then some One Step Crackle. When this was dried I used grey Antiquing Cream to age the photo. For the media board, I wetted the edges and used a craft knife to peel open some of the layers. Then edged in Paynes Grey and finally treasure gold. 

Then I added a few bits and pieces of fabric, washi tape and buttons before glueing the tags together. My granny was an excellent dressmaker, so the buttons and fabric seams appropriate. I edged the large tag with brown ink, then added some vintage gold embossing powder.


Here’s the finished tag. The greyboard is great for throwing lots of different mediums at so you can really go to town when ageing a piece. 


Thanks for stopping by!

Celia x

Sunday, 8 December 2019

December Colour Theme - by Nikki


Morning all,

December's Colour Theme contains the most beautiful Jewel colours!

I hope you've managed to catch my teammates pieces this week using these colours.  I thought I'd share a make with you today too.


I used one of Tando's Gothic Arch kits, to create this steampunk flower piece.

The background was crackled, and then sponged with some of the colours of the theme.


I stamped the beautiful flowers twice, and used watercolour pens to colour them in. 


I layered the flowers up and added a sentiment to finish.

Thanks for stopping by this week.

Best Wishes,

Nikki
xx

Products Used:

Tando Creative Gothic Arch Layered Frame kit
Chocolate Baroque Steampunk Flowers

Wednesday, 20 November 2019

Anything Goes Week - Mini Book Case by Nikki K


Morning all,

It's Anything Goes week so I have decorated one of Tando's fantastic Mini Book shelves.  They are the perfect storage for your little book collection.

I started by painting all the pieces in Rouge Chalk paint.  Be careful to avoid the tabs if you can, it makes it easier to glue your pieces together afterwards.  I used a brayer to paint, it gives a nice smooth even finish with not too much paint.


I took a Chocolate Baroque Feather stamp and stamped the whole bookcase with tiny feathers.  This was followed by a coat of Crackle medium, but at this stage my crackle failed for some reason, so I went back in with a coat of Matte Varnish, which I actually preferred the look of anyway.  You can always cover up or change the look of something, if all else fails, paint it again!  We all make mistakes, and it's more fun experimenting.


I covered two Tando Mini feathers in modelling paste to make them look more realistic, and when dry painted in black gesso.  These were glued to the back of the bookcase top shelf.


I edged the bookcase in Iced Espresso Metallic Lustre to finish.

Now I need to make more mini books to fill it...

Best Wishes,

Nikki K
xxx


Tuesday, 15 October 2019

Mini Houses

Hi there, Celia here!

This week it's 'anything goes', so I thought I'd have a little play with these cute mini houses. I decided to go colourful and a bit fairy. I embossed them first for a bit of texture, then primed each of them in a different colour using chalk paint. 

Then I stamped them with the Chocolate Baroque Abstract Fragments stamps and added some washes of Decoart Fluid Acrylics, allowing them to pool around the texture from the embossing.

For the rooves, I first primed them in Relic chalk paint, then stamped one of the Abstract Fragments stamps with Versafine and heat embossed with a Cosmic Shimmer powder to get the tiles effect. 

I also used heat embossing powder on the doors and windows.

A bit more stamping with some flowers, then assembled. I think these houses are really cute - you could make a whole village!

Thanks for stopping by,

Celia  x

Saturday, 28 September 2019

Chocolate Baroque with Lisa

Hi lovelies, today's blog post is showcasing a great combination of two amazing British companies - Tando Creative and Chocolate Baroque. A match made in heaven!!!


Here is the Tando tag I created using a Chocolate Baroque stamp. 


First, I painted a Tando tag with yellow and blue DecoArt Premium Acrylic paints. Then painted over it with white Gesso. When it was dry, I rubbed over the tag with a damp baby wipe to distress the surface of the tag.
I then stamped directly on to the tag using Chocolate Baroque's 'movie strip collage' A5 Rubber Stamp. I coloured in the stamped flower using my lovely new Koh-I-Noor watercolour pencils. I then painted a section of the Tando Extra Thins - Wire and added it to the tags. I finished with adding some rusty orange thread to the tag hole. 


I hope you enjoyed reading about the wonderful collaboration of Tando and Chocolate Baroque products.
Be sure to check out all the products available on the website's using the links at the top of this post.

Toodles for now,


Here are the products I used...

Movie Strip Collage individual unmounted rubber stamp  - A6   Extra Thins: Wire

Thursday, 26 September 2019

Chocolate Baroque Week- Fiona Randall

 
Morning everyone Fiona Here with a Tag for Chocolate Baroque week here on Tando Creative.
 
Chocolate Baroque is a small independent art and craft company, based in the historic market town of Barnard Castle in County Durham in the North-East of England and is owned and run by Lesley and David Wharton. Lesley and David produce an extensive range of natural rubber art stamps. The rubber stamps are made in house, by David, to our very exacting quality standards.
 
So using Chocolate Baroque's fabulous stamps and Tando Creative substrates are a match made in heaven. So here is the tag that I created.
 
 
I used a Tando  size 9 Tag ( 160x90mm) as my substrate base. I then embossed a piece of 300gsm cardstock with a woodgrain Embossing Folder. I then applied Distress Ink Sprays  and Distress oxides to colour and age the cardstock. This was then cut to shape and glued to the tag base and the edges inked with walnut Stain Distress Ink. I used the same coloured ink sprays to make a small cardstock panel and then stamped using the border stamp from Chocolate Baroque's Texture Fragments Rubber Stamp Sheet with Potting Soil Archival Ink. I then applied Distress ink to Some Tando Harlequin Extra Thins and then stamped with the text stamp from Chocolate Baroque's Butterfly Poppy Collage Rubber Stamp Sheet in Potting Soil Archival Ink. I then Stamped the Large Butterfly also from The Butterfly Poppy Collage Stamp sheet and applied watered down distress ink using a brush to colour. The cardstock panel was then mounted onto a piece of Tando Grey Board cut to size and the edges Inked with Walnut Stain Distress Ink.. All elements were then mounted onto the tag, some burlap string was pulled apart and added also and to finish sentiment strips added.
 
 
Here's a close up view of the detail.
 
 
I hope you have enjoyed the process of how this all came together. I do hope you will stop by Chocolate Baroque and peruse all the wonderful stamps Lesley and David has to offer.
Do check back to see what the other Design Team Members have in store for you this week.
Fiona x
 
Products Used.


Other Supplies.
 
Ranger Distress Ink Sprays- Frayed Burlap, Vintage Photo, Walnut Stain.
Ranger Distress Oxide- Wheathered Wood
Ringer Distress Ink- Walnut Stain
Ranger Archival Ink Pad- Potting Soil and Black
Tim Holtz 3d Embossing Folder- Lumber
Burlap String