Showing posts with label Gothic Arch. Show all posts

Tuesday, 4 July 2023

Gothic Window Frame Project- Fiona Randall


Morning lovely people. For my latest Tando DT Project I have created a wall plaque using one of my new Gothic Frame Designs recently launched and now available to purchase in the Tando Shop.


I have used the large Gothic Frame Style 1 for this project. 
To start I used my Fancy deep frame which I assembled and glued omitting using the top panels. I then applied a layer of modelling paste all over the back panel with a pallet knife to create texture and before it dried I scored lines to create a large brick patten.
 I was going for a Castle/Church look here.
 Then created another frame to go around the Gothic Arch frame using foam board. 
I rounded the edges using a curved woodworking tool and then sanded to smooth. 
I also made the corbals that sit under the frame from foambord too and gave them the same rounded corner treatment as the foam frame. 
I then gave the foam frame a coat of texture sand paste and also the back panel in places. Once dry the foam frame and back panel were given a coat of DecoArt Americana Acrylic in Dove Grey and dried with a heat tool. 
Washes of DecoArt Media Fluid Acrylic in Paynes Grey was the added and dried with a heat tool. Washes of DecoArt Media Fluid Acrylic in Sap Green was then applied in random places to give an aged stone effect.
I then applied DecoArt Media Fluid Acrylic in Dark Grey Value 3 to the lattice layer of the large gothic frame.
 I then mixed some of the dove grey paint into the dark grey paint and made a lighter shade and to this mix I added some texture sand paste and applied with a stipple brush to the ornate layer of the Gothic frame and dried with a heat tool.
I then dry brushed some dove grey over the frame to pick up and highlight the texture. The gothic frame layers were then glued together and inserted into the foam frame frame which creates that recessed look.
 I then printed a stain glass window effect onto an inkjet transparency sheet and cut to size and applied to the back of the gothic Arch Frame.
 I added tiny lights to the deep fancy frame base and then glued the Gothic Arch in place as shown.
 The corbals were then glued in place under the window as shown. To finish I added some Ivy Rub on Transfers in opposite corners for interest. 
The above photo shows the finished project with the lights off.


This shows the project with the lights switched on.
Thank you for stopping by today. I hope you enjoyed my little project. I am quite pleased how this one turned out.

Fiona xx

PRODUCTS USED


OTHER PRODUCTS

Foam Core Board
Inkjet Transparency Sheets
Micro Tiny Lights
Stamperia Rub On Transfers.


Sunday, 8 December 2019

December Colour Theme - by Nikki


Morning all,

December's Colour Theme contains the most beautiful Jewel colours!

I hope you've managed to catch my teammates pieces this week using these colours.  I thought I'd share a make with you today too.


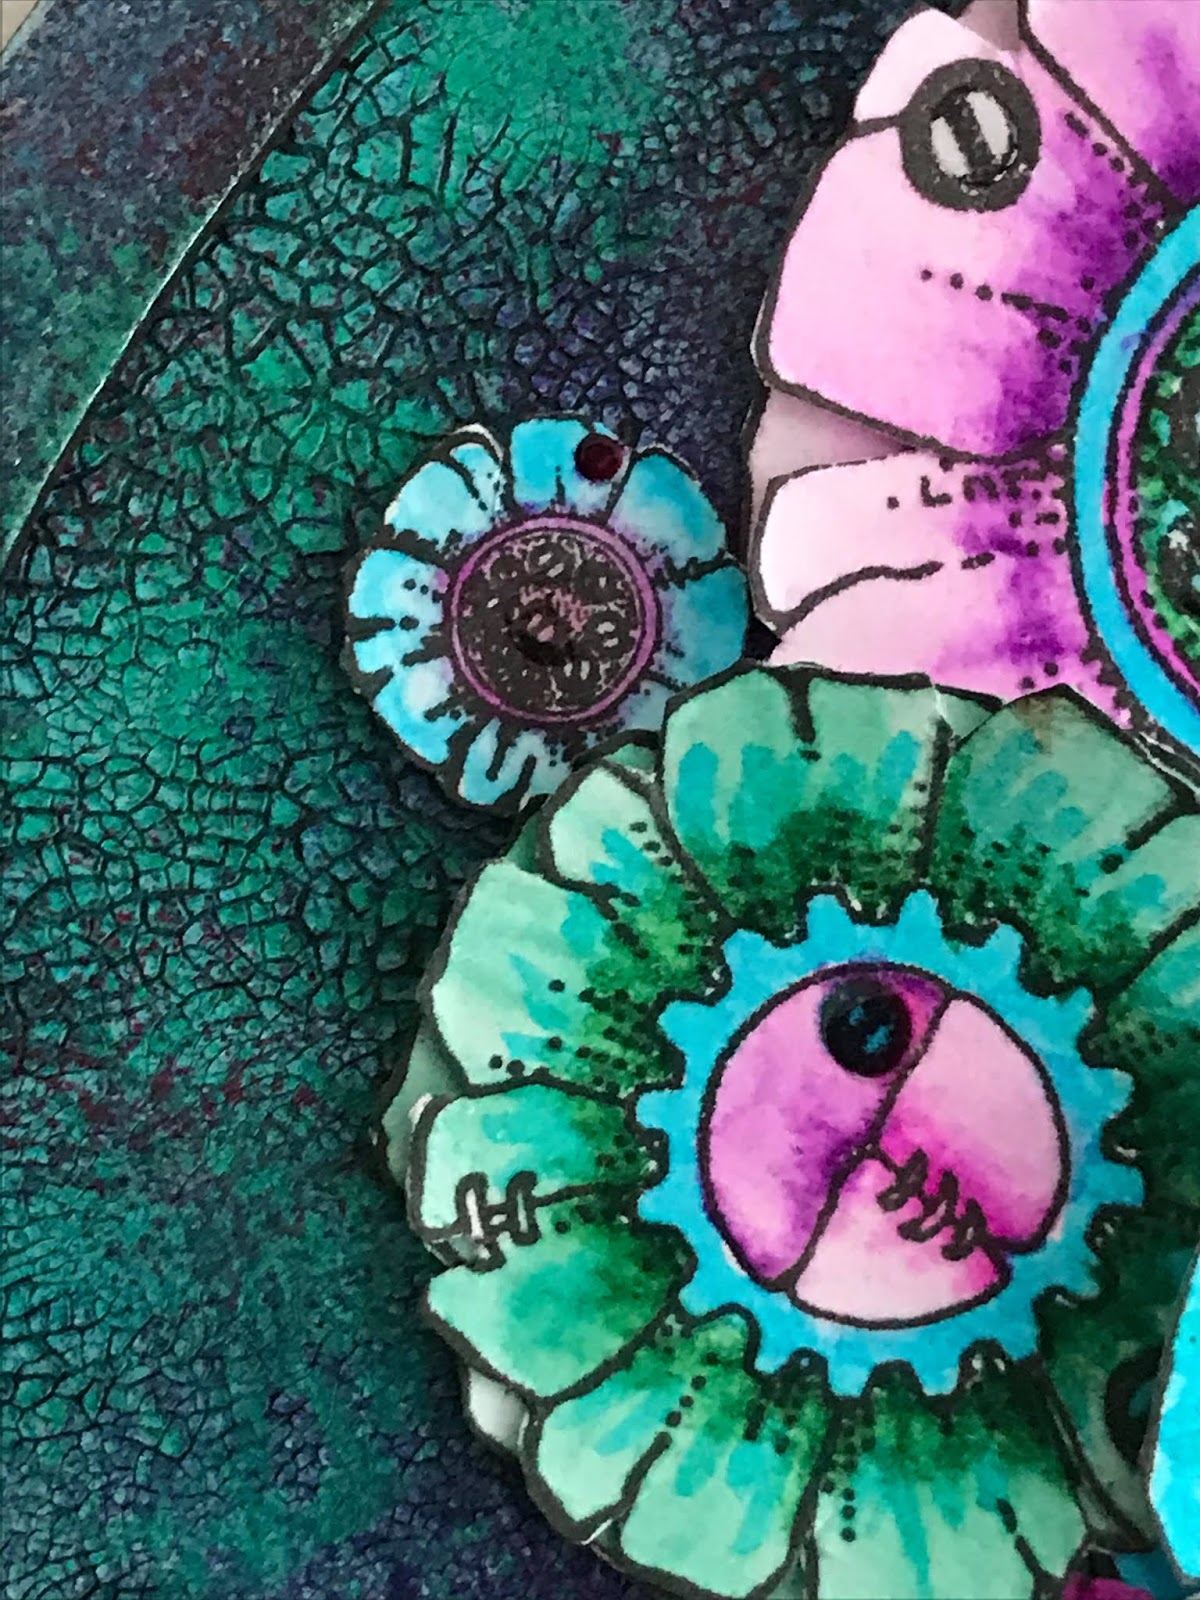
I used one of Tando's Gothic Arch kits, to create this steampunk flower piece.

The background was crackled, and then sponged with some of the colours of the theme.


I stamped the beautiful flowers twice, and used watercolour pens to colour them in. 


I layered the flowers up and added a sentiment to finish.

Thanks for stopping by this week.

Best Wishes,

Nikki
xx

Products Used:

Tando Creative Gothic Arch Layered Frame kit
Chocolate Baroque Steampunk Flowers

Thursday, 22 March 2018

Crackle Paste/Glaze week - with Nikki


Morning everyone,

I kind of mis-read the brief for this week, and thought it was texture, but that's next week.  So my make has a mix, but there is crackle glaze there :)

I started by using a small Gothic mdf arch from Tando, and put some black gesso through a brick stencil for a little texture.  Next was Texture Sand Paste all around the edge with a palette knife. 


Paint over the whole arch with white Gesso:


Make a very watery wash of Pthalo Turquoise and Pthalo Green blue, and add the turquoise at the top, merging into the green blue towards the bottom.  Try and keep inside the arch.  The paint will pool nicely in areas.


Take Medium Grey Value 6, and paint your edges, and the brickwork carefully.  Water some Paynes grey slightly and use to deepen the edges of the bricks and highlight the arch texture.


Add a wash of Quinacridone Gold, in areas, and splatter some over the blue area, not fully covering the whole arch.  Mix a little Pthalo Green Blue with Quin Gold, and repeat the wash just on the right hand side, this gives a bit of depth to the colours.  Stamp and cut out images from the Spook set (Illusionary Artists).  Colour the Gargoyle with some of the green-gold wash you have left to tie in the colours.


I also stamped in Versafine Toffee ink some text across the background of the tag.


Emboss the crosses with Stampendous Aged Green Embossing Powder, and then give a Payne's grey wash over the top, to age further. 


Stamp some words onto card, and emboss with clear embossing powder.  Make a wash of Quin Gold and Payne's Grey, and coat the card.  Edge with neat Paynes Grey. Heat dry.


Glue the stamped elements on the Arch, adding some more Paynes Grey around the Gargoyles feet on the brickwork to ground him, just a shadow.  Add Crackle Glaze on top of the Gargoyle and leave to crack. 


Here are some close-ups and the finished piece:


Hope you like him :)  Remember to catch up with the rest of the team's makes this week too,

Thanks for stopping by,

Best Wishes,

Nikki K.
xxx