Showing posts with label Embossing Powder. Show all posts

Sunday, 29 January 2023

Colour Inspiration January 2023- Fiona Randall


Hello and welcome to my contribution for the January Colour Inspiration.

Here are the colours provided to kickstart our mojo for the New Year.


For my project I decided to construct one of the Tando Mini Books.


I started by constructing the book and gave it a coat of DecoArt Americana Chalky Finish in Carbon. I then gave it a coat of DecoArt Media Ultra Matte Varnish when dry to protect and seal.
I then cut two pieces of cardstock for the back and front covers. These were sprayed with spray stains from the Steampunk Soiree set from Lindy's Stamp Gang and dried with a heat tool. Stencilling was added with white gesso and stamping with Black Archival Ink. The edges were also inked before adhering to the front and back covers of the book. Nect up I embossed a Small Tando frame with some Embossing Powder. I then stamped a Butterfly from a  Chocolate Baroque Stamp Set onto white card and fussy Cut out. The frame was attached to the front cover and the butterfly glued into place as shown. To finish I added sentiment strips made with a Dynamo Label maker and attached to the front cover as shown.
A quick and easy project with limited supplies to kick start the New Year.
Thanks for taking the time to stop by and read.
Hugs Fiona.

PRODUCTS USED.


Other Products Used

Lindy's Stamp Gang Steampunk Soiree Shimmer spray set


Friday, 11 June 2021

Butterfly Week- Fiona Randall


Morning all,

 The theme on the blog this week is 'BUTTERFLIES'

You know that I have a passion for this subject matter so this was a no brainer for me.


I used one of the Tando Size 8 Tags and a Piece of Tando Grey Board cut to size to mount the Tag onto to create a panel. A piece of watercolour cardstock was cut to fit the tag and glued into place.
The tag was stamped with the leaves and embossed in gold embossing powder. This was then Water coloured with Lindy's Magicals and Distress Spray Stains and finally a few splatters added with gold paint. 
The flowers were stamped and gold embossed onto vellum and fussy cut. The Butterfly was stamped and given the same water colour treatment as the leaves on the tag.
The flowers and the butterfly were then added to the tag with off cuts of Grey Board to give depth and dimension. Finally a simple sentiment was added as shown.
The panel was given a coat of DecoArt Chalky Finish and the edged by swiping gold wax.
The Tag was then mounted onto the panel with off cuts of grey board to give depth to finish.
I love how this has turned out and the soft dreamy effect I was going for I think I achieved.

Thanks for stopping by today
Stay Safe
Fiona xx

PRODUCTS USED.


Deco Art Chalky Finish- Honour.

DecoArt Media Fluid Acrylic- Metallic Gold

OTHER PRODUCTS

Watercolour Cardstock

Vellum Sheets

Stampendous Gold Embossing Powder

Versamark Embossing Ink Pad

Lindy's Flat Magicals Set- Summer Meadow

Distress Spray Stain- Pumice Stone

Finnabair Wax- Aged Brass

Stampendous Stamps- Jumbo Butterflies

Paper Artsy Stamps by Tracy Scott- set TS058

All and Create Stamp set by Tracey Evans- Butterfly Meadows


Friday, 9 April 2021

April Colours- Butterfly Tag- Fiona Randall


Morning All Fiona here today with a little project for this Months Colour theme.


Lovely soft shades on this one.


Iv'e used a Tando Size 9 tag as my substrate base. To this I added stenciling with DecoArt Modelling Paste and colour with Distress spray stains and Gesso. A Stamped and embossed flower onto vellum and of course my favourite Tando Layered Butterfly. A piece of Morrocan Grid and some natural sisal coloured with the Distress Ink sprays to tie it all in together.

Thanks for stopping by today
Stay Safe
Fiona.

PRODUCTS USED


OTHER PRODUCTS

Tim Holtz Distress Spray Stain- Speckled Egg and Iced Spruce

Tracey Scott Stamps Set- TS056

WOW Embossing Enamel-White

Natural Sisal

Vrsamark Ink Pad


Wednesday, 9 December 2020

A Christmas tag by Celia


 Hi there Christmas Crafters!

I’m just starting to get into the Christmas mood now - I’m a slow starter! To kick off Christmas week, I’ve  used one of Fiona’s gorgeous layered tags and turned it into a Christmas bauble. I was channelling the vintage vibe for the colour scheme.

I started off by priming the top tag with white chalk paint so that my colours would be nice and vibrant. Then I painted some patches of bright coloured chalk paints and applied a layer of crackling medium once dry. 


When this was dry I started on the centre. I pulled out lots of bright coloured embossing powders to make my bauble. I painted a section with the Wow embossing brush, being careful not to apply to much of the medium, then added the embossing powder. I did this with each colour. 


Before doing the border, I brushed on a coat of pale green chalk paint, leaving a small border around the cut out section. This crackled very quickly, and produced the colourful crackle effect I was hoping for.


 For the border I carefully drew round the edge with an embossing pen and applied a grungy copper embossing powder (Seth Apter’s Crusty Copper from the Metalz set by Wow) and knocked off any bits that were in the wrong place with a dry brush, before melting. Then I created the top part of the bauble in the same way. I painted the backing tag in gold before adhering it to the top tag. To finish, I went round the edges with some Burnt Umber acrylic.
I hope you get time to do some Christmas Crafting!

Celia x

Wednesday, 9 September 2020

A Vintage Tag


Hi there!

Celia here with a tag for our ‘vintage’ theme this week. I have been making a few vintagey things recently, which is a change from my usual bright colours.

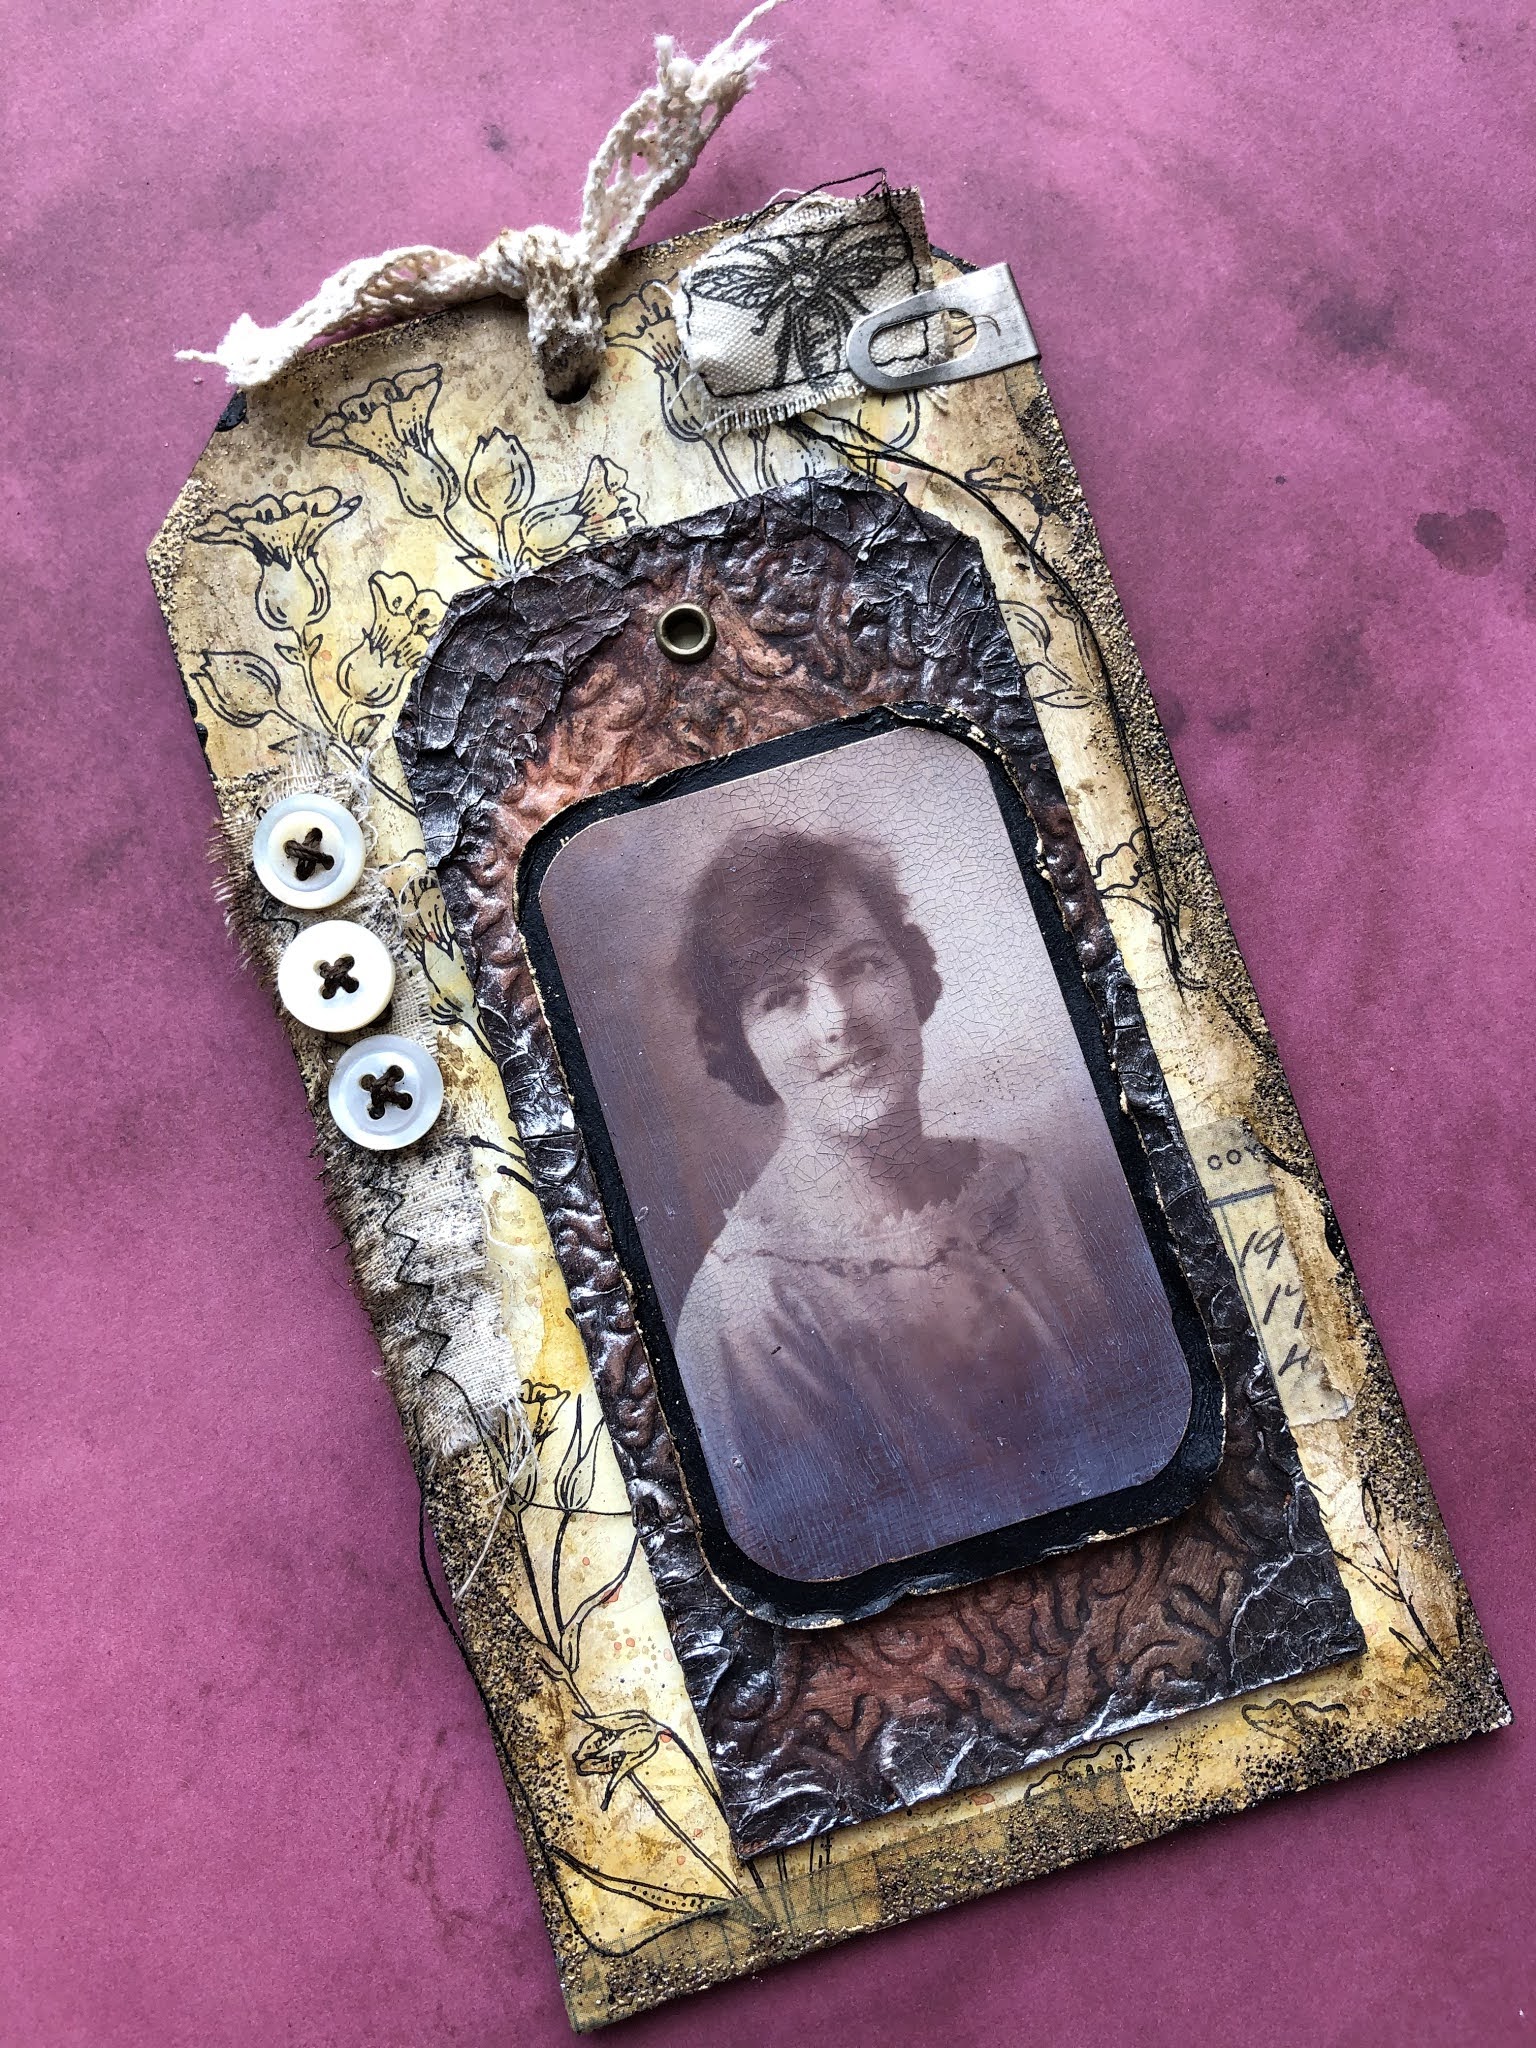
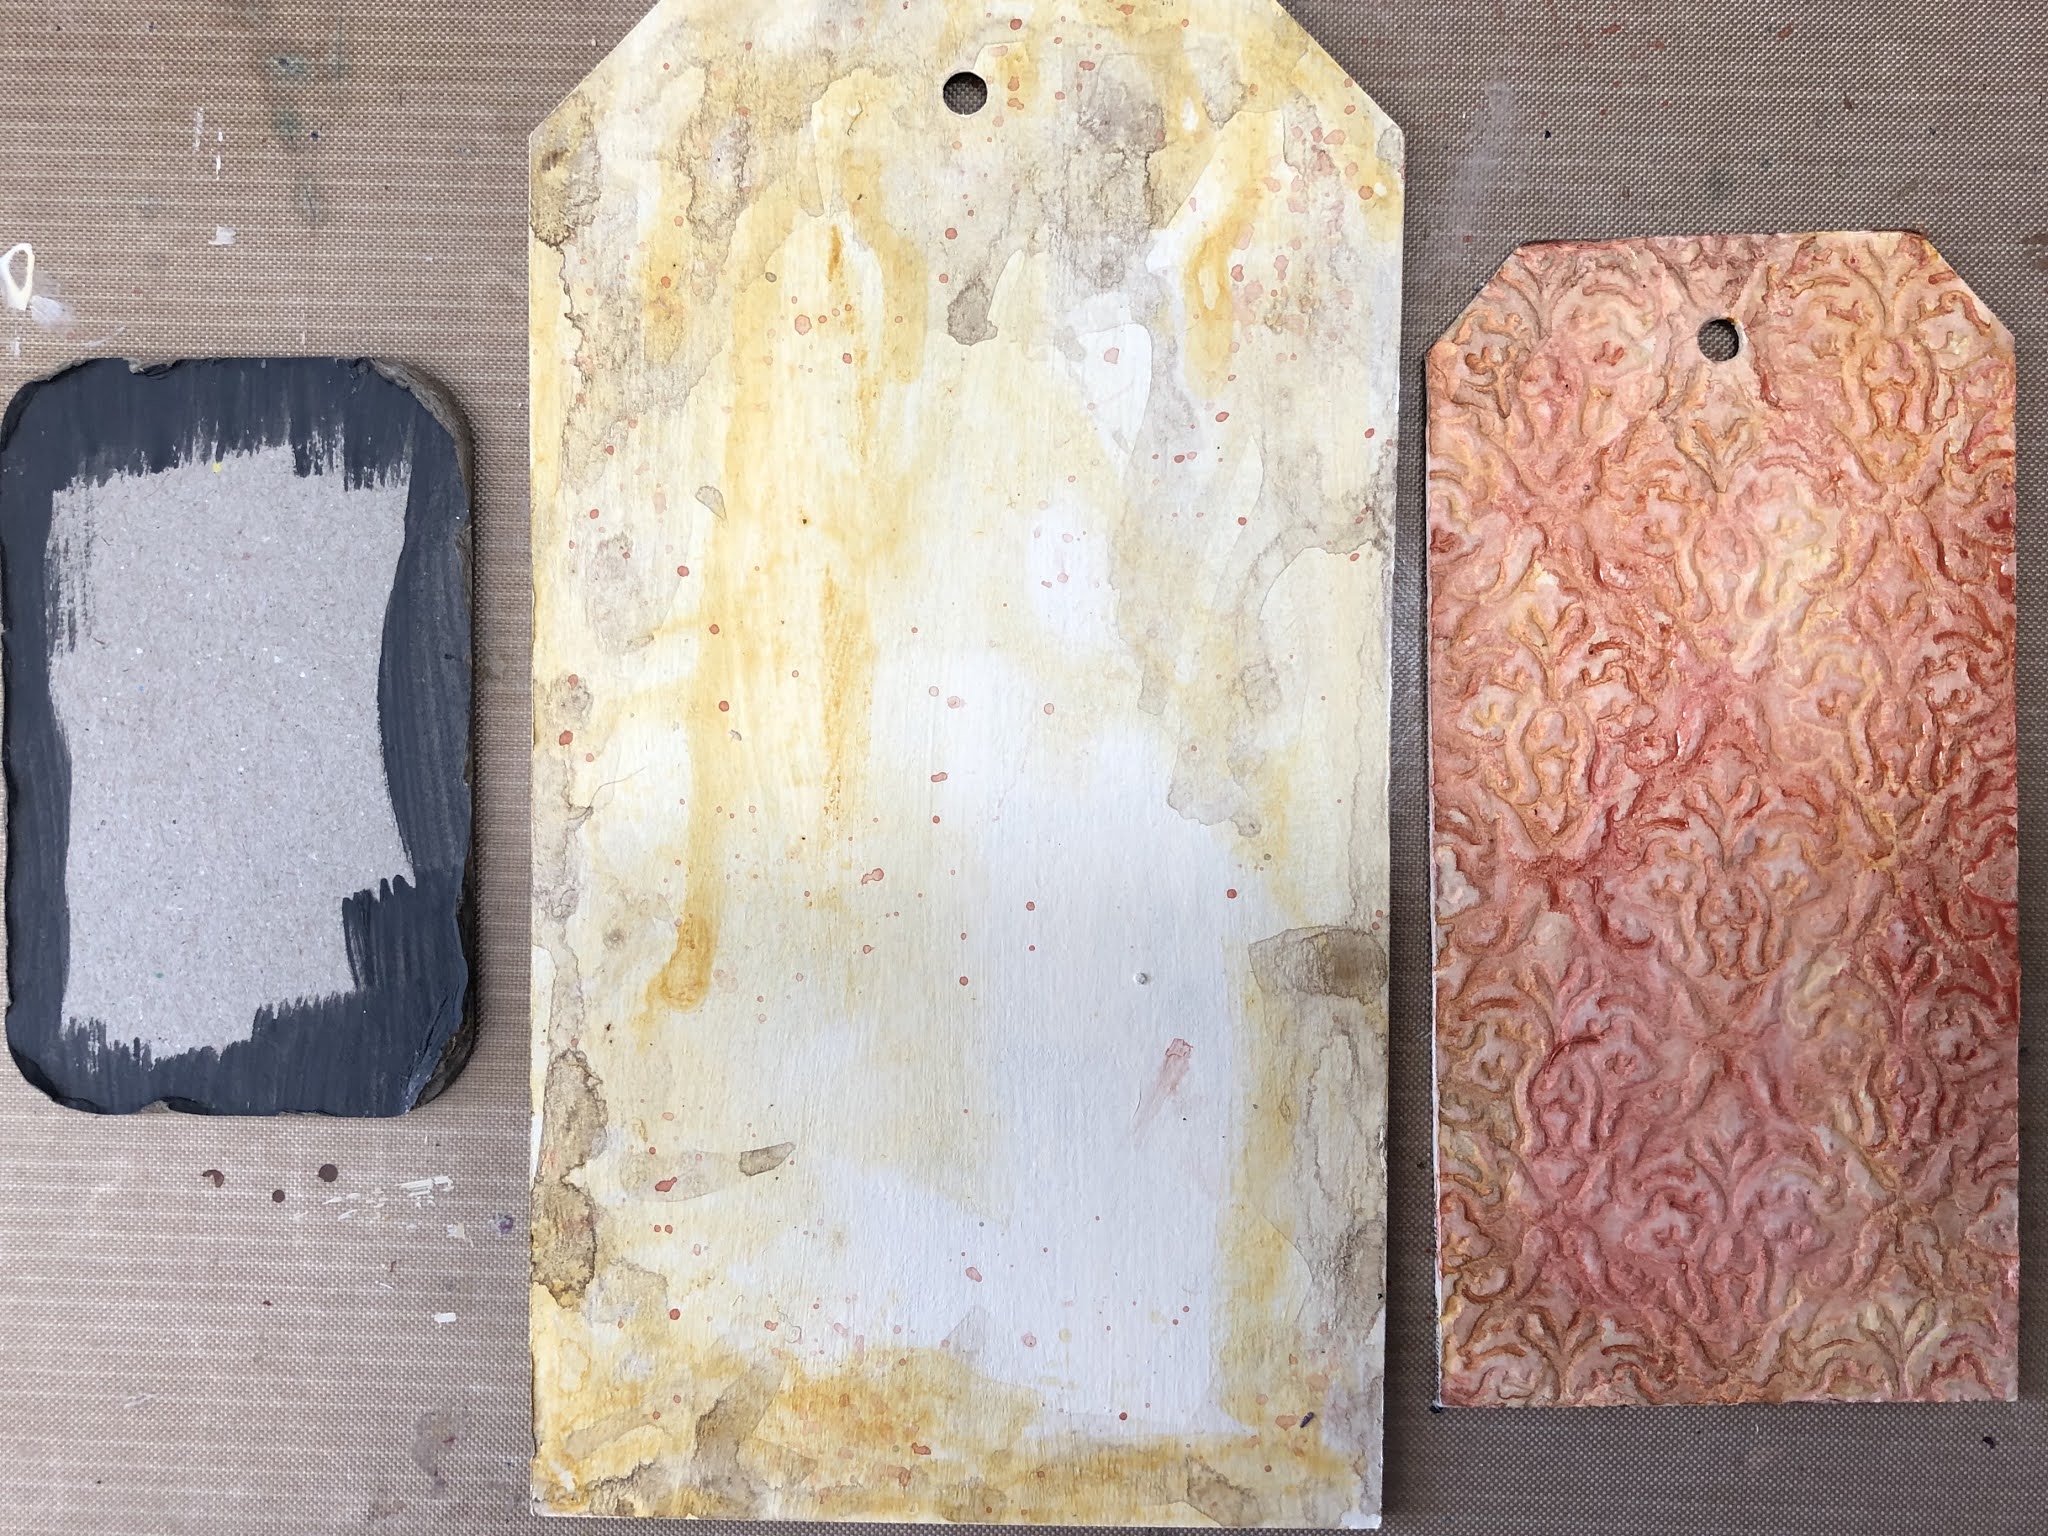
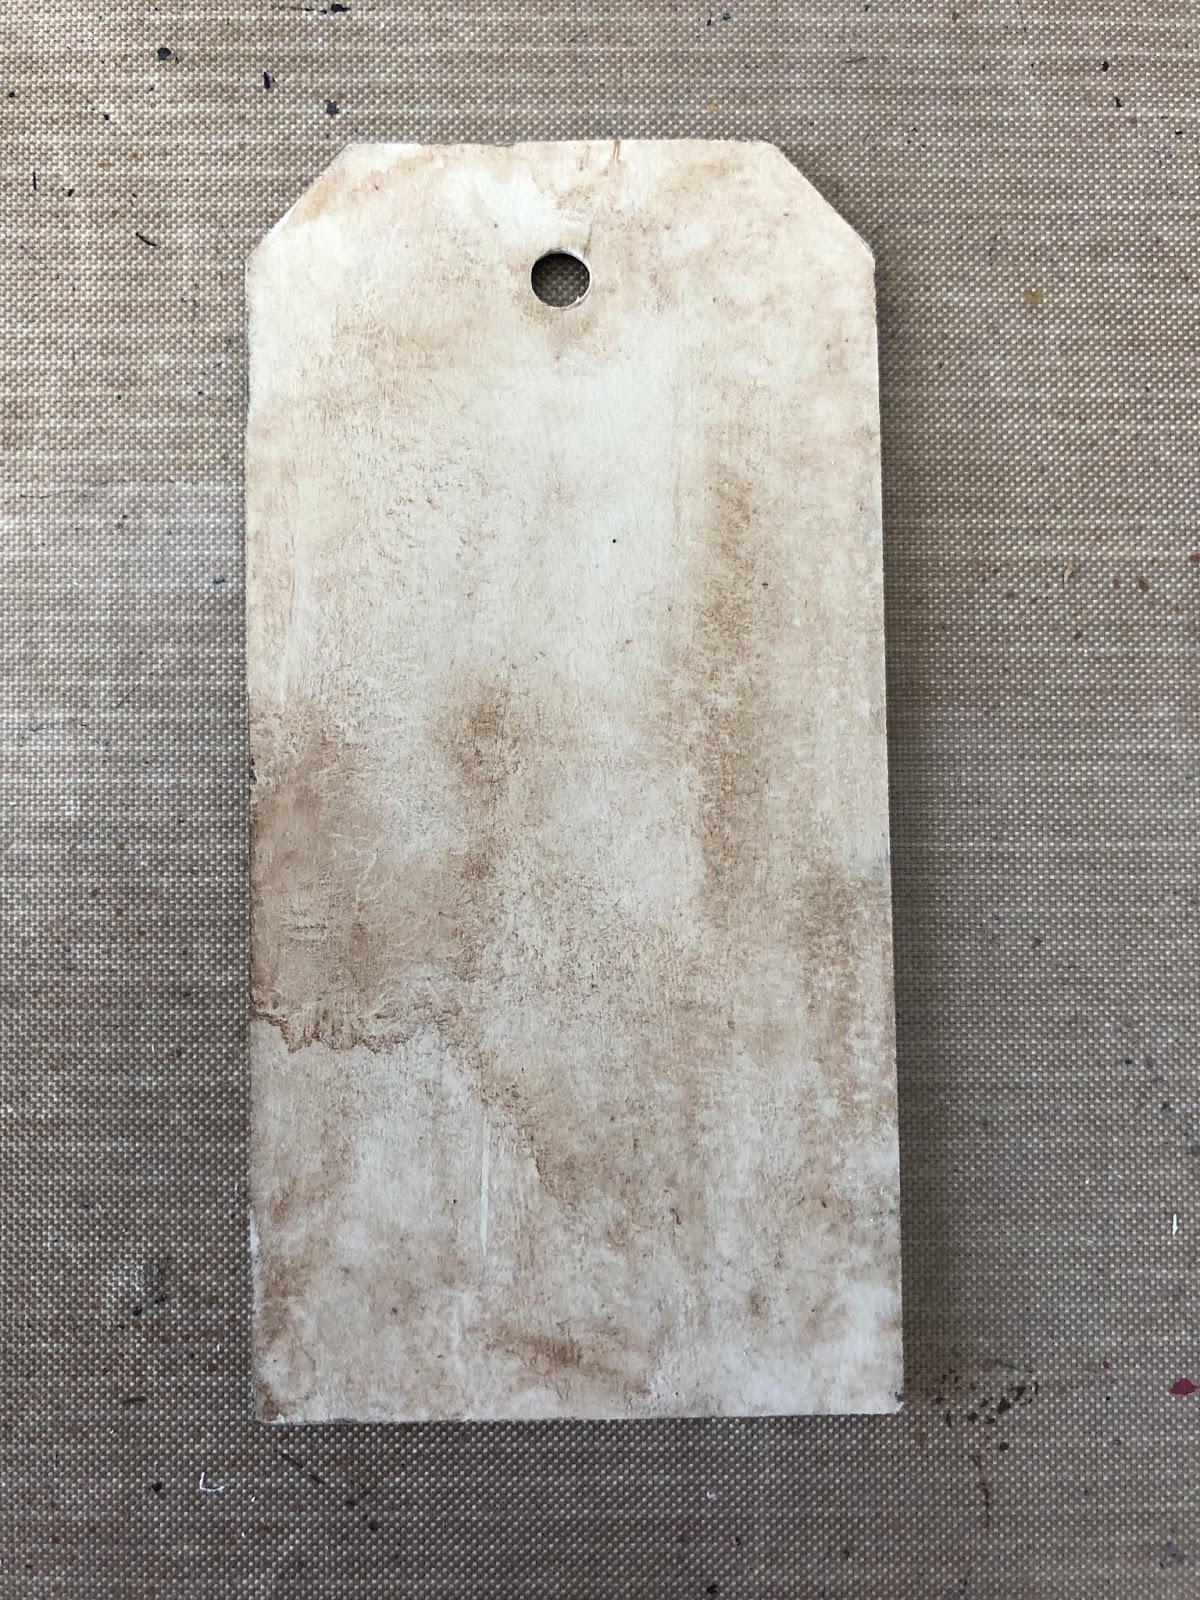
I picked out a couple of tando tags (size 5 and size 9) and a media board. I embossed the small tag with an embossing folder, then primed the tags with Whisper chalk paint and the media board with Relic. Then I added some washes of Yellow Iron Oxide and Raw Umber to age them, followed by English iron oxide on the smaller tag.


Then I added some stamping to the large tag, using the Harebell stamps from Chocolate Baroque. Also some random texture stamps in brown Archival. Then I used some crackle paste round the edges of the small tag and painted it brown when dry, followed by black antiquing cream and some silver gilding paste.


I found an old picture of my granny, scanned it and reduced it in size & printed it onto photo paper. I gave it a coat of matte medium then some One Step Crackle. When this was dried I used grey Antiquing Cream to age the photo. For the media board, I wetted the edges and used a craft knife to peel open some of the layers. Then edged in Paynes Grey and finally treasure gold. 

Then I added a few bits and pieces of fabric, washi tape and buttons before glueing the tags together. My granny was an excellent dressmaker, so the buttons and fabric seams appropriate. I edged the large tag with brown ink, then added some vintage gold embossing powder.


Here’s the finished tag. The greyboard is great for throwing lots of different mediums at so you can really go to town when ageing a piece. 


Thanks for stopping by!

Celia x

Wednesday, 17 June 2020

Window tag

Hi there!

Celia here with a tag for ‘anything goes’ week. I have chosen one of the gorgeous layered tags from bundle 2. It looks so much like a stained glass window so I decided to have a smudgy scene peeping through the window.
I started by gessoing the part that will show through and the front, so that the colours will be nice and bright.
I smudged on some blues and greens using Decoart Media fluid acrylics, blending the patches of colour with my fingers. Then I stencilled over an Art by Marlene stencil in the same colours.
I painted the front tag in PaperArtsy Bougnavilia for a base. Then I stencilled over with a Stamperia tile stencil using Dioxadene purple, then a text stencil using Quinacridone violet.
Finally I stamped over some crackle with black Archival ink, and added a wash of Paynes Grey to age it a bit.
For the window, I painted the cut out circle with some Wow embossing fluid. You could use an embossing pen or even mat medium. Then I added a mixture of Stampendous aged gold and Wow weathered gold embossing powder. I also embossed around the edge.
Then it was simply a matter of glueing the two pieces together. Here’s my finished tag:
Thanks for stopping by!

Celia x

Friday, 30 August 2019

Heat embossed tag


Hi there!

It's heat embossing week and I would like to show you how I made this embossed tag. I am slightly addicted to heat embossing - I put it on practically everything I make! I'm a massive Seth Apter fan, and he uses it in many different ways. I've used some of his techniques here.

I took a small Tando tag and undercoated it in DecoArt Timeless Chalk paint, then a wash of Burnt Umber fluid acrylic to give a quick background.

Then I stamped over a script stamp with Red Geranium Archival, and one of Seth's stamps in black. The background will hardly show - it just gives another dimension to the top layers.

I used an embossing pen to draw a few random scribbles on the tag, and sprinkled on some chunky gold & white embossing powder by Cosmic Shimmer. I then set this with the heat tool.

Then I swiped the tag with Versamark and sprinkled a layer of Stampendous clear chunky embossing enamel all over the tag. Before you start heating, get a few things ready to sprinkle into the clear enamel while it's hot. I used some Frantage flakes and glitter from Stampendous Encrusted Jewel kits. When the enamel is nice and hot (you can see it moving slightly), remove the heat tool and sprinkle a few flakes or glitter onto the tag. You can use you fingers, some tweezers, or a tiny spoon. Re heat, trying to keep the tool directly above so that the flakes don't get blown about.

Then I repeated this process but with various different embossing powders. You can concentrate different colours in one place, or go for an all over sprinkle. Sometimes you can see patterns develop in the background, and add more colour to those areas. I used Stampendous Seasonings and Aged Scarlet, Emerald Creek Baked Texture Patina Green and Rocky Road, and Andy Skinner's Funky Cold Patina.

Then I swiped the Versamark pad around the edge of the tag and edged it with more Rocky Road. I added another layer of clear chunky, then finally embossed another of Seth's mini stamps EM45 into the hot enamel, inking it first with Versamark. Always use rubber stamps for embossing into hot powder, as the clear acrylic ones will melt!

Embossing powder is a very versatile medium, and can be used in many different ways, as well as for stamping. I hope you feel inspired to have a play! 

Thanks for stopping by!

Celia  x


Thursday, 7 December 2017

Color Theme - Stag Head Christmas Tag

Good Cheer Stag Head Christmas Tag by Dana Tatar for Tando Creative

Hi friends! Dana here today sharing the tag I created for the Color Theme this week. I'm well into my Christmas crafting and found this traditional color palette, with the addition of blue and pink, to be really refreshing. I've been waiting all year to use the Stag Head silhouette, which really represents the Christmas and Winter season in a classic way.

How to Emboss Chipboard with Iced Enamels by Dana Tatar

I covered a tag with one of my favorite plaid patterned papers and then wrapped it with a wide piece of dark green ribbon. Next, I used Iced Enamels to emboss the chipboard stag head silhouette and a couple pieces of wood veneer greenery. Then, I glued the embossed pieces onto the center of the tag. Ribbon is a must-add item for all my holiday crafts. I added a bow tie to the stag and a bright red double bow to the top of the tag. I finished this piece with a pink sentiment sticker that reads "Good Cheer."


You can find the chipboard I used for this project in the Tando Creative Retail Store. We'd love to see your creativity! Share your work with us in Tando's Creative Zone on Facebook.

Tuesday, 7 November 2017

Using Embossing Powders - Nikki K


Morning everyone,

This week is 'Using Embossing Powder's week, and I have used a Tando MDF Media board for my project.

I painted the board in 'Timeless' chalk paint, and whilst still wet, sprinkled Aged Ivory Embossing enamel into the paint.  I think this might be a new technique, and it works if you are careful with the heating, it doesn't burn the paint.  Although you might want a window open, it was a bit wiffy!  It gave a lovely background finish as well.


On top of this I used a Steampunk text stamp, and embossed in gold.  Over that I added a Distressed Sequin waste stencil, and embossed the Ivory again.  Taking a Tando mini heart, I triple embossed the Aged Ivory (just emboss over the top of it 3 times).  Whilst still wet I used  'Steam Pumpkin' stamp but only used the cogs from it, to press into the powder. 


I then had a dilemma, I couldn't find any wings in the house...  so took a Tando mini angel, and cut her wings off! (Mwahahaha)..  I embossed them in the fine gold, and added to the top of the heart.  Next comes a Prima watch fob embellishment from my stash, which I added an image to, and covered in clear embossing powder. 


To build up my hanging, I painted two Tando cogs in a very simple rust, just two colours, Raw Umber and Cadmium Orange Hue.  A piece of gold net ribbon was added, and some holes to the MDF with my Cropodile, it cuts through easily.  I threaded gold jewellery wire and a couple of beads and made a spiral round a paintbrush to hang the piece.


Hope you enjoy the rest of the week!

Best Wishes,

Nikki K. xx

Products Used:
From Tando: 
Tando Creative:  MDF Media Boards, Mini Hearts, Mini Angel, Cogs.
DecoArt Media: Raw Umber, Cadmium Orange Hue.

Others/stash:
Stampendous: Steam Pumpkin stamp, Aged Ivory Embossing Enamel.
Wow:  Fine Gold Embossing Powder.
Prima - Watch embellishment.
Tim Holtz - Ancestors paper doll.