

Start by building the boxes and drawers -
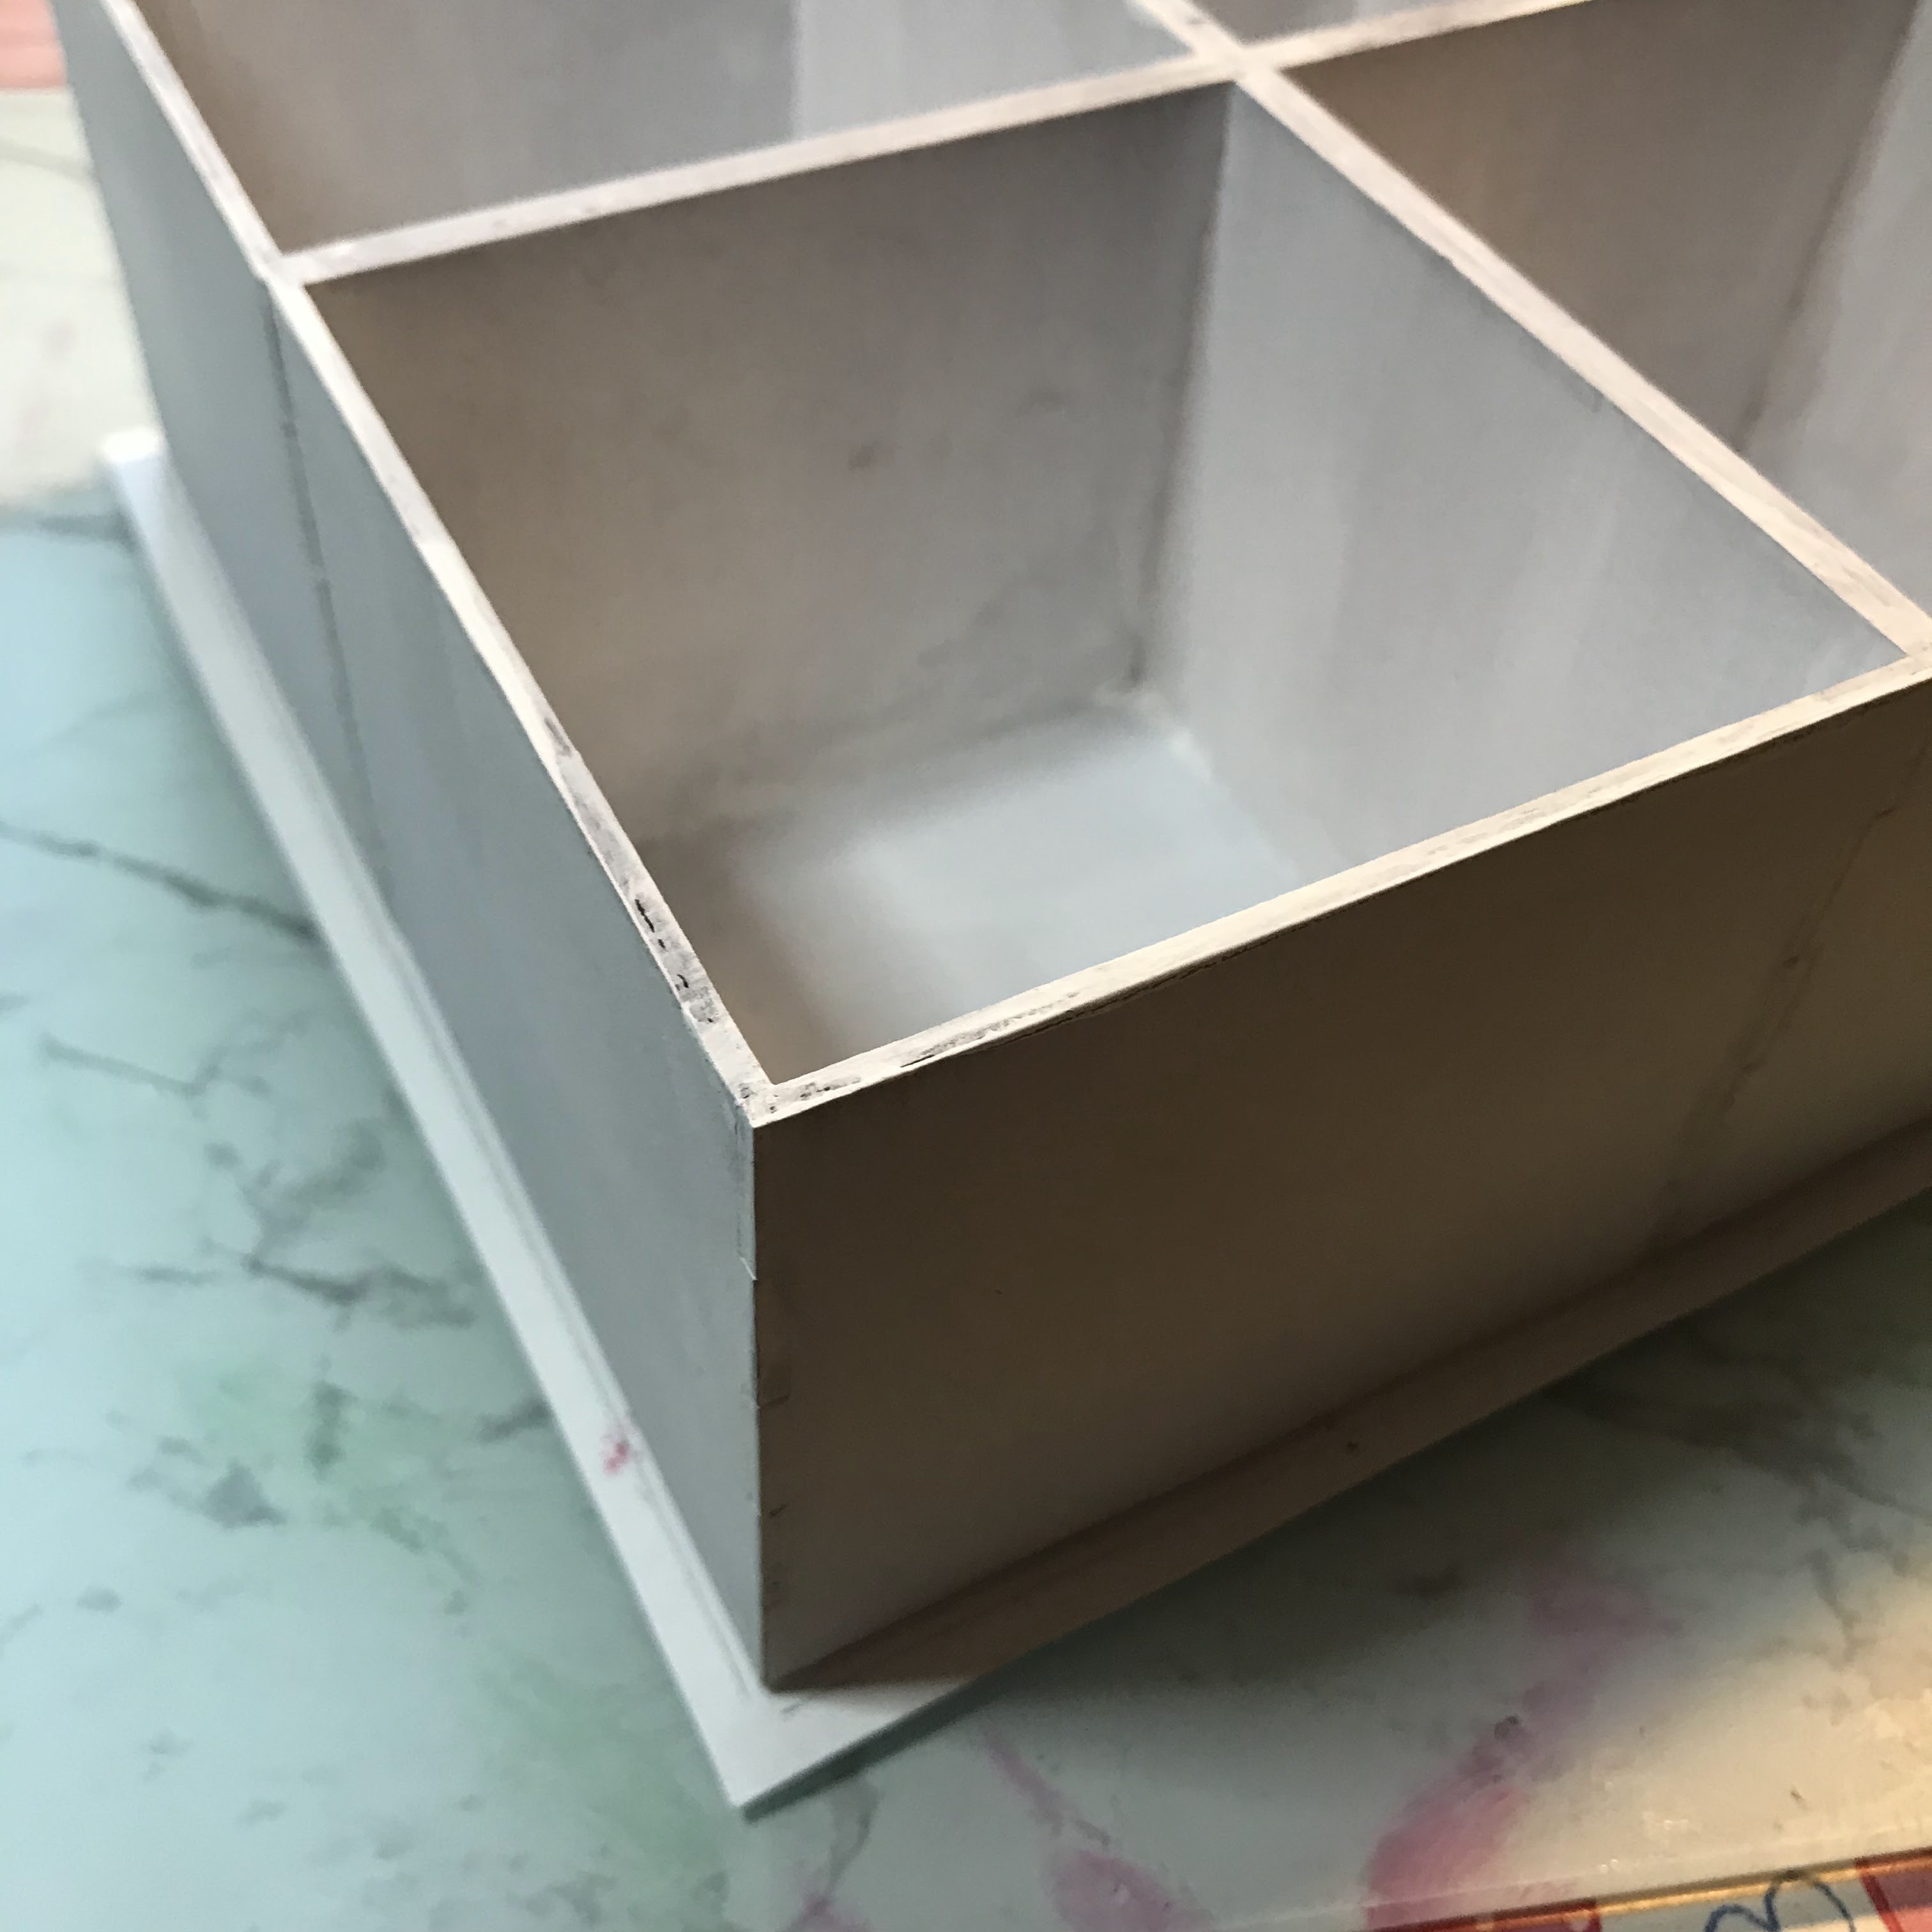
as in previous posts in this series. Next, take the outer boxes and glue them into a square. Make sure you line up the edges and get them 'square'.
Once dry I gave them a coat of gesso, then Blue Harbor, fading to Spa Blue at the sides.
Now, to paint a picture over four separate drawer fronts could be difficult so I took a piece of multi media art paper, and prepared one surface that covers all four drawer fronts.
I started with some old book pages and glued them on to the sheet. When dry I used thin glazes of Santa Red and Forest Green over the text. To add interest I brushed a thin wash of Hansa Yellow (Media Fluid Acrylic) in places over the red and green.
When it was dry I thought the colours were too strong to work as a background so I painted a wash of Titanium White over the top to knock back the colour. Let it dry.


I sketched lightly a simple Christmas tree shape with three layers. With Leaf Green I base coated the top section. With Forest Green with a little Deep Midnight Blue I started the top of next section, then changed back to Leaf Green to blend to the bottom of that section. Repeat for the bottom section.
When dry I dry brushed a little Fawn on the branches, especially those towards the left (that is where my imaginary light source is). Using a large dotting tool, I added the Venetian Gold garland - load the tool and place the first dot at the bottom of the loop, then continue up one side. You should get 5-8 reducing dots from a load. Repeat for the other side of each loop. The wonky star is in this gold, too.
Next, use the large dotter, or the end of a paint brush to add baubles, red, blue, and yellow. When the dots were dry I used a very small dotter to add a glint of light to the top left of each bauble (remember where the light source is).
I used the same gold for the letters behind the tree - Y U L E. The U and L are only partially visible. They are outlined in black, using a very fine liner brush and a steady hand.
To finish add shading around the tree with a wash of Zinc, then spatter white 'snow' over the whole picture.
When it is dry lay the picture face down and rest the glued together boxes on top to mark the outline.
OR, you could use papers from your stash.


Spread glue over the front of each drawer in turn and place on the back of the picture. Line up each drawer with its neighbour and the outline you drew. Leave to dry. I added some weight to them to make sure they made proper contact with the sheet. (Having made sure the drawers were the right way up for the picture!)
Using a sharp craft knife carefully slit between the boxes to separate them. I found by bending the boxes apart a little it was easier to follow the line - take your time as this is the vital part!
Last I painted the outside edges black - not the edges where the picture joins - then a coat of gloss sealer to bring out the colours.

No comments:
Post a Comment