
Watch Di on Create and Craft TV - 19 November 2022 at 11:00 - she'll be showcasing the new 'Casa Bonita Greyboard Pieces' and complimentary 'Casa Bonita Drawing Templates'.

Anyway, I used a large art board, with black gesso and base coated with Lamp Black. I tried various layouts until I found one I liked (and changed at the last minute). First job was to glue on the roofs. As my station is an old, country building I thought one part should have a corrugated tin roof, so I found a piece of cardboard box and stripped away the outer layer revealing the inner shape. I cut it to fit and stuck it on the tall building.
To make life difficult for myself I decided to cut out the doors and windows. To get the sizes I drew around the greyboard windows in the kit. I used a very sharp craft knife and recommend you are very careful if you decide to do the same - or get someone to help if you are not confident.


Having cut out the windows I used part of the sprue (the waste bit left behind when you remove all the pieces) as the crossbars of the window frame. I glued it on from the back. I made window frames from coffee stirrers, and stuck these on the front.
I wanted the walls to have the old, mossy granite look. I sponged on random areas of Burnt Umber, Fawn, Forest Green, and Burnt Orange. Once dry I used the 'rocks' shape drawing template with a black UniPin fine liner pen to add the stone wall effect.


The 'iron' roof was base coated with Burnt Orange, then textured by lightly sponging Burnt Umber and Black. The smooth roofs were based with Zinc and the slates outlined in Black.


Once dry all the prepared pieces were glued in place on the back board. To increase the 3D effect each building was spaced away from the others by using waste greyboard as spacing pieces.
Now for the details:
Bushes - Leaf Green base with dots of red, yellow, and white.
Windows - crossbars in Fawn, frames with a wash of Burnt Umber so the woodgrain still shows through.

Doors - The squared ones are shutters with the openings still in place. Painted Forest Green with Fawn outlines.

Canopies - To get the canopy shape over the ticket office door, use one canopy shape reversed over the other and mark around. The cut off the excess with the very sharp craft knife you used earlier.
The background is Forest Green, once the decoration pieces are glued on, they are painted Fawn.

The Station Cat - Base coat with Moon Yellow, a little Fawn for his lighter bits and used the black fine liner for eyes, nose, and dark markings.

Flower pots - Base coat with Burnt Orange, shade with washes of Zinc.
Entrance Steps - Base coat with Moon Yellow, then use thin wash of Zinc for the shadow on the risers.
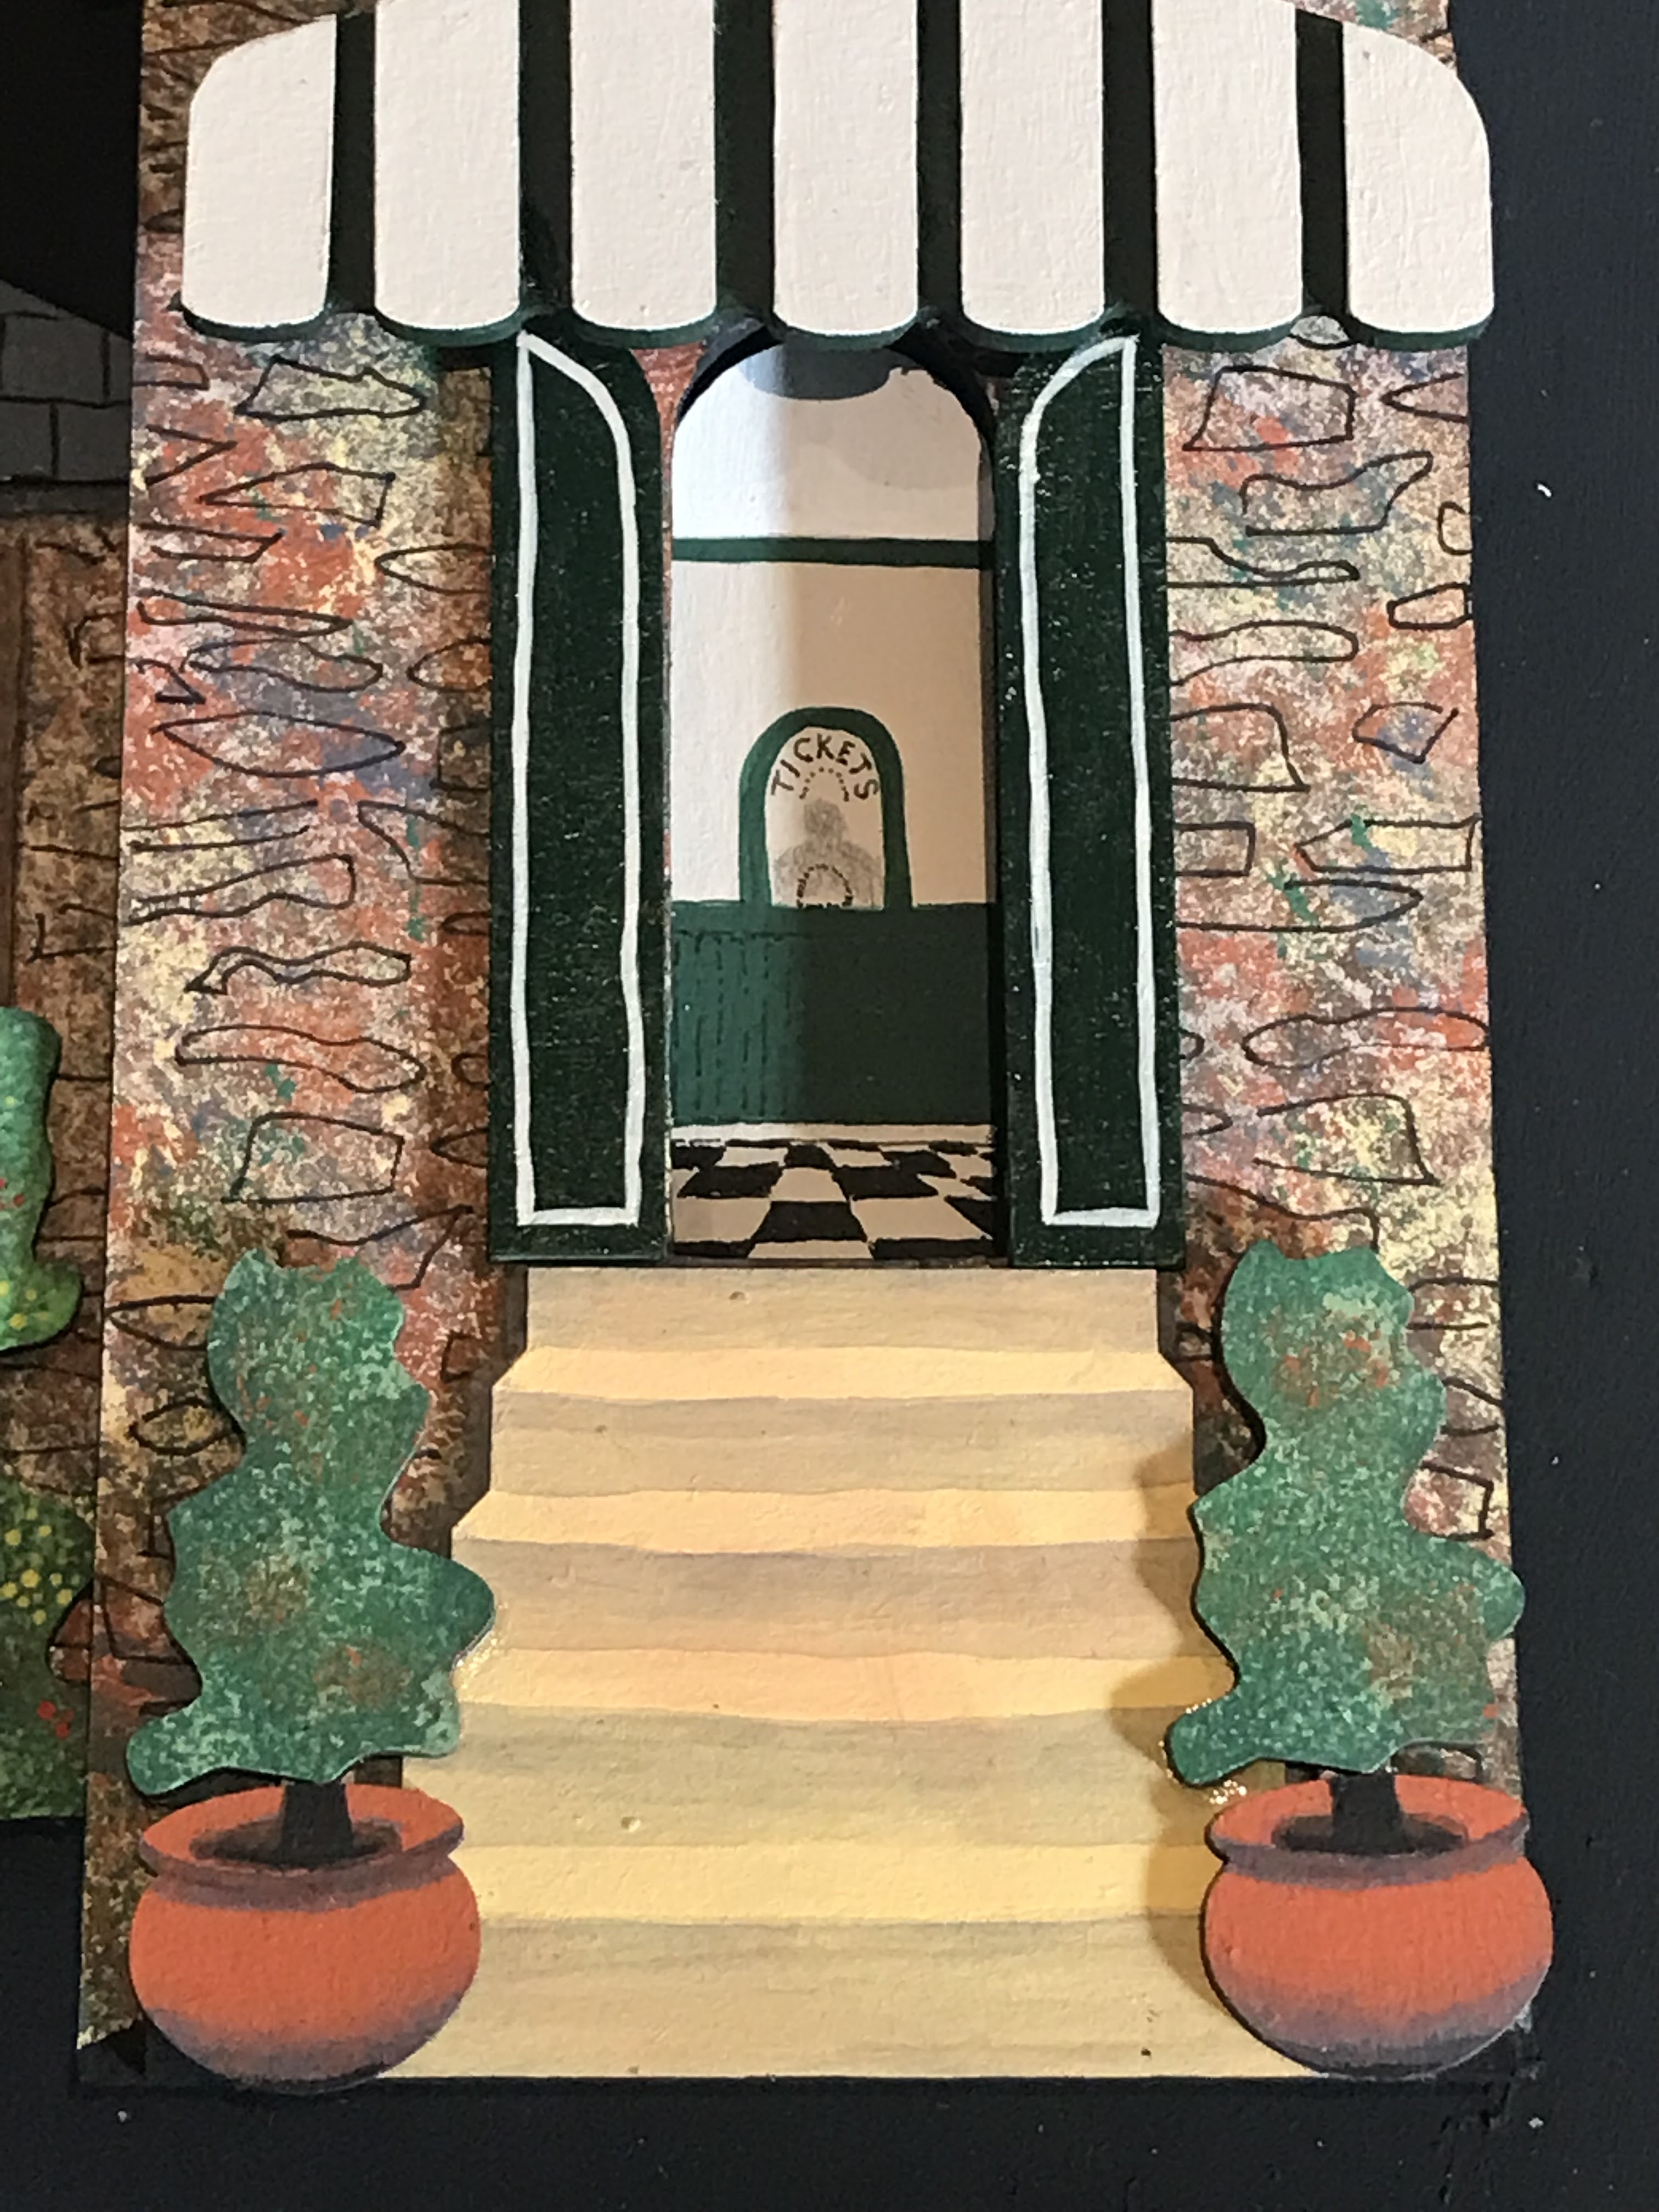
Ticket Office interior - Base coat the full arched door piece with Fawn. Paint the ceiling section White, the a Forest Green picture rail. Use Black for the chequered floor tile pattern to get the 3D perspective. Leave a skirting board above it, then the panelling and arch in Forest Green, 'Tickets' and the small opening are with black fine liner pen, and the shadow person is ordinary pencil.
To add depth to the ticket office I used spare greyboard off-cuts to space the interior behind the doorway.

All that's left is to stick the remaining pieces on to the arrangement - sorted! Thanks for dropping by!
Products:
Large Casa Bonita greyboard and design templates
DecoArt Colours
UniPin Fine liner pens
No comments:
Post a Comment