Hello my dear crafty friends! Today I am going to share my new book cover and it's totally gorgeous NEW chipboard kit you Must buy! Neil Walker made an outstanding work with those book kits !
I had so much fun making this project!
First of all I connected 2 chipboards with some sticky tape (I had binding red tape, but who cares as it's not seen after all). Then I covered it with vintage style Prima papers and made the spine with Core' dinations embossable cardstock, distressed to see the same pink as on the paper.
I heat embossed it all around with black embossing powder and used the same powder for the scalloped square in the middle.
Then I added some Tando minis: leaves and flowers , all hear embossed with a mix of powders over this square.
The title was made with Tando letters (OK,heat embossed again... LOL. I also design for embossing powders company, so those are products in hands and I used them a lot).
The smaller parts of the lit were paper covered, distressed and inked and bolts were ... heat embossed with black again.
Then I added some Prima flowers and blings and my cover was finished.
I hope that you love Tando new book covers as much as I do.
Here is the book cover kit I used and some more of Tando fantastic products.
Friday, 12 July 2013
Thursday, 11 July 2013
Book Week
Hello everyone, I can't tell you how excited I was to get my book cover to play with - it was straight out the packaging and on my desk ready for layers of paint and ink! I used the Geometric design cover and started off by priming it with white Gesso, I also used the Tando Distorted Diamonds mask with some texture paste to add more dimension. Next I added some flowers and a butterfly and then went to work misting. I did each layer a slightly different colour, and experimented with stamping on the middle layer and liquid pearls, then on the top layer I went with purple which I dripped water on and then wound string around. It was so much fun to make. I repeated the techniques on both the back and front cover.
Here is a close up of the texture paste and flowers - they were all sorts of colours but because I bathed the book in mist it didn't really matter.
I fastened my book with jump rings so I could add more pages, and have started by making a few different pocket pages, just roughly stitching around the edges of them.
Wednesday, 10 July 2013
Wednesday's book cover
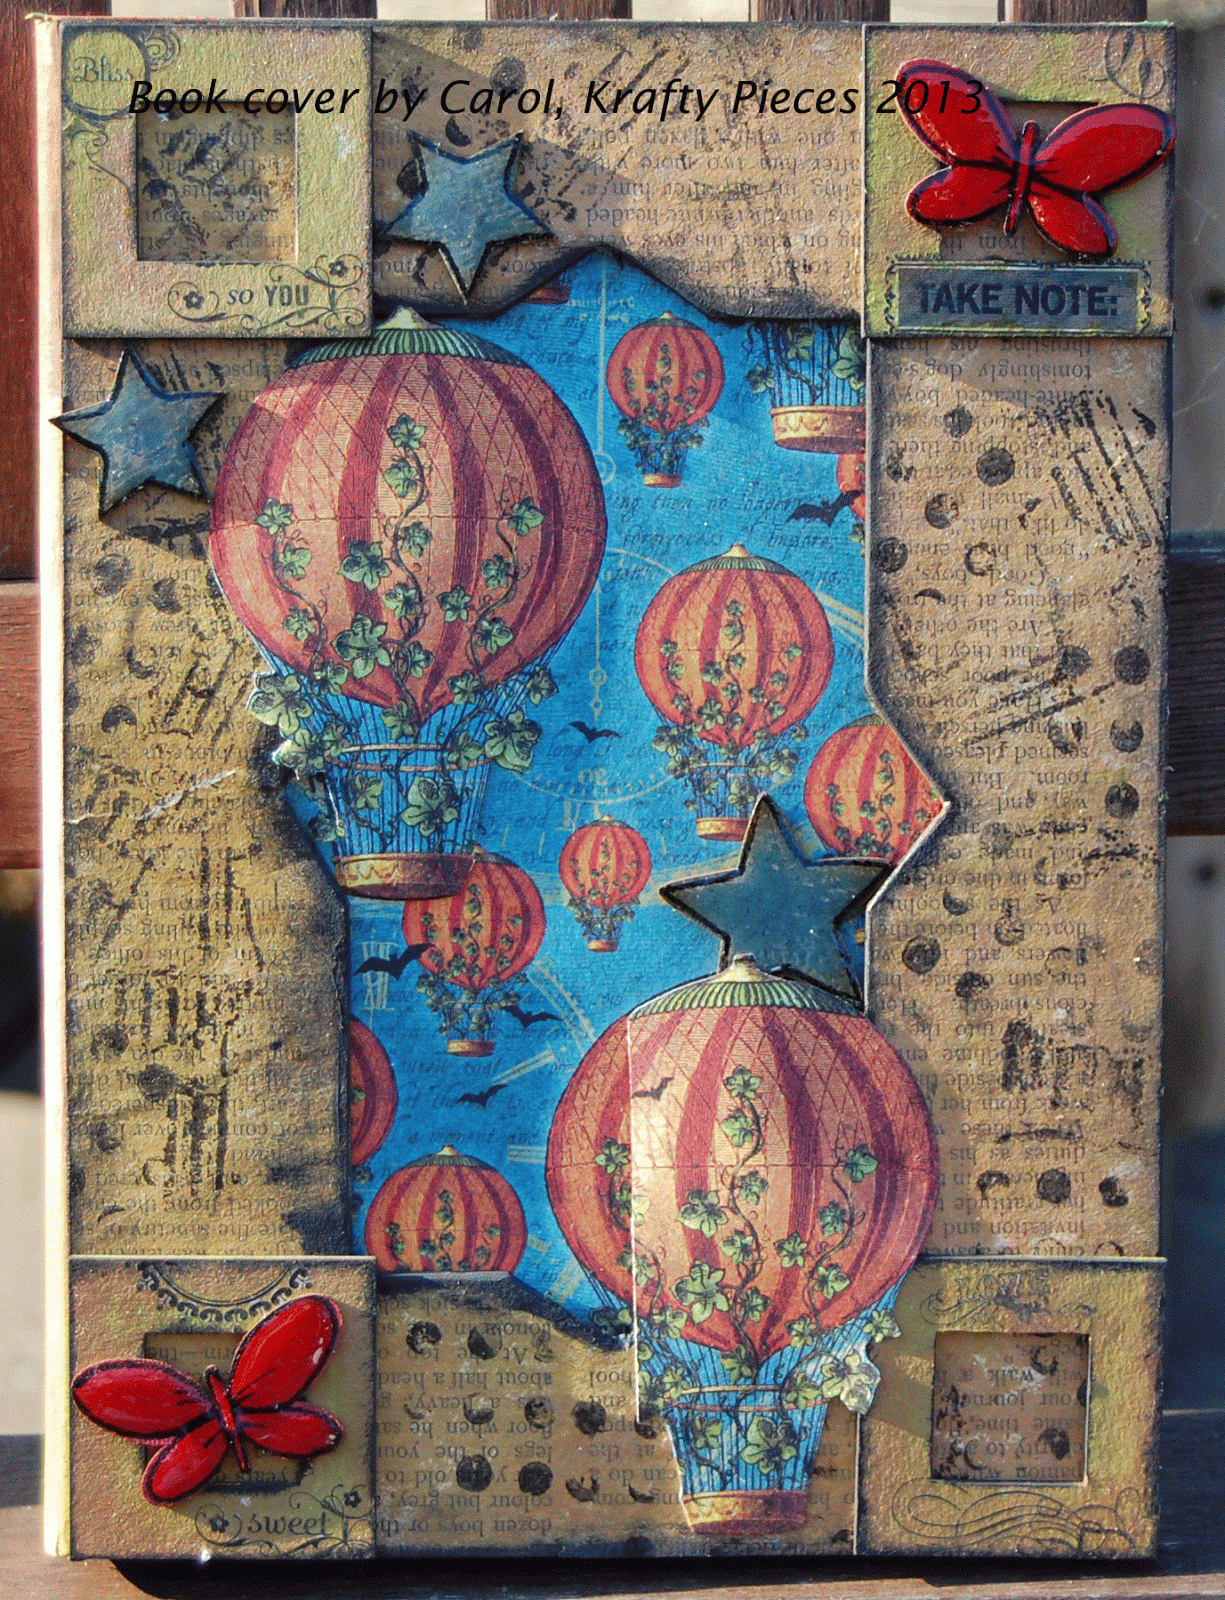
Today its Carol with you and my take on the "squared off" book cover kit....
The kit comes with two cut out front covers, two blank pieces of chipboard the same size as the front covers, a spine, 8 slide mounts and a large book frame...
I decided to split the kit in half and have created two pieces -
This first piece is mounted onto the front of my art journal, and uses 4 of the slide mounts, large book frame and 4 of the slide mounts.
This is the second piece:-
The base was made from the blank chipboard and the spine used to create the covers....The front cover and slide mounts were then attached to the front....
Pop on over to my blog if you would like more information.
Also, don't forget as its Wednesday we have a new post over on the challenge blog - hope to see you there....
The kit comes with two cut out front covers, two blank pieces of chipboard the same size as the front covers, a spine, 8 slide mounts and a large book frame...
I decided to split the kit in half and have created two pieces -
This first piece is mounted onto the front of my art journal, and uses 4 of the slide mounts, large book frame and 4 of the slide mounts.
This is the second piece:-
The base was made from the blank chipboard and the spine used to create the covers....The front cover and slide mounts were then attached to the front....
Pop on over to my blog if you would like more information.
Also, don't forget as its Wednesday we have a new post over on the challenge blog - hope to see you there....
Tuesday, 9 July 2013
Book Week
Hello, its Karen here! Aren't these book covers fabulous????? Especially for someone who journals, like I do. I have stuck my covers over an old book which I am altering to use as a diary.
I have used PaperArtsy Fresco paints throughout and then added a few Tando butterflies, beads and a quote. Here is the kit naked...
Please pop back again tomorrow for another book cover idea! HUGS Karen x
I have used PaperArtsy Fresco paints throughout and then added a few Tando butterflies, beads and a quote. Here is the kit naked...
Please pop back again tomorrow for another book cover idea! HUGS Karen x
Monday, 8 July 2013
BOOK COVER WEEK
Hello Tandoettes,
This week we have a full week for you and it all revolves around the fab book covers manufactured by Tando Creative and designed by Neil Walker.
There are 5 different designs and come in complete kit form.....
So, who's starting us off this week? none other than the designer of these lovely kits, Neil Walker...here is what Neil had to say:-
This week we have a full week for you and it all revolves around the fab book covers manufactured by Tando Creative and designed by Neil Walker.
There are 5 different designs and come in complete kit form.....
So, who's starting us off this week? none other than the designer of these lovely kits, Neil Walker...here is what Neil had to say:-
"I love these cover kits; but then I guess I am a bit biased as I designed them! I just love the versatility of them and I am really looking forward to seeing the various projects from the creative team this week.
For this book I've created a loose leaf cover to create an art journal that I can add to over time I started out with the Ancient cover kit but while working on my design I decided that I was only going to use half the elements. (So by cutting a couple of extra covers or using an existing A5 book you can actually make another book from the same kit which I think is great!)
I began by gessoing the various pieces and then painted the covers in shades of blue acrylic paint and the curved pieces in greens.
I stamped some detail in using background stamps in various patterns and colours of ink.
I stamped and cut out the birds from white card and coloured them in using markers and ink filled brushes. I worked out where I wanted them to be and then used PVA glue to glue all the elements together. TIP - I find they stay together better if you glue them and leave them under a heavy weight for about an hour if not more to ensure good contact. Once everything was dry I covered the fronts with a layer of Rock Candy Crackle to seal and add some texture.
I made some end papers using the same images and glued to the inside covers. I used a Crop o Dile to punch the holes and added the book rings."
What a great start to our week!
Don't forget to call back again tomorrow for a member of the DT's project...
TFL
Sunday, 7 July 2013
Flower Card by Kaz.
This week we are making cards. Not a problem for me as I tend to make cards all the time using Tando bits as I think the chipboard gets overlooked by card makers.
The ~{Mini Range}~ is perfect as they are thinner and smaller and therefore don't push the postage costs up. Unless of course you make a card like this one:
This will have to be hand-given ;) For the card base, I've cut a circle from card and inked the card blank behind the circle. I used ~{Mini Butterflies}~, ~{Mini Leaves 1}~ and ~{Mini Leaves 2}~ and painted them with acrylic paints. I've added some shading and details with a very thin brush and paint. Here's a close up:
I then arranged them with flowers, clear drops and a greeting stamp.
It looks fussy, but it was actually very quick to make. Kaz xxx
The ~{Mini Range}~ is perfect as they are thinner and smaller and therefore don't push the postage costs up. Unless of course you make a card like this one:
This will have to be hand-given ;) For the card base, I've cut a circle from card and inked the card blank behind the circle. I used ~{Mini Butterflies}~, ~{Mini Leaves 1}~ and ~{Mini Leaves 2}~ and painted them with acrylic paints. I've added some shading and details with a very thin brush and paint. Here's a close up:
I then arranged them with flowers, clear drops and a greeting stamp.
It looks fussy, but it was actually very quick to make. Kaz xxx
Saturday, 6 July 2013
A card-book for the mistress: Just a Card week
Hi, Here’s Coco with my first Tando project as new DT member ! So happy and excited to share my future works with you ! Hope you will like this one, a little bit special. Here in France our school holidays have just started...
For the last day, I was looking for an idea of crafty gift to offer to the schoolteacher of my two mini-honeys (my twins that are five and half years
old). She has been so kind for them for the whole year... So a card-book, with a
surprise inside… why not ?!!
For this card I used this mask/stencil Tornado from Andy
Skinner that I love.
I inked it on some cream card with a piece of Cut'n dry and my distress ink pad Gathered Wings. I used only this ink, as the colour perfectly coordinates with a fresh collection of Jillibean Soup papers ! (hmm... very fresh, but no so much if you consider that these papers were in my scraproom from ages ha ha !!).
Here's the cover of my card with the stenciled image on top:
My small squares on cover and back sides were stamped in Versamark, heat embossed with clear powder, and then coloured with different Perfect Pearls powders mixed to water. The mica pigments are retrieved easily using a watercolor brush after letting them dry.
I inked it on some cream card with a piece of Cut'n dry and my distress ink pad Gathered Wings. I used only this ink, as the colour perfectly coordinates with a fresh collection of Jillibean Soup papers ! (hmm... very fresh, but no so much if you consider that these papers were in my scraproom from ages ha ha !!).
Here's the cover of my card with the stenciled image on top:
By the way, I can’t resist to present you for the occasion my two
"Gnomies" ! You should see them from time to time on some layouts in the
months to come…
My small squares on cover and back sides were stamped in Versamark, heat embossed with clear powder, and then coloured with different Perfect Pearls powders mixed to water. The mica pigments are retrieved easily using a watercolor brush after letting them dry.
Thanks so much for stopping by today! Coco xxx
Subscribe to:
Posts (Atom)