

I made one of these butterflies for my printer tray, ages ago, and I thought it would be good for this week’s theme.
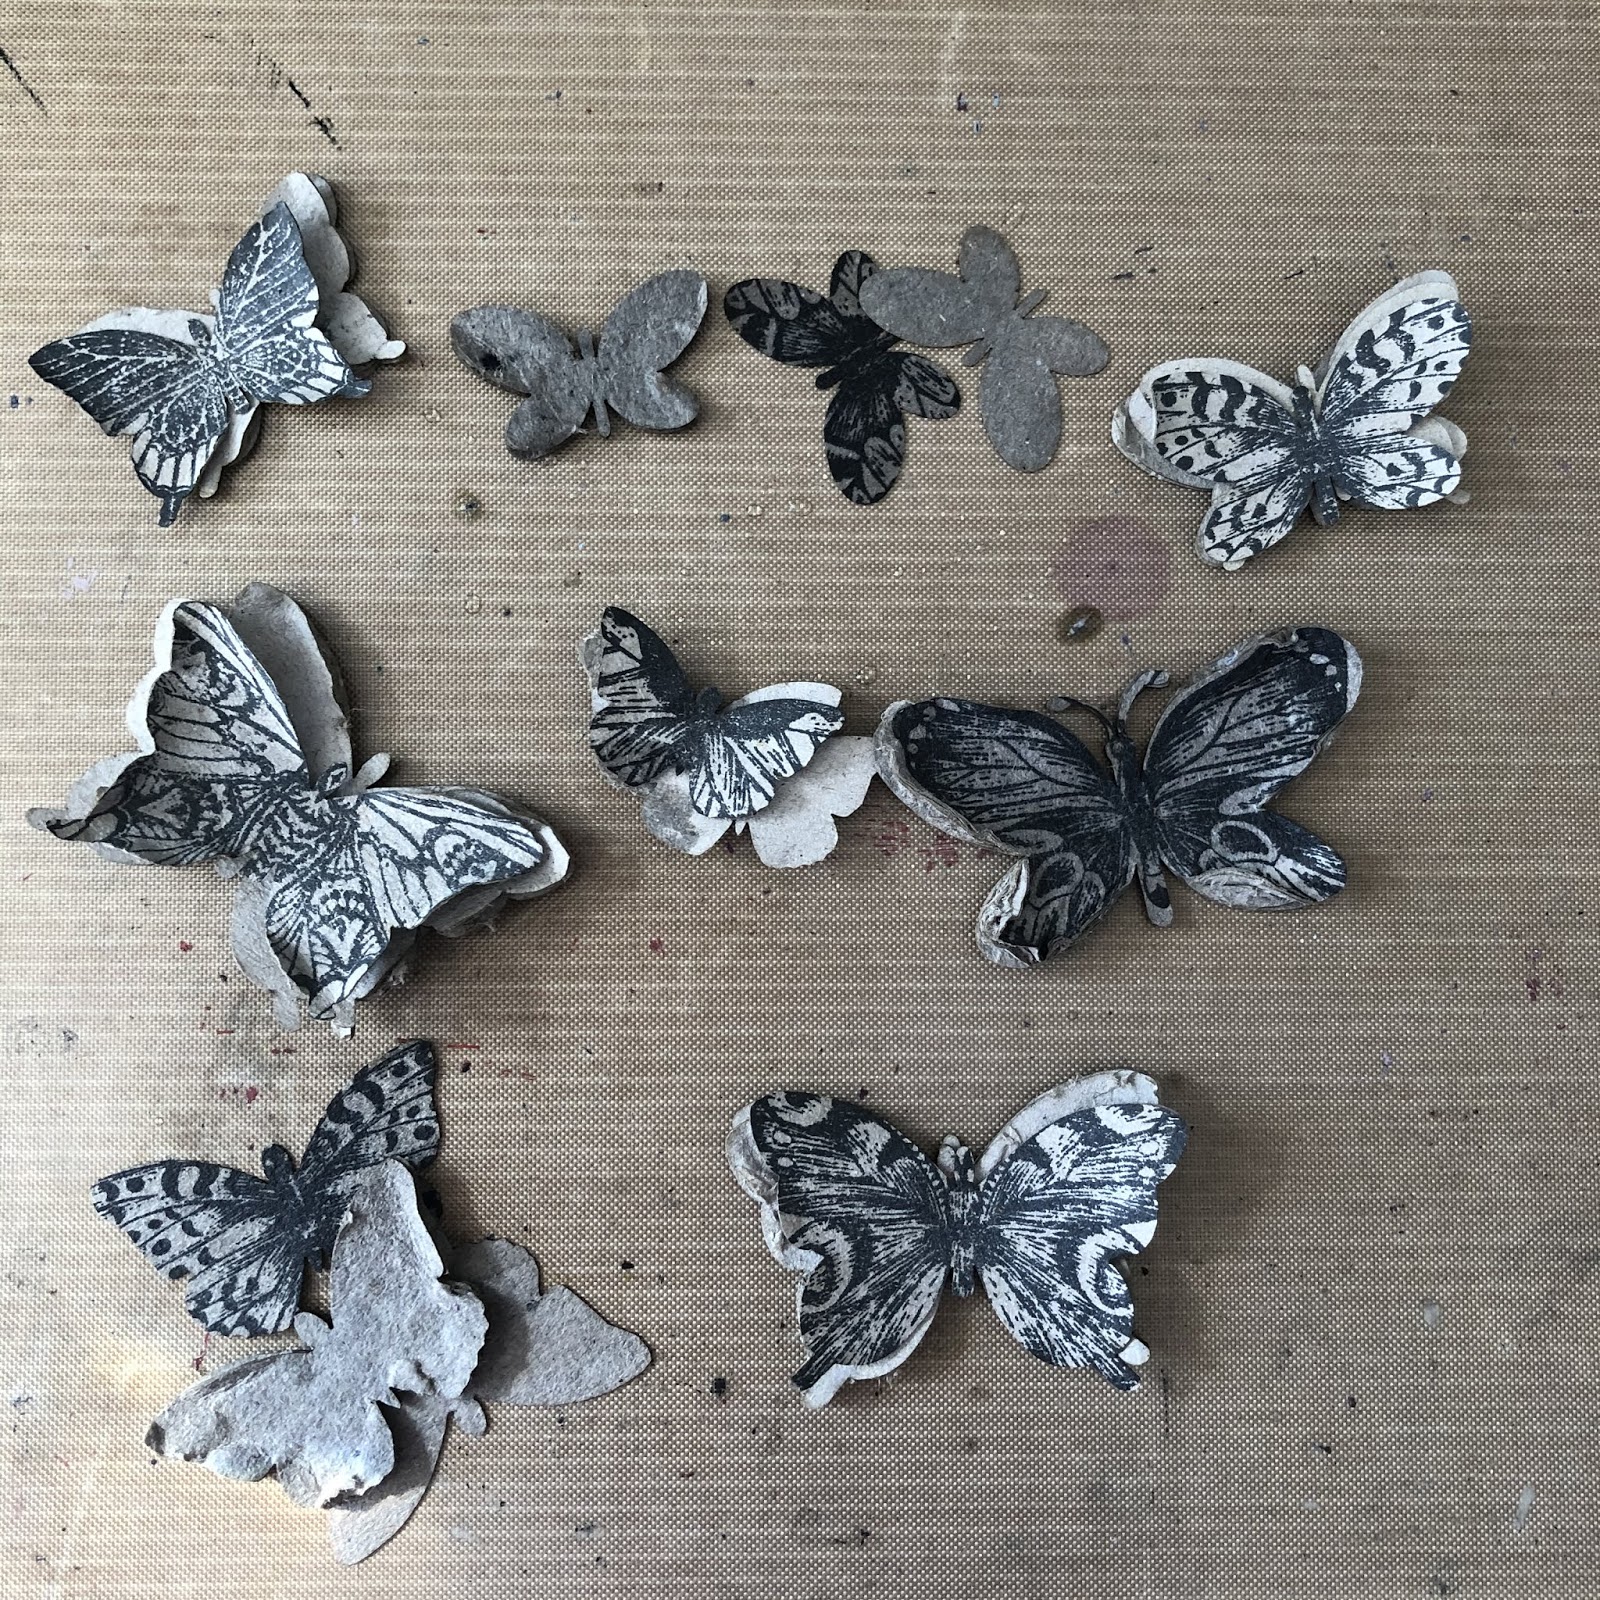
To make the shabby butterflies I used some of the tando minis from either the long tags or the minis. You could also do this with the larger grab bags. I stamped the butterflies first, using some Tim Holtz and Chocolate Baroque stamps. I used Versafine Clair ink in Nocturne, but you could also use Archival. It’s best to ink the stamp and place the butterfly over it, so you can line it up. It doesn’t matter if the stamp is bigger than the greyboard.

When the ink is dry, you can start to distress the greyboard. You need to spray the edges, then wait a minute or two before you start to tease the layers apart, either with your fingernail or a craft knife. Re-spray as it dries and as you expose more of the insides. The thinner greyboard tends to come apart, so the outside layers come off, but it’s easy to stick them back and gives you the opportunity to crumple the edges and bend the wings into shape. Leave the butterflies to dry and start on the tag.
I used a long tag, which I primed first with Violet Americana. Then I randomly applied Decoart Modelling paste, Crackle Paste and Andy’s Strata Paste.

When this was dry, I randomly blobbed on some bright Americana colours, then went over with similar DecoArt fluid acrylics.


I hope you like my shabby butterflies! Of course, you could colour them or paint in the distressed board to get all sorts of different effects.
Thanks for stopping by,
Celia x
No comments:
Post a Comment