Tuesday, 21 August 2018

Crackle week - with Nikki K.

Morning everyone,

It feels like ages since I've had a post out.  Did disappear for a couple of weeks to Scotland so it was a nice long break.

This week my colleagues and I are showcasing 'Crackle', and that can be in any form :)

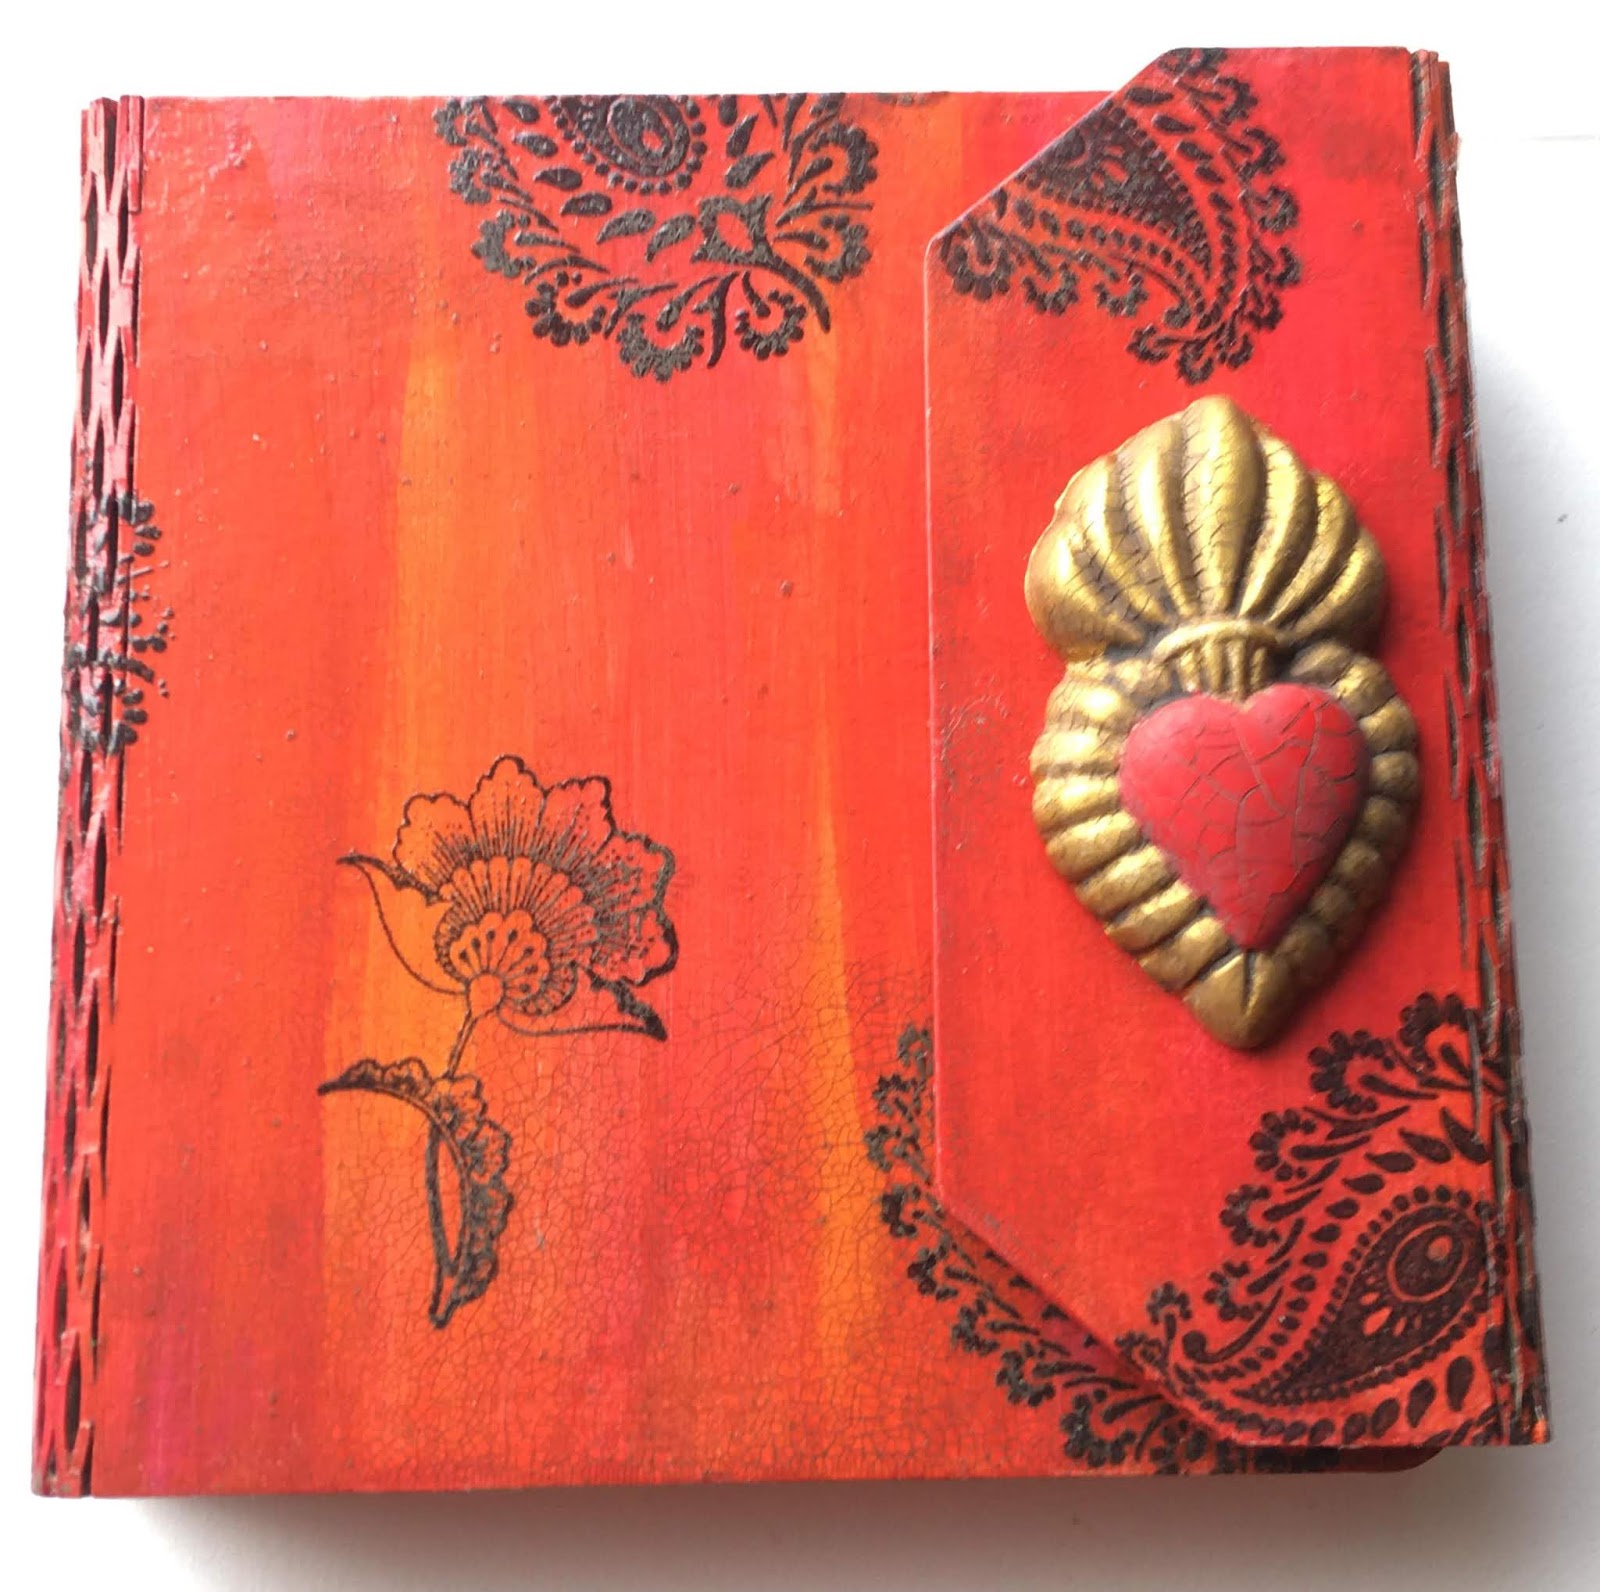
My project is a Tando Mini Binder.

Firstly I painted the binder in Primary Magenta, Pyrrole Orange and Pyrrole Red.


Then added stamps from Chocolate Baroque's new Indian Elephant set, stamped in Versafine Onyx Black and heat embossed with Superfine Clear Embossing Powder.


Next I added a layer of Crackle Glaze,  and left to dry.


 Once dry, add Raw Umber Antiquing cream with your finger, all over the binder, working it into the crackle.  Wait for this to dry completely, then wipe off with a slightly damp baby wipe.  You can leave as much of the patina on as you like, or wipe it back more until you get the desired effect.


The Heart was painted in Pyrrole Red and Metallic Gold, and then covered in crackle glaze the same as the binder.  I also antiqued this, before attaching to the front of the binder.
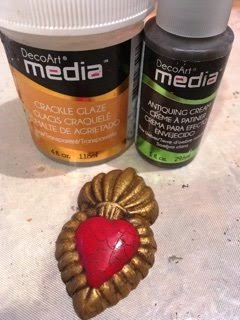


Antiquing Cream is not permanent unless sealed, so I finished off with a couple of coats of Satin Varnish, leaving the heart matte for contrast.


These binders are brilliant for storing your Tando Stencils! 

Hope you can join the rest of the team this week for their Crackle pieces.

Best Wishes,

Nikki K.
xxx

Products Used:

Tando Ring Binder
DecoArt Media Line Pyrrole Red, Primary Magenta, Pyrrole Orange. Metallic Gold.  Raw Umber Antiquing Cream, Crackle Glaze. Satin Varnish.
Clear Embossing Powder
Versafine Ink
Chocolate Baroque Indian Elephant Stamps.


Monday, 20 August 2018

Crackle - Decorated ring binder - Brenda

Di has a fabulous selection of Ring Binders in stock of different sizes and I'm sharing the shabby vintage pink one you can see in the photo below.


Paint the binder in a vintage mix of pink both inside and out using the DecoArt Premium Acrylics.


Glue some tissue wrap on the front and back panels and when dry dip them in watery titanium white, titan buff and primary magenta several times drying between each dip.
Mix a dirty glaze using premium matte medium, burnt umber and dark grey together with some water and paint it all over.


Make the oval vintage lady embellishment by applying some titan buff acrylic paint to a craft mat and squidge the oval and rectangle chipboard shapes to get a bit of texture to it. Stamp them with one of Andy's IA Tech Trauma texture stamps.
Ink the edges of the photograph with brown distress ink, adhere it to the oval and then add a layer of clear crackle glaze. When dry I rubbed in some white and brown antiquing cream. Repeat with the label and use Tim Holtz label letters to make your word.


Add a magnet beneath the flap to keep the binder closed when not in use.


Now it is ready to be filled with journal pages, stencils, envelopes for collecting things together or whatever takes your fancy.


This is another of Di's creations that would make a fabulous gift for someone.


Until next time.

hugs Brenda xxx


Sunday, 19 August 2018

Anything goes week- Media Board by Monika Maksym

hi!
I hope you are well :) 
It's "everything goes week" and I wanted to share my project with you. These techniques can be used with different substrates or colours.


To start with I have primed my mdf media board with gesso, then applied generous amount of texture sand paste randomly and left it overnight to dry. I did the same with heart shape, but used stencil and modeling paste instead. 


 Next, I have painted both with Decoart black acrylic paint. I've highlighted textures on the heart with metallic lustre wax in silver.


 Cog was painted with metallic silver paint and black paint mixed with a little bit of send paste for added texture. On the main board I've added media fluid arcrylic paints in Quinacridone Gold and Pyrole Red from the top of the board, added a little bit of water and let it run down.


 Little word piece was painted with silver metallic paint and stamped with black archival ink. Once all of my elements were dry I've attached them to the base using heavy gel medium and secured with some rusty wire and added washes of Quinacridone Gold around the rust and word plate.
.


I hope you've enjoyed my post.
See you next time
Monika
x


products used:


Friday, 17 August 2018

Anything Goes Week- I Dare You Mixed Media Board. - Fiona Randall

 
Morning all Fiona here today to share with you a Mixed Media Board with some cut and paste collage added using DecoArt Chalky Finish Paints and Crackle Medium.
 
 
I started by applying a base layer of  Carbon Black Chalk Paint to the media board and dried with a heat tool. Next step was to apply DecoArt Crackle medium for Chalk paint ( you can gently dry this with a heat tool) Once dry I applied  Chalky finish in Vintage in a quick even layer not overworking it and the crackle happens instantly. Once dry I gave the media board a wash of Burnt Umber Media Fluid Acrylic to give it a grungy feel  then set it aside to dry. I then sized and printed out my collage Image to fit the media board from Tumblefish Studios ( now retired) and fussy cut  and applied to the now dry media board base with matte medium. Black watercolour pencil was applied around the collaged image  and smudged to define the edges. Stamping using Black Archival Ink was then added using Andy Skinner's Unexplained Rubber Stamp Set  and the edges stamped with Andy Skinner's  Industrial Rubber Stamp Set. The whole media board was then given a coat of DecoArt Ultra Matte Varnish to seal and finish.
Thank You for taking the time to stop by hugs Fiona xx
 
 
PRODUCTS USED.


Thursday, 16 August 2018

Anything Goes week - Paint Saint

😊😊Hello lovely crafters!  As my paint stash grows more and more I am finding space to be an issue in my craft room.  Ever late to the party as I think most of the DT already have one, I have decorated a *PAINT SAINT*.  If you haven't seen one of these you will be amazed that storage with a 5inch square base can hold 32 1oz pots of paint!!!!!!!! It will also hold the next size up but not so many.


This comes with instructions and is very easy to put together and easy to decorate if you use a brayer, which I did :-D I softened down the *media paints* (Primary Magenta, Cobalt Teal Hue & Dioxazine Purple) with *tinting base* to make pastel shades before randomly brayering them on all the surfaces before putting them together. Then I added some white spots and some stamping.


You can see that they form two trenches (for want of a better word haha) onto which you lay the pots.


To finish my Paint Saint off I wrapped some *Bakers Twine* around the handles.

Thank you for coming to take a look today.  Please leave a message to tell us what you think as we really appreciate them, take care, hugs, Karen x

Wednesday, 15 August 2018

anything goes week

Hello, Carol with you today to share with you some ATC's, both cards and coins.

ATC (cards) have been around for quite sometime, although not quite as popular as they were, but, as with all things crafty they come back again, and this time, coins too….

Here is a card and my coins:-


this is my atc and the base technique using the bubble stencil  was also used on one of my coins… the base can be found here

Coin number 1 (coin bases can be found here)


The base uses the same technique and the bubbles stencil, three stars from the mini range were also used.


Coin number 2


Three hearts from the mini range and the sequin stencil were used on this coin.


Coin number 3


So, on my last coin, the dot stream stencil was used on the base and then a butterfly from the grab bag was added.

TFL xx

Tuesday, 14 August 2018

Anything Goes Travel Journal

I've used the {Kate Crane 7 Piece Planner} as a travel journal.

I used {Decoart White Modelling Paste} through the {Letters Stencil} on the front cover and once dry. I used a selection of acrylic paints to decorate this, 3 of the dividers and the back.


 I also used the {Dotstream Stencil} on every page.


I've used a variety of self made foam stamps and other stamps.


Each page has similar and different elements.


Using this planner means it's easier to write info and add photos later without having to leave space in a book style journal. I've ordered loads - whoops - all in the polaroid style as these will fit perfectly as the pages inside are A5 size.


And, of course, I made a mistake.... drew the heart upside down!


Kaz xxx