Friday, 14 November 2014

Christmas Countdown Frame


I've been playing with the new ~{Christmas Countdown Frame}~ which is much bigger than things I normally make, but I enjoyed it. It comes flat packed but is really easy to put together and is sturdy once glued.

I had no real idea of how it would come together to start with, only that I wanted it lilac and blue because I don't 'do' normal Christmas colours!


I started off by sticking patterned paper onto the inside and outside sides, then got the acrylic paints out and did the frame. I blended 3 colours together and then used gelatos to darken the edges. I coloured the wood block the same way.

I cut the left hand side of the tree off and painted it green and when it was dry, stamped some lights onto it, doodled and added glitter glue.

I cut the stem off the sign and gave it a crackle effect, then did the stockings the same way. I triple embossed the stockings with white powder.

The wording and numbers have simply been sprayed with ink.

I've added some more stamps to finish the scene.


Kaz xxx

Thursday, 13 November 2014

Christmas - Card

At last I have made a Christmas card!  I have a few more to make but at least its a start :)


I used the Kaz Boughton Trees and Leaves Mask which comes in three parts and I used the spotty part of the mask - I think I will be using this quite a lot and I did use it on a card I made a couple of weeks ago too which you can see here!

Tree and Leaves 3 part mask

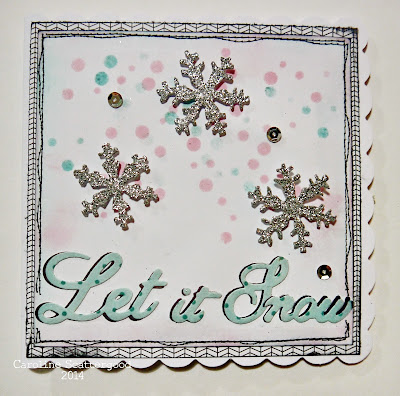
I used Distress Ink to create the blue and pink tones on this card.


One card down and about 100 to go!


Wednesday, 12 November 2014

christmas...

Hi Carol with you today - haven't we seen some lovely Christmas pieces this week? there are still loads more to come so do pop back each day…

Today I'm sharing with you this mini Christmas Tree printers tray


If you would like details on how I made this piece please visit my blog.

Tando products used:-

All product is available from the Tando Retail store, here…


November challenge

is live over on our Challenge blog - pop on over and see who is sharing their project with you today!

Don't forget we have prizes.  Hope to see you there.

Tuesday, 11 November 2014

Blingy Baubles by Katy


What better for Christmas week than something creative to hang on the tree? These baubles are simple, cheap and effective - and if you don't want to hang them on the tree they made a great focal point for a fun 3D card design.

The chipboard shapes are covered in FlitterGlu (or similar gilding glue) and gilding flakes - apply the flake, press into the glue and then gently rub off the excess before using a rough sponge to burnish the surface. Repeat on the back and edge with Krylon pen for a neat finish.

A quick bit of gold trim and some jingle bells and you're done! Want a flatter finish for a card? A Tando mini star or snowflake instead of the bells would be just the job!

I used these gorgeous Tando Baubles.

Monday, 10 November 2014

Magical Christmas Canvas


Hi Tando fans! Dana here today kicking off our Christmas/Celebrate week with a festive 3x3 canvas. This small canvas size is quickly becoming my favorite project, second only to arches. I'm thinking about creating several pieces like this and using them for gift toppers rather than store-bought bows.


I layered a piece of Round Grid over my colored and stamped canvas. I love the dimension this layer of chipboard adds to my piece! (You can find all the Grid designs in the NEW RELEASES section of the Tando Retail Shop.) I framed my image with pieces of a Holly Flourish that I painted, stamped and glittered.

http://www.tando-creative.co.uk/catalog/holly-flourish-p-6.html
http://www.tando-creative.co.uk/catalog/grid-round-p-849.html


Thanks for stopping by today!

Sunday, 9 November 2014

Black, White and a Splash of a Butterfly!

Helloooo!  I am rounding off this week of Black, White & a Splash of Colour with one of Tando's little RING BINDERS.  This one is 4 x 4 inches so very cute!!!!  It comes with 8 chipboard pages and would make a lovely scrapbooking gift.  I have left the pages out for another project this time.


It really is white though it looks cream in the photograph doesn't it?  Before I started painting I glued 2 small CORNER FLOURISHES onto the front, then when dry painted all the surfaces with white acrylic.  When this was dry I covered the outside with PVA and attached some patterned tissue paper, gently teasing it around the flourishes.  I wasn't worried about any creases as they add to the look!


I stamped the sentiment with Stazon onto tissue, tore it out and attached with the pva, covering the whole outside with pva as well to seal it all.  The BUTTERFLY has been painted with acrylics, then stamped with a butterfly stamp before some fine clear glitter was added.


Please pop back tomorrow to see how we are kicking off the season here at Tando! Take care, Karen xxx