Tuesday 28 November 2017

Sparkles Week - Mini Winter Home Arch Set


Hi! Dana here today sharing the mini Winter home arches I created for the Sparkles theme this week. These small houses are a made from the inner cut arches from the Triple Arch Layered Frame. I love to use the inner cut pieces from Tando designs for additional projects. This layered frame comes with 9 inner cut arches. I had so much fun creating my original mini home arch a couple weeks ago, that I created more for the season in a similar style. I crafted two different styles of homes, one single layered with the smaller inner cut, and two layered arches using both sizes of inner cut arches.

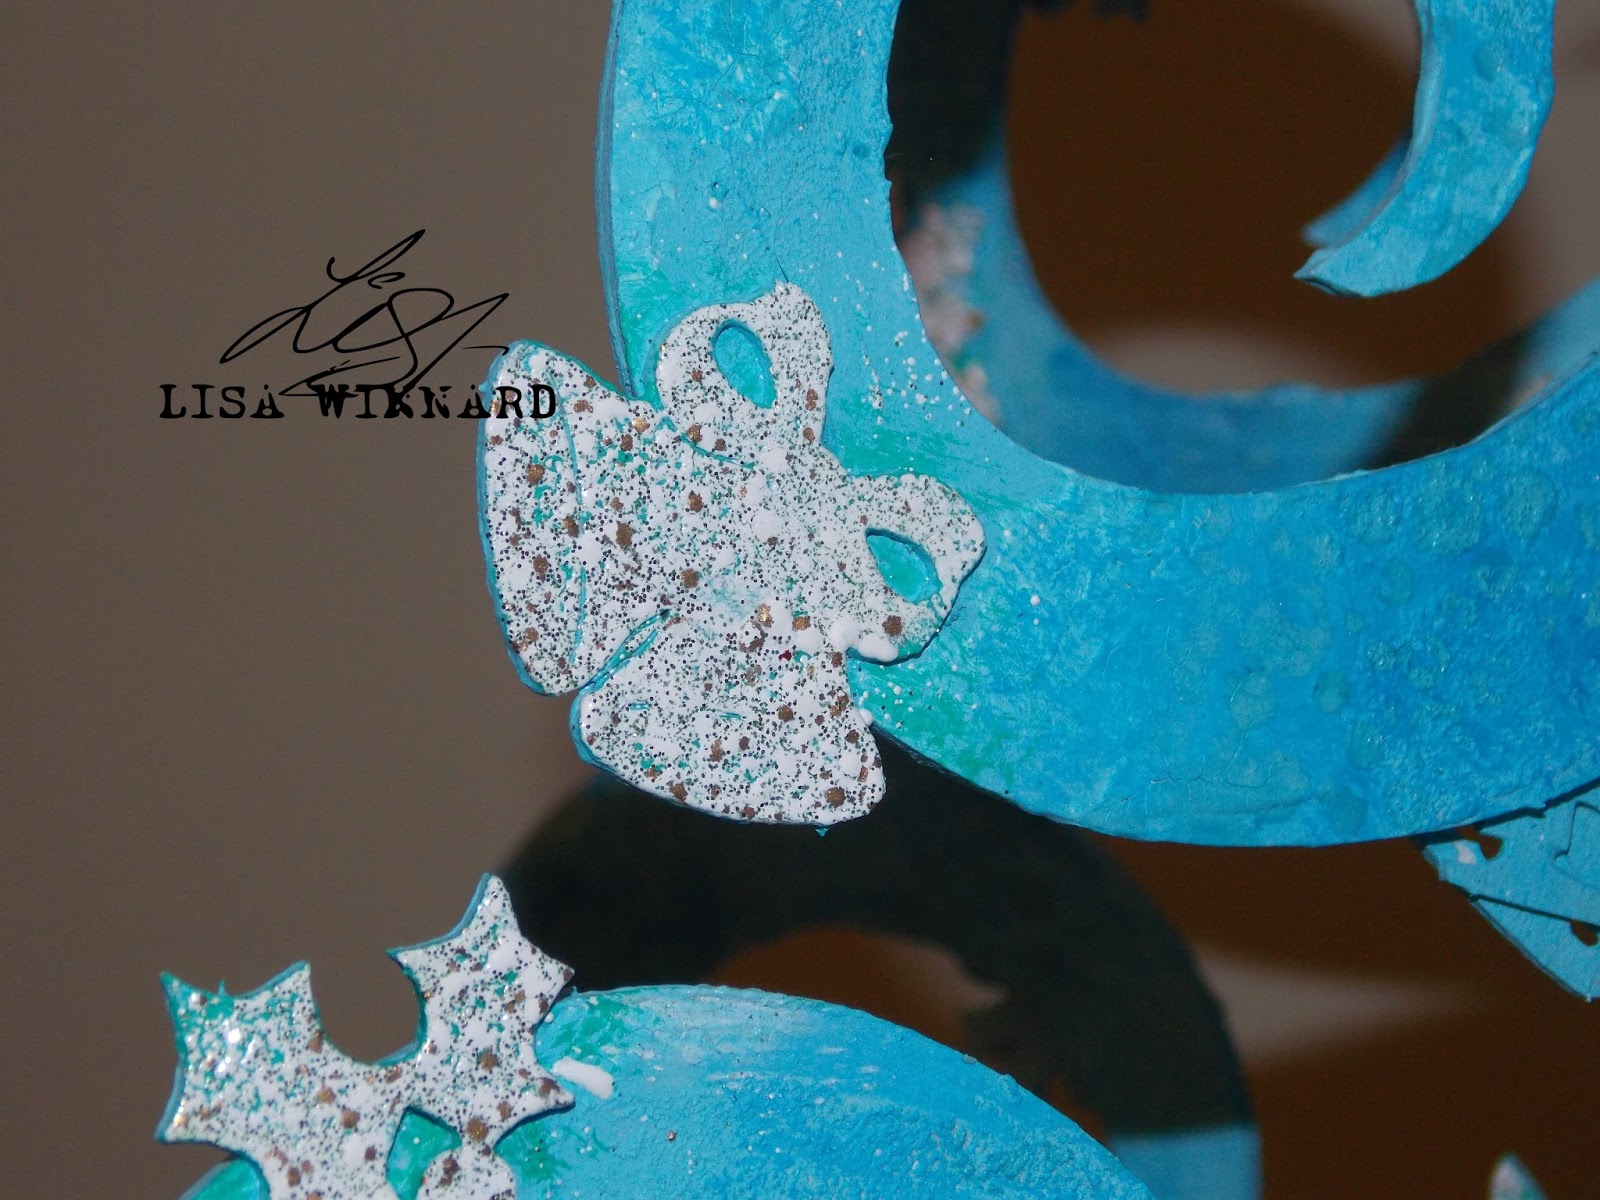
I used DecoArt acrylic paint to add color to the arches, plus a Mini Holly and/or Mini Bell, an Arthur Number, and a small door from a Mini Beach Hut. After gluing all the pieces together, I brushed on a layer of clear crackle paint. I embellished the edges of this arch with Stampendous Spoonful of Snow for a frosty, sparkly finish.

Here's my original mini Winter home arch.


You can find the products I used for this project in the Tando Creative Retail Store. We'd love to see your creativity! Share your work with us in Tando's Creative Zone on Facebook.

Monday 27 November 2017

Sparkle - A Mini Christmas Tree

Hello!

This week the theme for our projects on the Tando Creative blog is Sparkle!  So I wanted everything on my project to be sparkly and as it is almost December there could only be one theme...Christmas!


I love everything to do with snowflakes at Christmas so decided to decorate my Christmas tree mini printer tray with that theme in mind.
I started by painting all the main tray pieces using sparkle paints in shades of blue and then used the darker shade with the mini snowflakes stencil on the back piece.  Then I stuck them all together using an acrylic wet glue.  Once dry I spritzed it with the Decoart white shimmer spray...


To create the snow drifts I added some white puffy paint to the corners and sprinkled on glamour dust.  The snowflakes and stars (which were from the middle of the larger snowflakes) were painted with a pearl sparkle paint then some clear drying glue and iridescent glitter was added.  The gem centres were found in my crafty stash, and I couldn't resist adding them for just that little bit more bling...


Finally I used a sentiment from Bee Crafty to stamp and add to the middle section of the tree...


Here are the links to some of the products used...

* Christmas Tree Mini Printer Tray
* Snowflake Minis
* Decoart White Shimmer Spray

Thank you for looking and happy crafting,

Jane xx

Friday 24 November 2017

Textured Tag - Brenda

Don't we all love a bit of texture in our projects and there have been some fabulous ideas and inspiration this week from the team for Texture Week. Today I am mixing DecoArt modeling paste with media fluid acrylic paint to achieve a coloured texture pattern on my tag. Take a look to see how I prevent that from being covered with all the other paint layers I added to it.


To start I took one of the long Tando chipboard tags, gave it a coat of gesso and then a light coat of transparent iron oxide keeping it light and barely covering the whole of the tag.
To get some texture on the tag I took DecoArt modeling paste and mixed it with a little burnt umber media fluid acrylic and with a palette knife applied it through the long flourish stencil, turning it over to apply it at the bottom.


Next I took two different sizes of the grab bag circles and cut a little from each of them and gave them a coat of burnt umber. Before the tag dried I took the circles applied wet glue to the backs and and stuck them into the modeling paste....


.... then I added some texture sand paste around the edges of the circles and the tag itself then left it to fully dry.


Once dried I rubbed a candle over the texture paste parts and then stippled with dark grey, cobalt turquoise and cobalt blue and rubbed the colours off of the textured areas.


I repeated again this time adding in some transparent yellow iron oxide.


Next I focussed on the sand texture areas and the edges and stippled in burnt umber, burnt sienna and paynes grey followed by rust in a bottle - a coat of quinacridone gold spritzed with water and left to settle before drying.


I dribbled some watery TYIO through, dried it and repeated with cobalt turquoise to bring the patina colours back into play a little bit.


The seam binding ribbon took the paint washes beautifully.


The crown is a diecut and I glued two together to give it some dimension.


And finally I found a lost relative and painted a star to finish it off.


Thanks for stopping by today and if you pop over to Bumblebees and Butterflies you will find other projects using Tando products.

Have a great weekend.

hugs Brenda xxx


Products

DecoArt 

Thursday 23 November 2017

Snowy Window Mini Printers Tray Christmas Card

Snowy Window Mini Printer Tray Christmas Card by Dana Tatar for Tando Creative

Hi! Dana here today sharing the Mini Printers Tray Christmas card I created for the Modeling Paste theme this week. I had a lot of fun turning the tray portion of this design into a snowy window scene. I painted the chipboard tray piece red and backed the tray with some vintage images before gluing it into the card. I applied DecoArt Snow-Tex to the corners of the tray segments. Then, I added a coat of glitter glue to the tray frame for an extra frosty finish.

Snowy Window Mini Printer Tray Christmas Card Front by Dana Tatar for Tando Creative


I decorated the inner left side of the card, and the front and back covers with patterned paper, washi tape, vintage seasonal die-cuts, and dimensional snow flakes that I covered with white glittered flock. I finished this card with a gold bell, so it sounds as festive as it looks.

You can find the products I used for this project in the Tando Creative Retail Store. We'd love to see your creativity! Share your work with us in Tando's Creative Zone on Facebook.

Wednesday 22 November 2017

Mixed Media Arch door with Irit


Hello my dear crafty friends and welcome to my new Tando altered door tag.
This week the design team member were asked to make a project with modelling paste and as you can see this door is totally made of modelling paste.


I used the MDF base with some texture stripes added using one of Tando  Stripes stencil and DecoArt texture paste.
Then the base was painted around.
The four  chipboard parts are the insides of the window covered with Gioanna- Doilie Tando stencil and texture made with texture paste.I used the middle part of the stencil only, the one with the small butterfly.
After it was dry the inside pieces were painted with more of DecoArt Media Line acrylics and metal pieces were added to make it a kind of the door.


 Tando products used to make this project:
Mask Stripes
Mask - Stripes

Gioanna- Doilie stencil
Giovanna - Doilie
Arch frame from the set- MDF base used
Shadow Frames

Arch window
DecoArt Media line

Tuesday 21 November 2017

Modelling Paste Week - by Nikki K


Morning all,

This week our task is to use Modelling Paste in our makes. 

I have taken a Tando Mixed Media board, as I love these for little hangers or technique boards, they are so easy to use and are brilliant for when you want to 'art' but can't tackle a big project.  They make nice gifts when done too, as they fit in an envelope nicely. 

First, Gesso the board all over, then take the 'All Seeing Eye' stamp, and stamp slightly above centre.  Give a wash of Cobalt teal hue and primary magenta over the eye.  When dry, use Liquid Glass to give a clear raised coating over the eye area.


Around the eye and over the rest of the board, spread a layer of crackle paint. When dry, give a wash of Cobalt Teal Hue. Highlight areas with Metallic wax in Copper.

Over the top of this, I layered a Tando Brick wall stencil, and used modelling paste through it.  This was given a wash of Red Iron Oxide, and then some Patina Antiquing Cream in places.


You could add holes to the top of the board and some wire to make a little hanging, or a centre hole to make a tag.  A cropodile works well on the board, no problems.

Hope you like it,

Have a good week,

Nikki K.

www.nikkikart.blogspot.co.uk
www.facebook.com/nikkikartist

Products Used: 
Tando Creative Mixed Media Board
Tando Creative Mini Mask - Brick
DecoArt Media Line paints
DecoArt Media Antiquing Cream - Patina
DecoArt Media Crackle Paint
DecoArt Media Modelling Paste
Andy Skinner Stamp - Curiosity

Sunday 19 November 2017

Anything Goes with Lisa

Hi folks! Lisa here and welcome to my blog post for Tando Creative. This week is an 'Anything Goes' week.

With it being nearly Christmas.... And you can never have enough Christmas Trees can you??? So....


Here is my creation...


I first painted all the pieces with white Gesso. Then mixed a bluey green colour using DecoArt Fluid Acrylics - Cobalt Turquoise Hue, Phthaol Green-Blue and Primary Cyan


When the first layer of paint was dry, I dry brushed the tree with DecoArt Primary Cyan Media Fluid Acrylic.


I then randomly stamped areas of the tree with blue ink and a spotty background stamp.


I took a selection of Tando Mini's including parcels and bows, ice skates, candles, brush stroke trees and snowflakes
I applied clear embossing ink on the front and back of each mini and heat embossed with Stampendous Shabby Green Embossing Enamel
I did the same with the star on top of the tree. 


When the enamel had cooled, I adhered the mini's to the tree. 


I then put all the pieces together to make the tree stand. To finish, I added some battery powered lights to the centre of the tree. 


Thanks for popping by. 
If you would like to pop over to my blog the link is here. Leave a comment if you wish as I love to hear your thoughts.
Toodles for now,
Lisa xxx

Everything I used is below and all are available on the Tando Website.


Brush Stroke Trees   Tando Mini's - Candles   Tando Mini's Bells and Holly   Tando Mini's Snowflakes   Tando Minis Ice Skates   Tando Mini's Parcels and Bows   Fluid Acrylics: Cobalt Turquoise   Fluid Acrylics: Phthaol Green-Blue   Fluid Acrylics: Primary Cyan         Image result for stampendous embossing enamel shabby green

Friday 17 November 2017

Anything Goes - Shrine or Bird House??

Hello!

A few weeks ago I was meant to be sharing my shrine with you all as part of the Same but Different week, unfortunately due to other events I didn't get my project finished and wasn't able to post in time, so I thought I would share it now as part of the Anything Goes week!


As soon as I received my shrine I thought it would make a perfect little bird house and wanted it to have a colourful feel.  Usually I stick my projects together then decorate, but as I wanted to have decoration both inside and out I decorated all the pieces first.
I used cobalt teal hue fluid acrylic with tinting base to create the main house colour and then stencilled through the numbers mini stencil with the darker shade.  To match in with the numbers I used a number stamp from Wow! with archival sepia ink and finally added some white gesso using bottle tops and an old gift card.

To decorate the roof I first applied structure paste through the criss cross mini stencil and then once dry added burnt umber acrylic and some patina gilding wax...


The house of course needed some birds to live in it so I put together 2 birds using the Whimsical Birds sets 1 and 2.  These were painted using cadmium red, pyrole orange and hansa yellow light then stamped with the number stamp to match the house.  I also wanted to tie in some of the white so used a white Pitt pen to add some extra details.  I decided to add some googly eyes instead of the ones in the set as I just love googly eyes!!...


I put most of the house together and attached the inside bird using large foam pads to make it stand away from the back, then put on the front and roof and then attached the other bird.
To add extra decoration I stamped some flowers from the Dylusions set 'How Does Your Garden Grow?' and the sentiment from Dina Wakely's 'Scribbly Birds' set.  These were all cut out and then coloured with distress inks before being attached...


This is why I love Tando Creative products so much, as they can become whatever you want them to be and take many different mediums so well!

The products I used can be found on the Tando Creative website by clicking on the links below...

* Shrine 1
* Whimsical Birds 1
* Whimsical Birds 2
* Mini Stencil - Numbers
* Mini Stencil - Criss Cross
* Decoart Fluid Acrylics
* Decoart Tinting Base

Thank you for reading and happy crafting!

Jane xx