Showing posts with label journal cover. Show all posts

Thursday, 16 December 2021

Product Focus- Steampunk Journal Cover- Fiona Randall


Morning all Fiona here with a Product Focus project.

The DT will focus on the vast array of products available on the Tando website and hopefully give you some ideas and inspiration to try something new.

For my project I have focused on the Tando A6 Binder and Cover Pack. I t comes with two A6 Binders and 4 pairs of covers. I used a pair of the covers to create a steampunk themed journal cover.


 Air drying clay was pressed into a mould and once dry glued to the front cover.
I also used for decoration the Tando Steampunk Parts Small and also the medium sized Bee from the Tando Bee panel. The covers were given a rusty and patina treatment using DecoArt Media Fluid Acrylics. The embelishments were given an aged brass effect with hints of patina also. Am quite pleased how this turned out. 
A spine was created from a piece of Tando Grey Board cut to size and attached to the journal covers using book binding tape.
To finish elastic was added to the spine so little notebooks can be slotted in.
Thanks for taking the time to stop by and read.
 Do stop by the rest of the week to see more inspiration from the DT.
Fiona xx

PRODUCTS USED.


OTHER PRODUCTS.

Stamperia Soft Mould A5 - Time Machine.


Sunday, 22 April 2018

Anything goes- 'Starry Night' journal cover

Hi all!

Monika here with my very first post for Tando Creative blog!
This project was made for Make& Take class which took place last weekend at Ministry of Mixology event in Coventry.


To start with you'll need a plain covered journal/ notebook which needs to be primed first with Gesso or Matte Medium. 
Then, run Modeling Paste through stencils and let it dry.


 Using palette knife spread some Texture Sand Paste on your large ( size 9- 16x 9cm) tag


Paint all of the embellishments, tag and both sides of your cover with black paint.
Using make up sponge or soft brush apply darker shade of blue roughly on your tag and both covers, then repeat the step with lighter shade, try to blend in both colours. 


 Make some splatter using watered down white paint and toothbrush or paint brush.


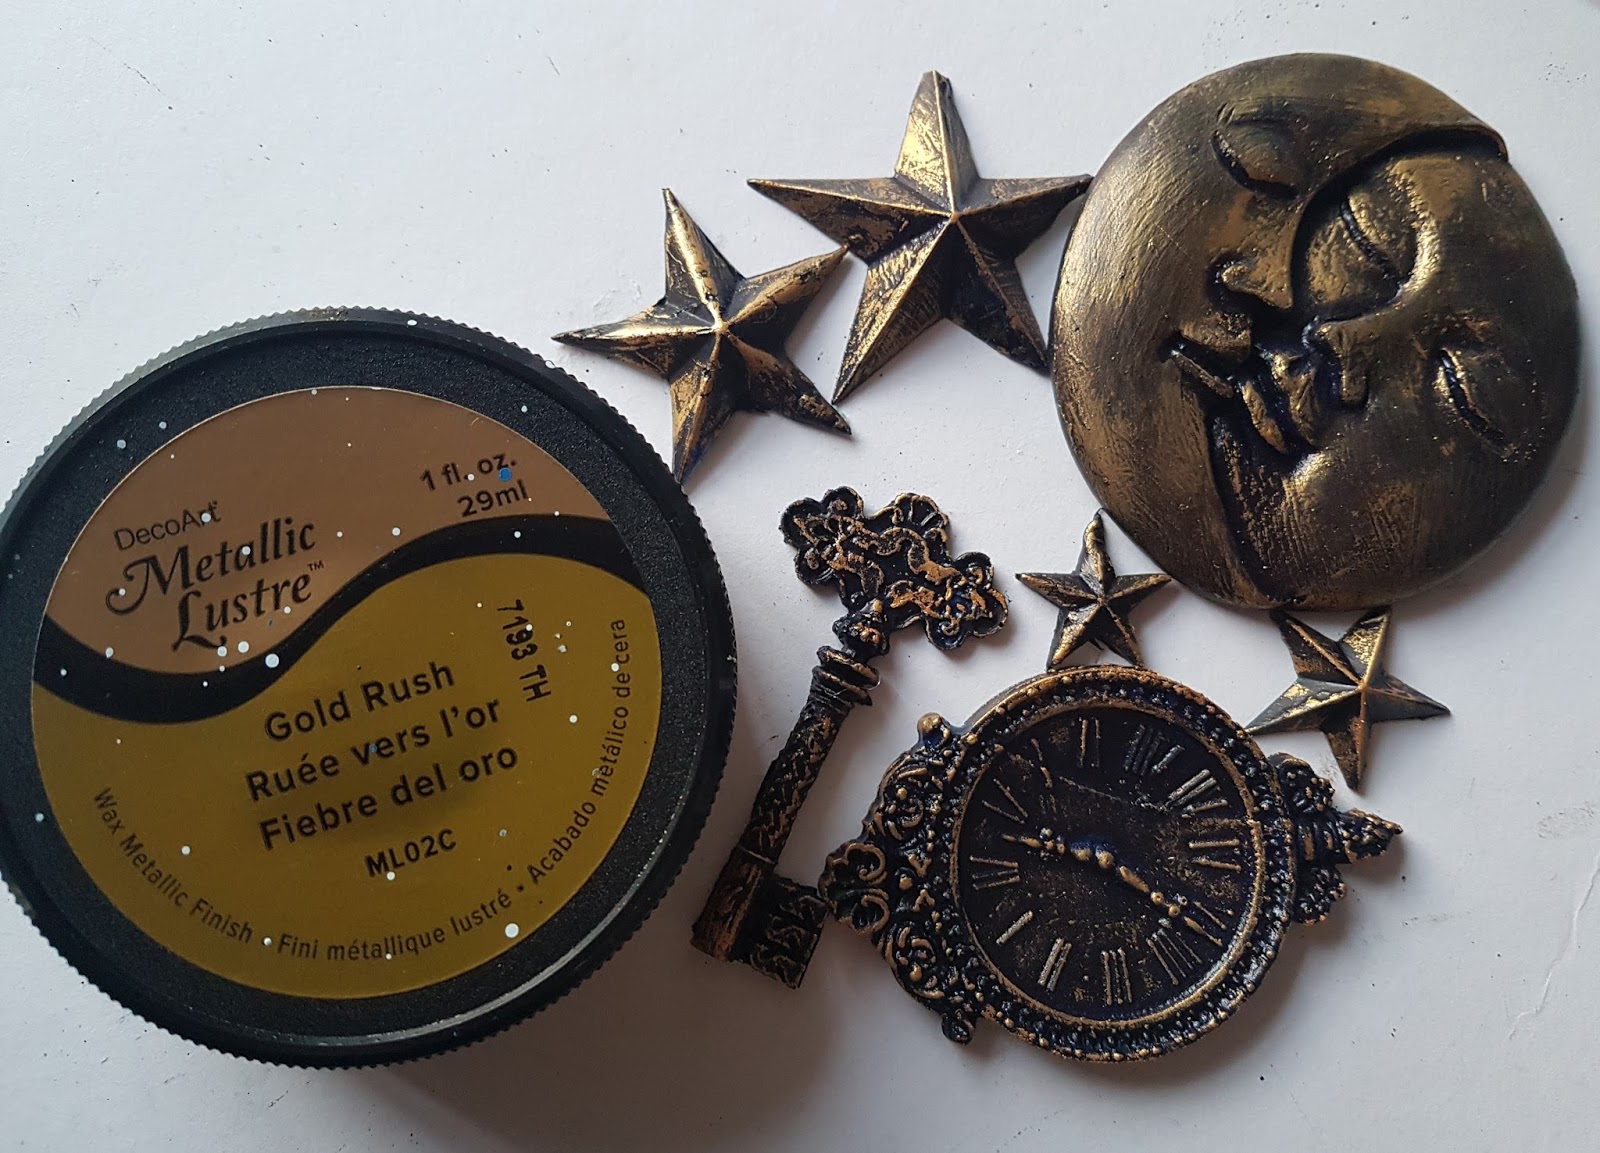
 Apply Metallic Lustre with your fingers or soft cloth to reveal the texture and accent the edges of the journal cover and tag.


Repeat this step on your embellishments.


Cut a small piece of cheese cloth and dye it with a wash of blue paint.


Time to put everything together :)  using a strong craft glue apply your elements on the front of your cover and let it set for few hours. 

* you can use different embellishments or even an images stamped on the card stock.

Thank you for stopping by, I hope you enjoyed this post.
Monika x


These are the journals made by lovely Mixology students! 

Products used:


I'm using size 9 tag- 16x 9cm 


 Decoart Media -Matte Medium, Modeling Paste and Texture Sand Paste
Metallic Lustre in Gold Rush, Silver Spark and Cosmic Blue
Americana Acryllics in Prussian Blue and Primary Blue
Fluid Acrylics in Carbon Black, Cobalt Blue Hue and Primary Cyan