Showing posts with label steampunk parts. Show all posts

Wednesday, 26 January 2022

Entropy - Zoë Sanderson

Entropy, what happens to a system if it is not maintained.  Generally thought of as an engineering term, but it applies equally to any system or process.  Entropy is the gradual breakdown of the system over time.  I'm not sure entropy ever ends the system just falls into disuse.
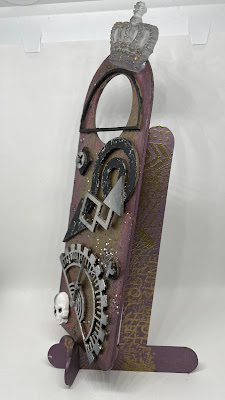

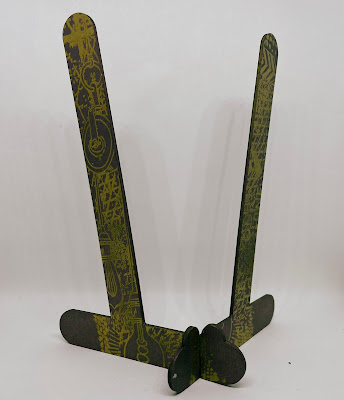
Industrial, Mechanical Breakdown, Steampunk all contributed to this project.  Truth is I just wanted to make & have a play in the craft room, things went from there.  Starting with a Tando large tag holder, and some gilding wax.
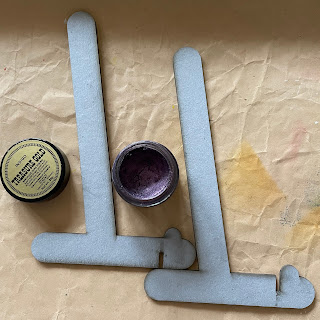


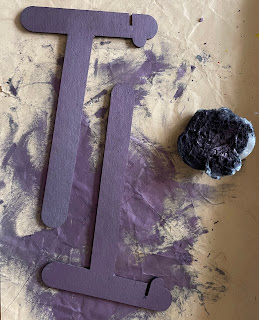
For me the best way of applying a full wax cost is with a cotton wipe especially with a solvent based polish like this one which will stain your fingers when applied directly by hand.  A wipe also makes it easier to really work the medium in and polish it.

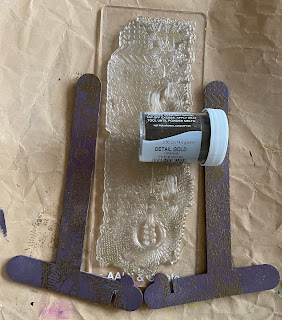
Once satisfied with the base finish using a Studio Light stamp and some fine detail gold ep we given a decorative finish.

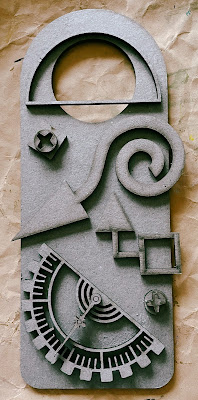
Next up a Tando door hanger (Style B) and elements from various grab bags etc.   The idea is to lay them out to establish the design.  Taking a photo is a good way of recording how your project is going to be laid out.
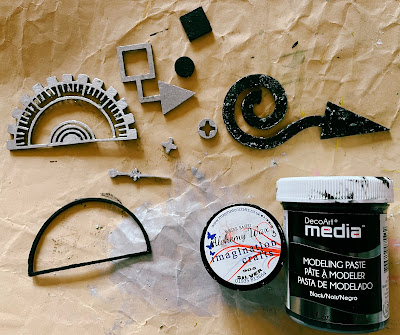
Liking all the shapes and layers time to get more mediums out and fussy them up.  The base hanger was given the same treatment at the arms of the holder.   Gilding wax, stamped and embossed.   The other bits and pieces were either given a coat of ArtDeco Modelling paste or a cost of silver gilding wax.  The modelling paste served not just to colour but also to add texture, which when it was dried was touched with more of the silver.


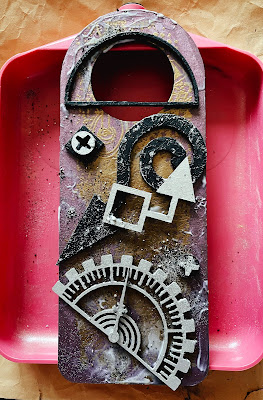
And assemble using a matt gel medium.    Not quite the same as the intended layout but .......

It didn't feel quite finished so a couple of moulded pieces were added, the skull is air dry clay the crown is resin.   With everything finally in place black distress ink worked round the edge and partially over the moulded additions.
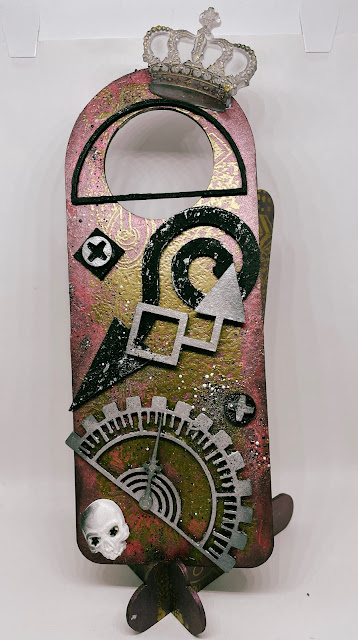

This was a fun way to pass a Sunday afternoon.

Products Used

Tando Tag Stand.
Tando Steampunk Parts
Tando Grab Bag of Screws

Metallic Lustre - Silver

Distress Oxide - Black Soot

Everything else from my personal stash.

You know we have a Facebook Group don't you?  We would love to see some of your Tando based projects there.  It is also somewhere that you can find all sorts of inspiration, ask questions and generally discuss your crafty thoughts.

Thursday, 16 December 2021

Product Focus- Steampunk Journal Cover- Fiona Randall


Morning all Fiona here with a Product Focus project.

The DT will focus on the vast array of products available on the Tando website and hopefully give you some ideas and inspiration to try something new.

For my project I have focused on the Tando A6 Binder and Cover Pack. I t comes with two A6 Binders and 4 pairs of covers. I used a pair of the covers to create a steampunk themed journal cover.


 Air drying clay was pressed into a mould and once dry glued to the front cover.
I also used for decoration the Tando Steampunk Parts Small and also the medium sized Bee from the Tando Bee panel. The covers were given a rusty and patina treatment using DecoArt Media Fluid Acrylics. The embelishments were given an aged brass effect with hints of patina also. Am quite pleased how this turned out. 
A spine was created from a piece of Tando Grey Board cut to size and attached to the journal covers using book binding tape.
To finish elastic was added to the spine so little notebooks can be slotted in.
Thanks for taking the time to stop by and read.
 Do stop by the rest of the week to see more inspiration from the DT.
Fiona xx

PRODUCTS USED.


OTHER PRODUCTS.

Stamperia Soft Mould A5 - Time Machine.


Tuesday, 23 November 2021

Tagged and Grabbed - Zoë Sanderson

Passing my craft table yesterday morning after locking the back door some of the things on said table sparked an idea.   How about covering the surface of a Tando Tag with glue stick and then covering it with Mica powder.   Then I went to work.  Returning home this is what the idea turned into.


First the glue stick was pulled down the tag.   The effect is so textural and interesting, various Mica powders sprinkled over.  They settled in the nooks and crannies of the glue as well as on top making things even more interesting.  Before starting on the other elements I swiped a white Brilliance inked over the top concentrating of the areas that the glue did not stick to.  The more matt appearance of the ink off set against the sparkle creates even more depth.

The two half circle cogs, from Steampunk Parts, on the sides were given an application of gilding glue and when that was ready they were dipped into gilding flakes.  The flakes went everywhere so it took a while to clean the cogs up and I even ended up with gilded fingers.   Next a hanging bar from the Assorted Plaques kit, this was given a covering of gold gilding wax.

The butterflies from a Butterflies grab bag were painted with Starlight paints.  The flowers from Floral grab bag pressed into an embossing ink pad and coated with Stampendous thick Shabby embossing powder.  PVC glue stuck everything together.

The picture above taken this morning in natural light angled to show the sparkle of all the different mediums used.  The picture below, taken moments later, has the tag laid flat and so is a better representation of the colours used.


Next time I want to create a running water/waterfall effect this is how I will do it.  How would you use this technique?  we would love to see you work in our Facebook group.

Products used

Tando Tag size 10

Steampunk Parts 

Assorted Plaques kit,


Colouring mediums, glues and embossing powder from my stash.