Wednesday, 17 November 2021


Product Focus - A6 Ringbinder by Bernadette Ball


Good Morning Everyone,

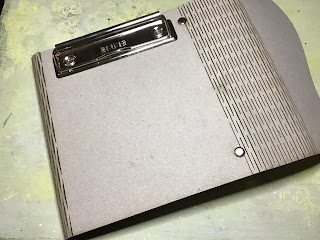
Today I am showing an A6 ringbinder https://www.tando-creative.co.uk/a6-ring-binder.html which I have decorated for Christmas.  Hopefully, this Christmas I will be able to fill it with family memories and photos!

I started by using the mini snowflakes stencil https://www.tando-creative.co.uk/MSKMINFLKE.html with some grit paste.


Once this had set, I painted the whole thing with some dark blue paint.  When the dark blue paint dried I dry brushed some light blue paint over the top then when that had dried I added some silver paint with a stencil brush.


I then took some mini snowflakes https://www.tando-creative.co.uk/TMSNWFLKS.html and embossed them with some silver embossing powder.  I did this twice to give them plenty of texture.


I then glued the snowflakes to the front cover of the ring binder and added the silver die cut Christmas and 2021 in the middle.  I haven't decorated the back yet so the last photos are of the front cover,


Tuesday, 16 November 2021

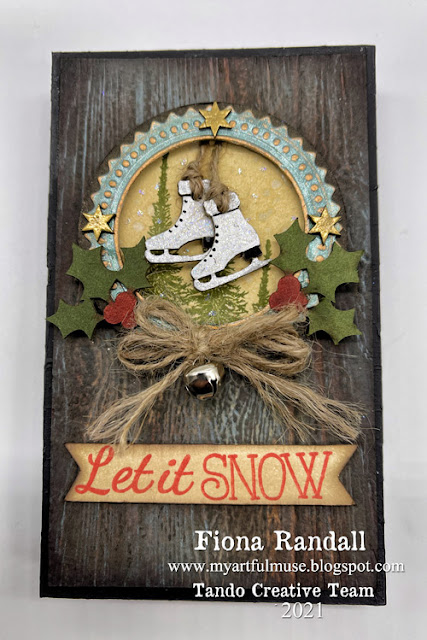
Let it Snow- Anything Goes Week - Fiona Randall


Morning All t's Anything goes week here on the Tando Blog.

Following on from my Facebook live over on Crafting Together With All Brands last week

You can see the Video HERE

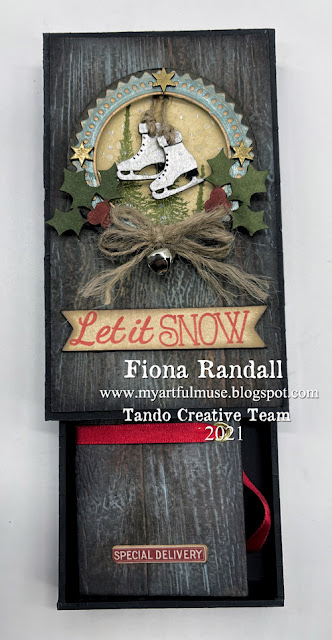
I decided on creating another of the Tando Medium Matchboxes again using a Christmas Theme along with some Christmas Themed Tando Elements.


After assembly of the matchbox both cover and insert drawer were given a coat of DecoArt Chalky Finish in Carbon black. Then finished with a coat of DecoArt Media Ultra Matte Varnish.
Water colour cardstock was embossed with a Lumber 3d Embossing Folder then spritzed and sprayed with Distress Ink and Oxide Sprays. Edged in Ground Espresso Distress Ink. This was then adhered to the matchbox cover with DecoArt Decoupage Matte Glue.
Next up the Decoration using Tando Elements and a Die cut frame. Some stamping and glitter touches and a little Jute String bow with bell added .


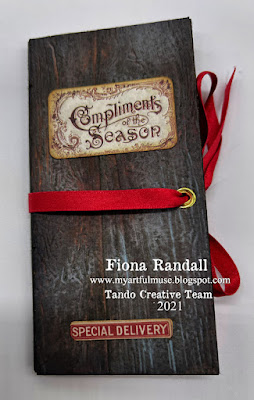
I decided to create a little gift card holder booklet using two of the matchbox inserts for my covers.


The covers were decorated to match the outer matchbox cover. With some ephemera added for interest.


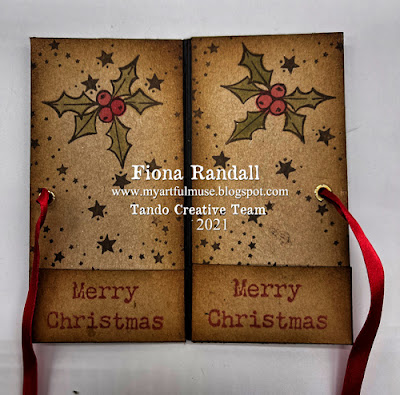
The inside covers were created using craft card and stamped in the christmas theme.
A strip of black card was then cut to create the hinge mechanism for the booklet and adhered to the front and back cover before attaching the Inner covers. holes were then punched into the covers and set with eyelets before threading some ribbon through to act as a closure.
A fun and easy project to complete and something different for gift giving.
Thanks for taking the time to stop by and read. Do come back the rest of the week to see what the DT has in store fore you.

PRODUCTS USED.


OTHER PRODUCTS USED.

Tim Holtz 3d Embossing Folder - Lumber
Tim Holtz Switchlet Embossing Folder- Seal.
Tim Holtz Distress Spray Stain- Walnut Stain, Vintage Photo, Frayed Burlap
Tim Holtz Distress Oxide Spray-  Evergreen Bough.
Tim Holtz Seasonal Distress Mica Spray- Frosted Juniper
Tim Holtz Distress Ink Pad- Ground Esspresso, Antique Linen, Forest Moss.
Tim Holtz Ideology- Christmas Snippets Ephemera.

Jute String
Silver Bell
Glitter
Gold Wax
Black Posca Pen
Ribbon
Gold Eyelets.
Various christmas stamps from my stash.


Friday, 12 November 2021

Tag Hanger and Tag Step by Step by Nicky Roussou


Welcome to my blog.

I thought it would be nice to give you a little peek at how I made my Tag Stand and Tags that were showcased on The Craft Store TV show last week.


I started by assembling the Tag Stand and giving it a good coat of Black Gesso. 

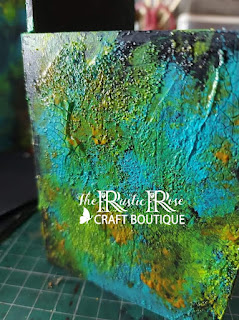
I then used Stamperia Clear Crackle paste  and some DecoArt Strata paste randomly and allowed to dry t give a nice rough effect.


Once dry, I gave it a paint with some Blue, Yellow and before it dried so the colours mixed.


Once dry I gave it a think coat of watered down brown paint to give it an aged effect.


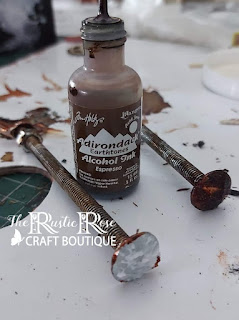
For the Bolt I used used a little bit of a Grain Medium on the end to rough it up and make it look rusty and then added some Expresso Alcohol Ink to age it. 


I carried out the same technique on the Layered Butterfly Substrates.


Don't these butterflies look lovely!


For this Tag I used Tando- Creatives new Stencil and a mini clock as well as the layered Butterfly.


I used the new stencil on this Tag too as well as the layered butterfly.


Finished with all my Tags in place.

Thank you :-) 

PRODUCTS USED


Stamperior Crackle Paste
Stamperior Strata Paste
Selection of DecoArt Paint


Wednesday, 10 November 2021

Tag hanger with tags

 Did you see the Tando Creative shows on The Craft Store recently? Well one of the new products was this fantastic tag hanger with tags. The tags are available in hooks or with holes. You can see them here in the store https://www.tando-creative.co.uk/tag-hanger-and-24-tags.html

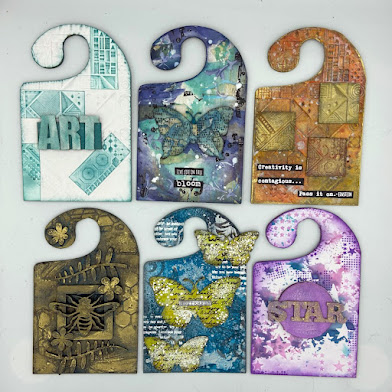
I've made a little step by step on how I decorated mine. This is the one I made with 6 hanging tags and 6 tags with holes.


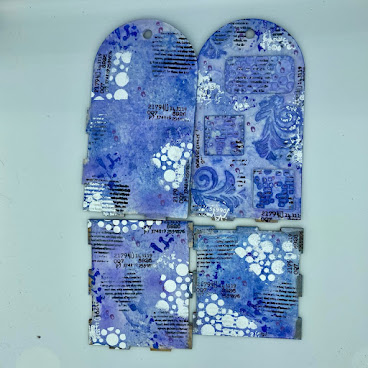
First I used my Tando pieces from a grab bag with texture paste and the new stencils. I adhered them to each of the pieces. I also stencilled with texture paste straight onto the side pieces and gessoed over everything including the base and back. Using watercolour paints I brushed over the pieces randomly and then used a water spray to move the paints around. I did this in several layers letting each layer dry first. For the butterfly nut and bolt I used versamark ink and a purple embossing powder. 
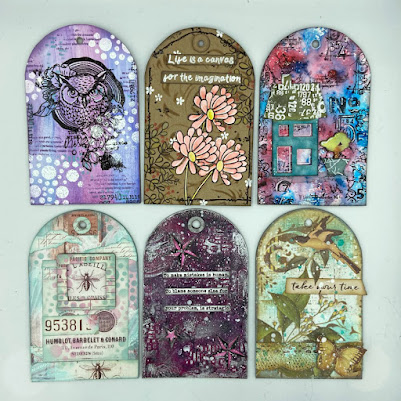


Here's my 12 tags. I've used so many techniques and materials on my tag that if I showed each individually it would be a very long blog post! So I'll just say that I've used papers, waxes, stencils, texture paste, stamps and so many other materials and they tags took it all. They are really robust and will pretty much take anything you throw at them. You can buy them seperately in the Tando Creative store too.  


The DT have done so many variations on theirs and they all look fabulous. Don't forget to show us your tag hangers and tags on the Tando's Creative Zone facebook page here

I've used:

Tag hanger and 24 tags

Tando grab bags 

Tando alphas & words

Tando tall house kit

Tando butterfly grab bag

All other materials are from my own stash.

Sharon x

Sunday, 7 November 2021

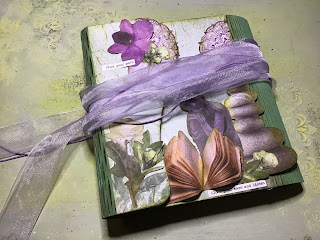
November Colour Theme Binder Project by Art Angel

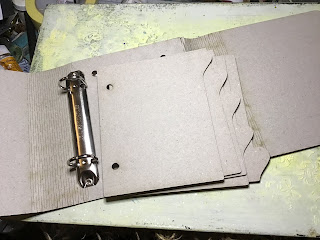
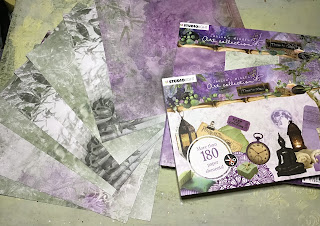
 The colour theme for this project is so gentle and calming that it’s a perfect match for Jenine’s Mindful Art collection from Studiolight. I chose to work with this collection as i wanted to use papers on my binder. 


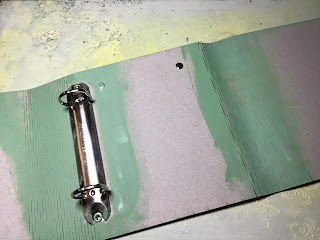
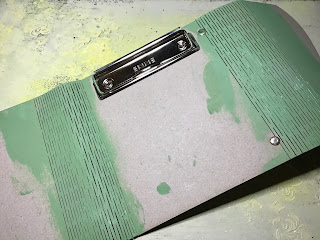
I started by painting the living hinge section of my binder with Decoart Americana Chalk paint in enchanted and all the bits that were not going to be covered with paper, ie around the ring binder mechanisms and the tabs on my pages. Whatever paper's you use, just pick a coordinating colour


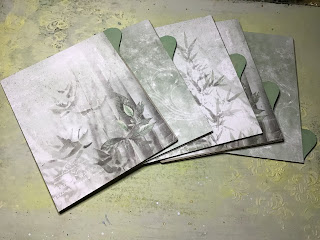
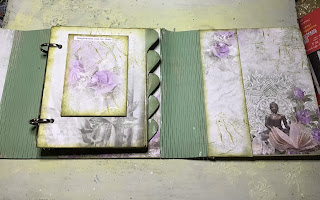
I then used a good pva book binding glue to cover the back and front of each page insert, the easiest way to do this is be spreading the glue with the edge of an old debit card, this way the coverage is even and does not cause your paper to warp, plus you can get a really thin layer of glue which is all that it needed
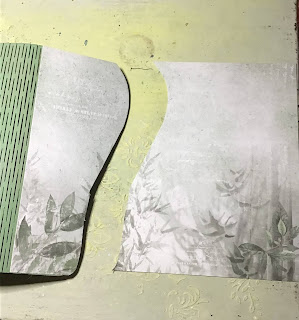
I found that cutting my 8 x 8 paper in half top to bottom, i could cover the front and back of one insert from each sheet, i just stuck the 4” x 8” piece so that it was level along the bottom edge and trimmed the top with scissors
When dry use sandpaper to smooth your edges for a more professional finish and then ink your edges to frame your pages. I used a Spanish Moss versfine ink but you could edge with the same paint you used to colour your spine 


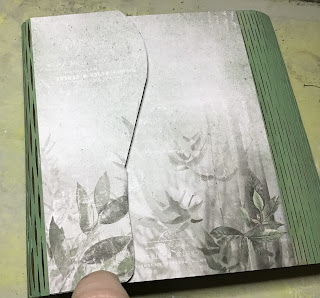
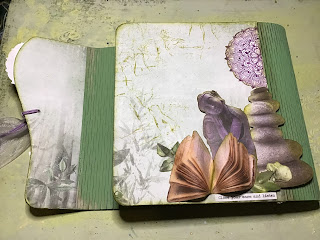
Next i covered my two front flaps, i spread glue onto the grey board and laid my sheet of 6 x 6 on top making sure the bottom edges were level, the cut round with scissors, again sanding and inking the edges when dry
The front left cover has a lovely curve to it, keep the remainder of your paper when cutting for this piece as it still big enough to cover the inside without cutting into a further sheet


Also, for the curved flap, cut from the left hand edge of your sheet by lining your paper up against the living hinge, use an identical sheet on the other front flap, lining up with the righthand side of the paper, this way the overall image on the front of your binder will be complete and match when closed


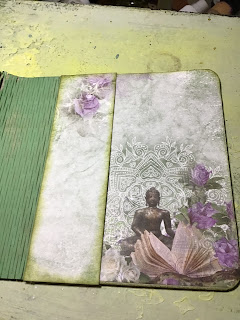
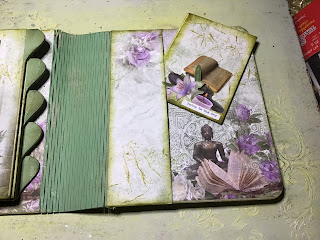
When covering the inside of the larger front flap, i needed to trim the width of my paper to five inches,  i wanted the keep the full image on the bottom right, but didn't want to lose the image top left, so that i could keep and use both. Rather that trimming to 5” and cutting the rose in half i trimed at 1.5” and kept the rose intact.  I overlapped the two pieces to create a pocket. Always look at your designs before cutting to maximise the use of your papers. Ink the pocket edge before gluing just three sides leaving the pocket open

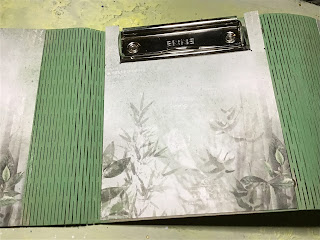
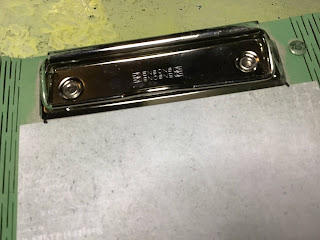
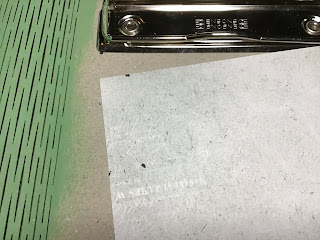
To cover the back and inside back panel first mark out positions of the mechanism so that you can cut round them, also mark and cut or hole punch where the rivets are, make a feature of them rather than covering them up and having a lumpy bumpy finish


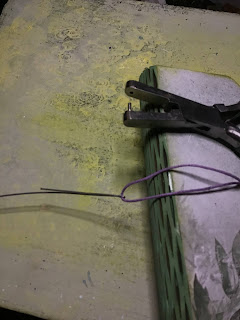
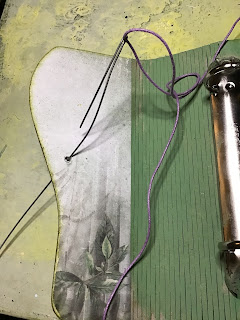
I then used a small punch to create a hole so that i could add ribbon for my closure, if you are struggling to thread ribbon through a small hole, bend a piece of floristry wire over, poke this through the hole, use that as the eye of a needle, thread your ribbon through and  pull though hole and tie off


Decorate your front covers, if you are using die cuts ink your edges and raise up on foam pads to give more depth


I also made two matching atcs, one to go on my first page the other to go in my back pocket!


I used… 


Jenines mindful art collection from studiolight