
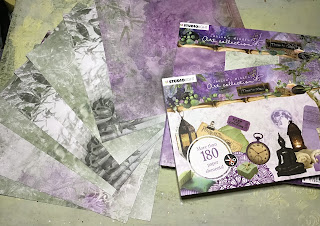
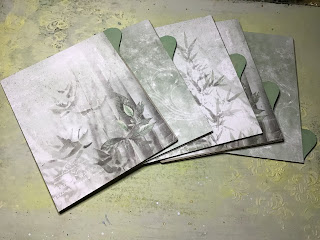
The colour theme for this project is so gentle and calming that it’s a perfect match for Jenine’s Mindful Art collection from Studiolight. I chose to work with this collection as i wanted to use papers on my binder.
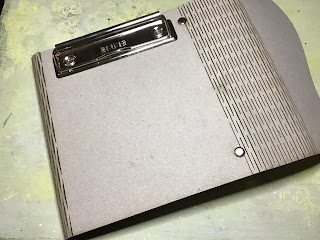
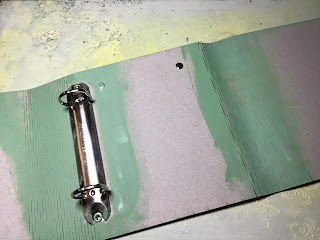
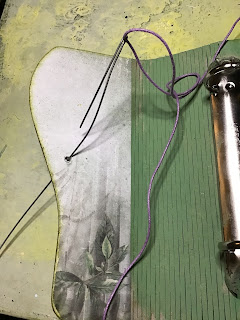
I started by painting the living hinge section of my binder with Decoart Americana Chalk paint in enchanted and all the bits that were not going to be covered with paper, ie around the ring binder mechanisms and the tabs on my pages. Whatever paper's you use, just pick a coordinating colour
I then used a good pva book binding glue to cover the back and front of each page insert, the easiest way to do this is be spreading the glue with the edge of an old debit card, this way the coverage is even and does not cause your paper to warp, plus you can get a really thin layer of glue which is all that it needed
I found that cutting my 8 x 8 paper in half top to bottom, i could cover the front and back of one insert from each sheet, i just stuck the 4” x 8” piece so that it was level along the bottom edge and trimmed the top with scissors
When dry use sandpaper to smooth your edges for a more professional finish and then ink your edges to frame your pages. I used a Spanish Moss versfine ink but you could edge with the same paint you used to colour your spine
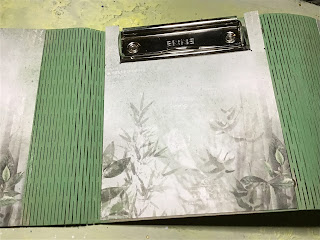
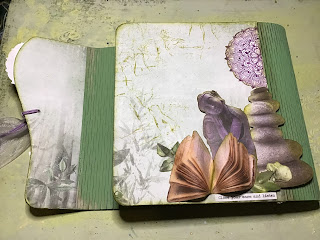
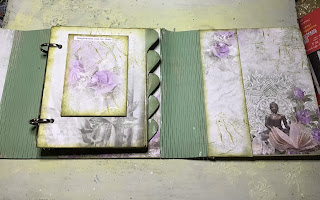
Next i covered my two front flaps, i spread glue onto the grey board and laid my sheet of 6 x 6 on top making sure the bottom edges were level, the cut round with scissors, again sanding and inking the edges when dry
The front left cover has a lovely curve to it, keep the remainder of your paper when cutting for this piece as it still big enough to cover the inside without cutting into a further sheet
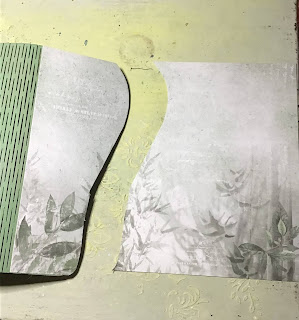
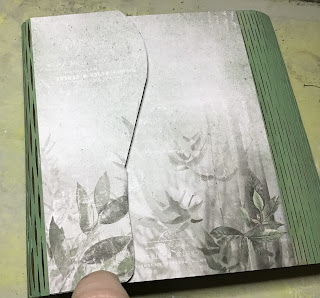
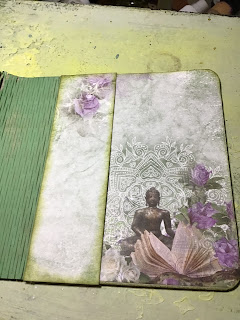
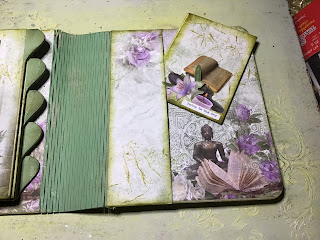
When covering the inside of the larger front flap, i needed to trim the width of my paper to five inches, i wanted the keep the full image on the bottom right, but didn't want to lose the image top left, so that i could keep and use both. Rather that trimming to 5” and cutting the rose in half i trimed at 1.5” and kept the rose intact. I overlapped the two pieces to create a pocket. Always look at your designs before cutting to maximise the use of your papers. Ink the pocket edge before gluing just three sides leaving the pocket open
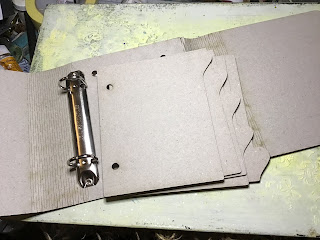
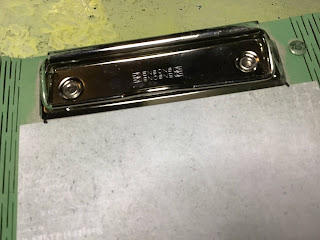
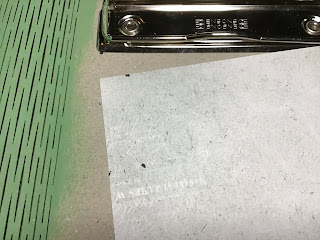
To cover the back and inside back panel first mark out positions of the mechanism so that you can cut round them, also mark and cut or hole punch where the rivets are, make a feature of them rather than covering them up and having a lumpy bumpy finish

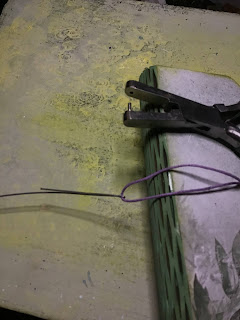
I then used a small punch to create a hole so that i could add ribbon for my closure, if you are struggling to thread ribbon through a small hole, bend a piece of floristry wire over, poke this through the hole, use that as the eye of a needle, thread your ribbon through and pull though hole and tie off
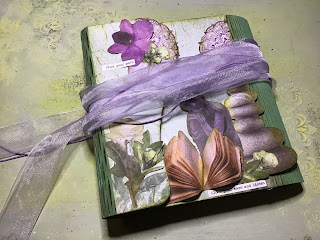
Decorate your front covers, if you are using die cuts ink your edges and raise up on foam pads to give more depth
I also made two matching atcs, one to go on my first page the other to go in my back pocket!
Jenines mindful art collection from studiolight
1 comment:
What a great blog I will absolutely use the old credit card technique from now on. This book would make a fabulous gift but equally a great planner for 2022.
Post a Comment