Wednesday, 2 May 2018

Colour Theme May

Hello, it's Karen here with my take on this months colour theme.  The inspiration comes from peacock feathers.....those glorious greens and blues.  Again I have done a *twinchie* to add to my collection.  Instead of feathers I have added a *butterfly*.


Here is the inspirational picture.....


Thank you for coming over for a look, take care, Karen xxx


Saturday, 28 April 2018

Use papers week- Set your own course tag by Monika


Hi!
 It's Monika here with my latest 'USE PAPERS' project.
I've decided to make a vintage looking, romanantic tag.


It was a perfect time to use some of the pretty scrapbooking papers I've been collecting for ages ;) 
I've torn some pieces and stick them on size 9 tag. Using Andy Skinner stencil and decoart modeling paste I've added a travel word on the side, then added and some washi tape pieces.


I've used washes of raw sienna fluid acrylic to give it an old, worn out, sepia look. 

Compass and little hinge were painted with decoart dazzling metallics in rich espresso and chalky finish paint in whisper. Once dry I've used some metallic lustre in gold rush on the compass. To stick on all of my little embellishments-  mini stars, fabric roses, birch bark as well as grey board pieces, I've used heavy gel medium which works great as a glue.
To finish it off I've added a cotton lace ribbon, stamped words and some splatters of  white paint.


 I hope you like it! 
See You next time!
Monika 
x


Products used:


Friday, 27 April 2018

Use Papers - "Libellule Blue" Binder by Hannah

Hi all, thank you for joining me here on the Tando Blog for paper week! As many of you know, I love to use papers in my designs - the wide range of choice in styles and colours really lend themselves to the design process - often igniting the creative spark! 


I am currently building a selection of decorated binders from Tando Creative ready for workshops, here we have my latest offering including gorgeous papers from Craft Constortiums' new Wildflower Meadow collection, and of course a textured heart in keeping with the teal theme!


To make a feature of the heart I have added dragonfly wings stamped on acetate and dry-brushed to make the textures come to life.


For the papers I have torn and ripped sections and sealed them, before adding DecoArt Media Crackle Glaze. A layer of DecoArt Antiquing Cream in Patina Green really helps to highlight the crackles beautifully!

I hope you enjoy this project - look out for workshop details coming soon!


List of Products Used:

Thursday, 26 April 2018

Use patterned papers

HI it's Brenda with you today with a sample for the 'use patterned papers' theme. I used my trusty DecoArt media acrylic paints and did lots of colour mixing. You can see my palette and mixes below.


I took one of my media boards that Di cut me - they're 12.5 x 18 cms and are perfect for a smallish project but still with enough room for lots of layers and details.  This was an ideal time to get out those old papers that sit in boxes and cases in my room and I covered the board with my choice of  patterned paper using DecoArt decoupage sealer/glue.


I wanted this to be a bit more busy so added some colour and pattern with stencils, stamps and paint.


To create the last layer I took the text mask ....


.... and used blending foam to daub paint through it


You can make out most of the letters and numbers but I decided to grab a white posca pen and draw round some of them to make them clearer.


Hmmm ..... the white is a bit bright so I mixed a dirty glaze with a little paynes grey and satin varnish which and toned it down and sealed it at the same time.

Lastly came the embellishments all altered with the decoart paints.


Now you wouldn't know we started with patterned paper would you? But it gives a great first layer covering.


And here's my palette and mixed colours. Click on it to enlarge


Thanks for stopping by.

hugs Brenda 


Supplies
Media Board (ask Di to cut you some of this size if you'd like to try them)
Alphabet Spaghetti stencil


Tuesday, 24 April 2018

Use Papers...

Hello Carol with you today to share with you my papered tag!


The tag is a large tag from the mixed media tag bundle which had some text scrapbook paper added and then the edges sanded before being inked with distress ink.  Using distress ink and the dot stream stencil further texture was added to the base.  Further elements from paper pads and scrap book paper were also added to the base 

I attached a piece of a master board which was laying in my stash to a large butterfly from the butterfly mega pack and then sanded the edges and left this white rather than adding ink, a brass key embellishment was added for the butterflies body.

Book paper was added to a heart and three flowers from the mini packs and then paint added to the edges.

TFL xx

Monday, 23 April 2018

Using Paper!

Hi, I am starting this week of using paper on Tando.  A lot of us have lots of paper in our stash and using it on chipboard is an excellent way to use it up.

For my project I have used One of Andy Skinners new *scrapmetal fish* which look fantastic painted up but also as good covered with paper!!!!


I added some tinting base/gesso first to seal the pieces, though its not really necessary.  Its a habit I guess hahaha!  Then I glued the pieces onto patterned paper...


This fish is around 11cm long.  I decided to mount it onto a tiny canvas. 


So I spread some *crackle paste* through the *Bubbles* stencil while I trimmed the paper from my fish.  Using Shadow grey  Archival Ink and a sponge I went around each piece before gluing them onto the base.  When dry the canvas was colour washed with blue.  I added some grey antiquing cream to the dots.  Looks a bit like fish bubbles :-D  A ribbon to hang it by and a sentiment were added.  Oh and don't forget the eye as I nearly did :-D


Thank you for looking today.  Take care , Karen xxx


Sunday, 22 April 2018

Anything goes- 'Starry Night' journal cover

Hi all!

Monika here with my very first post for Tando Creative blog!
This project was made for Make& Take class which took place last weekend at Ministry of Mixology event in Coventry.


To start with you'll need a plain covered journal/ notebook which needs to be primed first with Gesso or Matte Medium. 
Then, run Modeling Paste through stencils and let it dry.


 Using palette knife spread some Texture Sand Paste on your large ( size 9- 16x 9cm) tag


Paint all of the embellishments, tag and both sides of your cover with black paint.
Using make up sponge or soft brush apply darker shade of blue roughly on your tag and both covers, then repeat the step with lighter shade, try to blend in both colours. 


 Make some splatter using watered down white paint and toothbrush or paint brush.


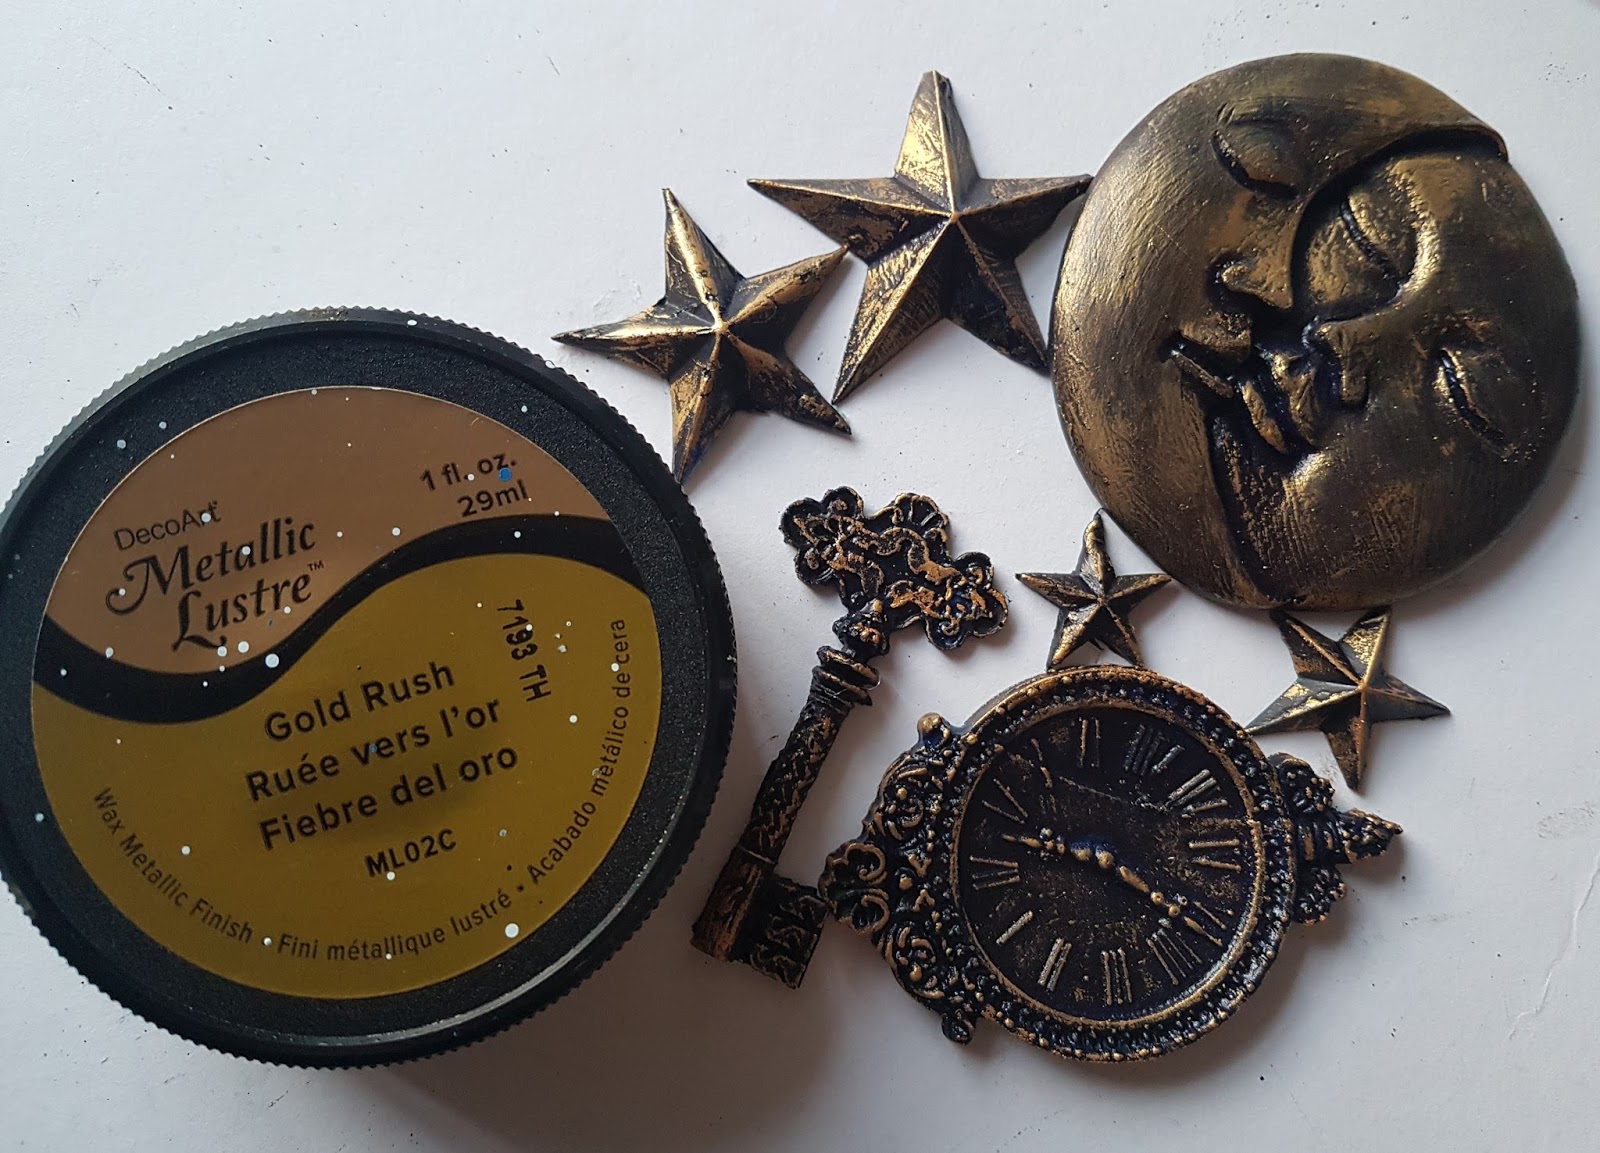
 Apply Metallic Lustre with your fingers or soft cloth to reveal the texture and accent the edges of the journal cover and tag.


Repeat this step on your embellishments.


Cut a small piece of cheese cloth and dye it with a wash of blue paint.


Time to put everything together :)  using a strong craft glue apply your elements on the front of your cover and let it set for few hours. 

* you can use different embellishments or even an images stamped on the card stock.

Thank you for stopping by, I hope you enjoyed this post.
Monika x


These are the journals made by lovely Mixology students! 

Products used:


I'm using size 9 tag- 16x 9cm 


 Decoart Media -Matte Medium, Modeling Paste and Texture Sand Paste
Metallic Lustre in Gold Rush, Silver Spark and Cosmic Blue
Americana Acryllics in Prussian Blue and Primary Blue
Fluid Acrylics in Carbon Black, Cobalt Blue Hue and Primary Cyan