

Another Tando Advent box and this one is rather special, it may even warrant taking pride of place as your Christmas Day box!
This Light Up Advent box is a present within its as there isn’t really room to get anything inside!


First, lay all your pieces out and establish their correct position before gluing with a good PVA
As highlighted in previous Advent blog posts, you will have and outer box and inner drawer, each to be assembled separately
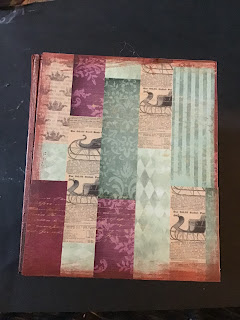
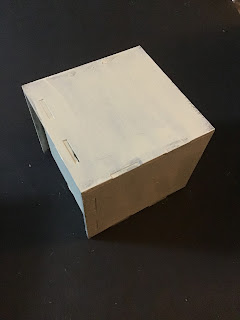
I started by base coating both box and drawer with DecoArt Vintage Chalk paint, then cut squares of decorative paper to adhere to the sides and top of the box using DecoArt Matte Medium
Top view

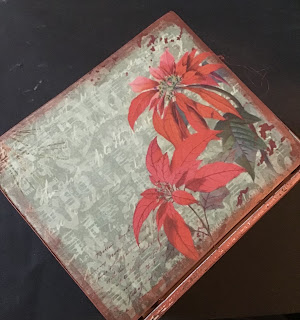
I done exactly the same to the drawer front using more of a focal image from the same paper pack, and then set it aside

I glued together the rest of the drawer but left the front panel off as i knew this was going to be a 3d layered project and leave the front panel off would give me much easier access. Base coat in the same Vintage paint

I used my hole punch to pinch away a tiny recess that would house the wiring for the lights, you could just snip away with the pointy end of a pair of scissors if you have got a small punch, all you need is a little notch taken out to allow everything to sit flush when assembled

The base of the drawer, by nature of its design, is set in a little, giving you the perfect place to conceal the battery pack with no hindrance to sliding the drawer in or out, glue this in place using hot glue or red liner tape

It is very easy to spiral your lights round starting with the light closest to the battery pack, place along the outer edges working in towards the middle, i we t side, bottom, side, back, side, bottom, side, back, using red liner tape to hold the wire in place as i went, keep going until all lights have been secured

Cut four panels from paper pack and adhere to conceal lights, it is so much easier if you use red liner tape for this

I wanted my elements to appear 3d, so to give dimension and to secure pieces in the middle of the box, i glued the ends of strips of thin card together and creased to form a cube, this i glued to the back of my elements, i can then glue the back of that cube either to the walls or back of my box or to another element creating lots ff depth and layers, this creates the illusion of your pieces seeming freestanding

Build up your layers as little or as dense as you like

When all your pieces are in place glue your drawer front into position, the drawer front also acts as the base or floor of your piece as the idea is to pull the drawer out then flip towards you to see the scene

Dont forget to finish off by going round all your box and drawer edges using DecoArt Metallic Lustre in Copper Kettle for that final touch!

Switch your lights on and display


Hope you have all enjoyed making this as much as i did, tag me in your finished projects, i cannot wait to see what you do with yours x x
I used
Red liner tape
Decorative papers
No comments:
Post a Comment