Thursday 31 October 2019

Trick or Treat- Tando Tuts on Thursday- Fiona Randall


Happy Halloween Folks.
 
Over on Tando's Facebook Group- Tando Creative Zone you will find the step by step tutorials to create these wickedly fun Halloween projects. Projects I hear you say..........
Yes I have  created not one but THREE for you this week. At Tando we are not about the TRICKS but the TREATS.
ENJOY!


Here's the link to download the tutorials.
Have Fun
Fiona x


Wednesday 30 October 2019

Spooky and creepy by Dee


Hi everyone Dee here with my post for Spooky and Creepy I wasn't sure what to do for this `i have some amazing stamps and I wanted to do a folder that I have from Tando with lovely pages in unfortunately had to take mum to hospital so didn't have time in the end so I have done this tag.


I used a Tango tag, Tando's mini Flourish stencil and Extra thins Harlequin. I used modelling paste through the stencil to the top left and bottom right of the tag. On the opposite sides I glued the Tando Harlequin's extra thins.


I stamped the Tim holtz skull from his life of the party set along with the compass from indigo blue and the butterfly onto paper I then cut them out. I coated the tag with # Deco art chalk paint in whisper.


Next i glued the stamped images onto the tag then I used crackle paste around the skull and the edges of the tag and allowed to dry. I also used the crackle paste through my old spider stencil as I love him.


I dry brushed colours onto the tag I used raw umber fluid acrylic on the Deco art crackle paste and the followed by black antiquing cream. I used ultra matt varnish on the skull and the compass so that they would not absorb any other colours and if they did I could knock them back. Next I used artisan powders and quinacridone gold I dry brushed with them till I was happy


I hope you have all enjoyed my project please feel free to let me know what you think.
Cheers Dee x


Tuesday 29 October 2019

Spooky and Creepy Tag by Jane

Hello!

As we are heading towards Halloween, this week the theme on the Tando Creative blog is Spooky and Creepy and I decided to decorate one of the technique binder tags...


I started by using the small cobweb stencil by Tando Creative with crackle paste.  This was done at the top and the bottom of the tag and I filled in any spaces in between with more paste.  To make sure my webs all looked joined up I used my pokey tool to make some of the lines longer, scraping back the paste.

Once this had dried and cracked I used a shimmery spray ink in metallic silver to add colour.  I liked the way the colour soaked into the exposed grey board areas but left the crackle paste quite light and decided to leave the colour like that...


Using a spider from the Tando grab bag, I added some texture sand paste then once it was dry used purple paint and silver gilding wax.

I stamped out the poison bottle using a Bee Crafty stamp from my stash, this then had clear embossing powder added.  A bit of colour was added using Faber Castell pens then I re stamped the label to add another layer to the bottle.

The words were chosen from the Tim Holtz clippings set, and I picked 3 that I thought went with the spooky theme which I backed onto black card for extra stability...


Here are the links to the products used:

* Technique Binder and Tags
* Grab Bag of Spiders
* 4" x 4" Stencil - Cobweb
* Decoart Media Line - Crackle Paste; Texture Sand Paste

There will be more spooky projects this week from the rest of the team so do please pop back to see them.

Thank you for looking and happy crafting!

Jane xx

Saturday 26 October 2019

Crackle Week - Nikki K

Morning all,

It's my turn for the Crackle week post, hope you've enjoyed everyone's inspiration this week.

I took one of Di's fab Ring Binders, and painted it first in Everlasting Chalk Paint.  I then added a layer of Americana Chalk Crackle, which only works with the chalk paints.  But instead of doing a different colour for the top layer..  I did a 'same colour' crackle, so Everlasting over the top again.  This still gives a crackle, but more of a subtle texture than contrast.

When the crackle had dried, I added black modelling paste through the Suit's stencil, which I love. I covered the front and back, but left the edges. I then added a wash of Cadmium Red Hue inside and out.  This gave a sheen on top of the black modelling paste, as well as seeping into some of the crackle, and leaving other spaces whiter.


I felt it was bright at this point, and I wanted a darker, more sinister look, for a sort of 'dark Alice in Wonderland' feel.  So I added Black Antiquing Cream and wiped back in places.  I gave a plaster heart the same treatment, red paint then antiquing cream.  I also dry brushed Interference Gold paint to give a sheen.


The whole binder was given a coat of Matte Varnish, to seal the Antiquing Cream and protect it.


I also made a plaque in the same way, with a Tando greyboard square I had, and a plaster skull.


Hope this gives you some ideas,

Best Wishes,

Nikki K.
xxx

Products Used:

Tando Creative
Ring Binder
Greyboard Pieces (Plaque)
Suits Stencil

DecoArt Paints:
Everlasting Chalk Paint
Americana Chalk Crackle
Cadmium Red Hue Media
Black Antiquing Cream
Ultra Matte Varnish
Interference Gold Media
Quinacridone Gold (on plaque)
Raw Umber (on plaque)

Other:
Skull from own Mold
Heart Clock from Stamperia Mold


Friday 25 October 2019

Sundial by Dee

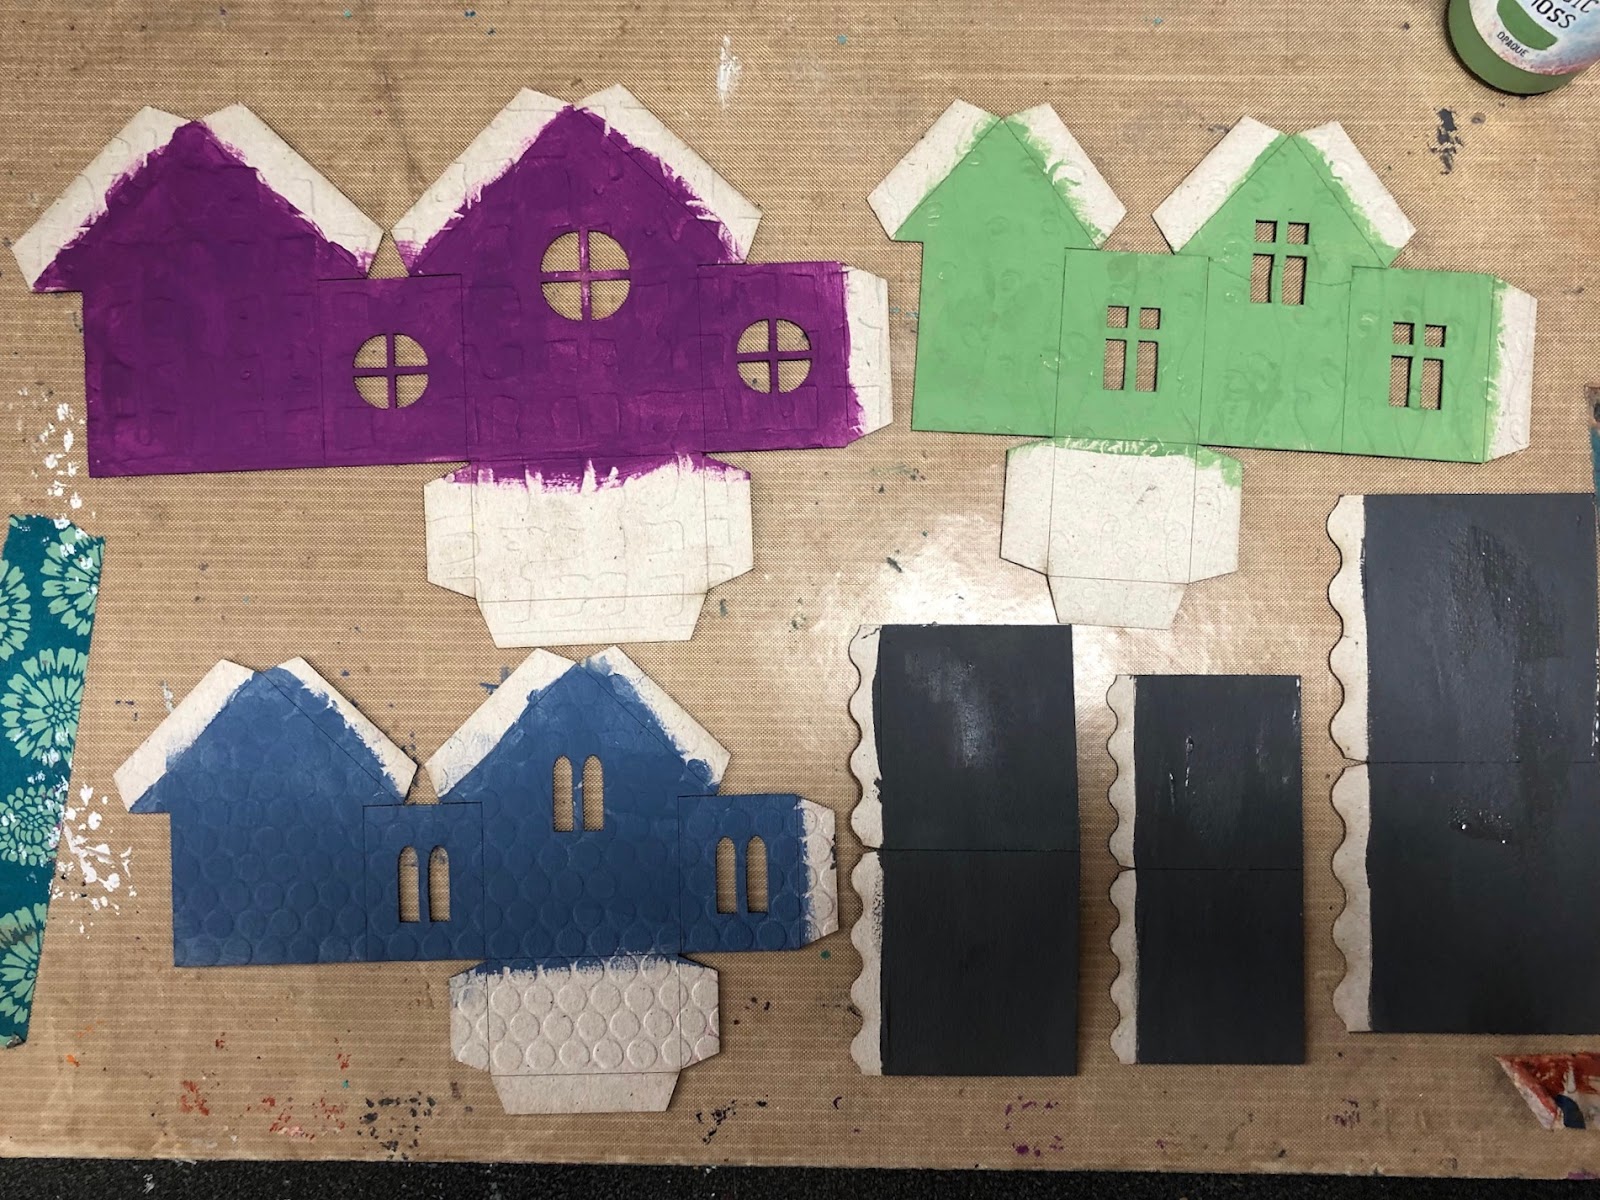
Hi everyone Dee here with  my decorated sundial designed by Fiona Randal. I love this it is 
such lovely set. I started by making the sundial bit first I had decided that I would emboss it so that it looked like metal. I triple embossed to give it a beaten metal feel.


I used Deco art paint to add colour to the embossed dial i used fluid acrylic in Prussian Blue Hue, Transparent Yellow Iron Oxide, Quinacridone gold. I used antiquing cream in Patina & Black alongside the fluid acrylic.


I started with gluing it all together then painting the entire piece with Deco art black gesso mixed with Raw Umber Premium acrylic.


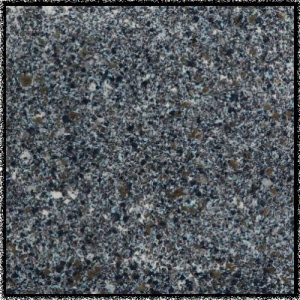
Next I applied Deco Art Crackle paint i allowed it to dry naturally I had also put Deco art texture sand paste on the base and on the top of the sun Dial.


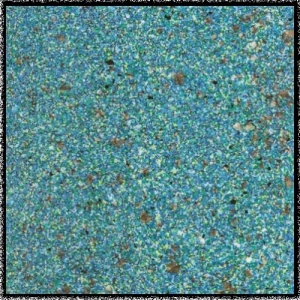
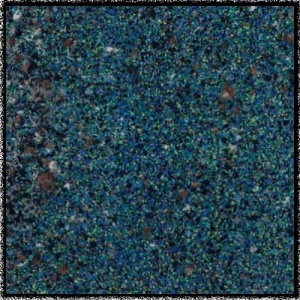
I painted the base of the sundial plate with media fluid acrylic silver paint then watery washes of Raw Umber Prusian Blue, Transparent yellow Iron Oxide, Quinacridone gold. I used a sponge to apply versa fine ink in patches and sprinkled on chunky silver embossing powders. I painted patina antiquing cream into the arms of the star this was then filled with crackle graze.


Washes of Raw Umber see above were applied also quinacridone gold to rust it up and patches of Raw Umber were applied where I had used Andy Skinners resist paste.


 I used Antonis Tzanidakis - Mechanical Fantasy to help decorate the base of the dial which I have decorated with washes of raw umber along with Transparent iron oxide and some quinacridone gold.
Butterfly were used to give a slightly different slant to it.


I hope you have enjoyed reading about how I created the sundial as much as I have enjoyed making it. Please feel free to leave a comment and let me know what you think.
Cheers Dee x


This kit is being shown on Hochanda today 


Thursday 24 October 2019

Crackle Media Board- Fiona Randall


Morning Fiona Here and it my turn on the blog for this weeks theme which is Crackle.
 
 
I decided to create a media board using Tando Grey Board Sheets which I cut to size.
I then applied a piece of Inky Cardstock to the grey boar base. Next up DecoArt Crackle Paste was applied with a pallete Knife and then set aside to dry for the lovely cracks to appear.
 I applied a rusty treatment to some plaster wings using DecoArt Media Fluid Acrylics. The same treatment was applied to the Tando Minis range bookplate and a quote added. A Tiny Heart from The Tando Grab Bag of Hearts was given a coat of DecoArt Chalky finish in Rouge and attached to the wings. Washes of DecoArt Media Fluid Acrylics were the applied over the crackle until the desired effect was achieved. The wings and bookplate were then attached to the base to finish.
 
 
Here's a close up.


Thanks for stopping by today


Products used.


Tando Minis- Bookplates.


Other supplies
 
Distress Ink Spray
Woodgrain Embossing Folder.


Thursday 17 October 2019

Tando Tuts on Thursday- Fiona Randall

 
Over on the Tando Creative Zone you will find the Step By step Tutorial to download to make this Butterfly Heart Media Board.
 
 
Here's the linky for you to get the full tutorial.
 
Thanks for looking
Fiona


Tuesday 15 October 2019

Mini Houses

Hi there, Celia here!

This week it's 'anything goes', so I thought I'd have a little play with these cute mini houses. I decided to go colourful and a bit fairy. I embossed them first for a bit of texture, then primed each of them in a different colour using chalk paint. 

Then I stamped them with the Chocolate Baroque Abstract Fragments stamps and added some washes of Decoart Fluid Acrylics, allowing them to pool around the texture from the embossing.

For the rooves, I first primed them in Relic chalk paint, then stamped one of the Abstract Fragments stamps with Versafine and heat embossed with a Cosmic Shimmer powder to get the tiles effect. 

I also used heat embossing powder on the doors and windows.

A bit more stamping with some flowers, then assembled. I think these houses are really cute - you could make a whole village!

Thanks for stopping by,

Celia  x

Sunday 13 October 2019

Guitar Clock

Hi lovelies, Lisa here and today is my turn on the blog for this weeks theme, which is 'circles'. 

I used Tandos Guitar clock kit for this creation but decided to use it as an art piece rather than a clock, so used it without the clock mechanism.

The top layer of the kit comes completely disassembled which is then adhered on to the base of the guitar shape after decoration, which means many different techniques can be applied to all the different pieces of the top layer. 


This is what I created...


I used lots of different products to create different decorative techniques which included DecoArt Premium Acrylic paints, Andy Skinner's new Embossing Enamels - Granite, Funky Cold Patina, Crystal Glaze, stamping, stencilling and decoupage.


Thanks for popping by the blog.

If you would like to pop over to my blog to see more on how I created this piece, visit my blog at www.thecraftaragestudio.blogspot.co.uk

Toodles for now,
Lisa x


Here is everything I used available from the Tando Creative website...

Guitar Clock Stencil 260mm x 65mm: RINGS Mini Stencil - Distressed Sequins 

A Skinner Stencil - BUBBLES Media: Texture Sand Paste

CS Andy Skinner Mixed Media Embossing Powder: Crystal Glaze CS Andy Skinner Mixed Media Embossing Powder: Funky Cold Patina CS Andy Skinner Mixed Media Embossing Powder: Granite

Friday 11 October 2019

Circles journal page by Dee

Hi everyone Dee here with my piece for circles week I made these journal pages a couple of years ago but never posted them so when I saw this weeks title I had to show you these pages.


I used Andy Skinners Bubble stencil along with other circle stencils from my stash and I proceeded to
put # Deco art dimensional paste along with some crackle paste through the stencils and let them dry.


Next I used a Tando grab bag of Circles which I triple embossed with # Stampendous Embossing Enamels. 


I used a # Stampendous stamp set to stamp into the embossing enamels the set I used was Kaffee Klatsch by n*Studio.


Once I was happy i and the dimensional paste was fully dry I sprayed with Lindy's stamp gang sprays in shades of blue and purple I think some of them might off been tattered angle sprays. The picture above I melted the powders directly onto the page and stamped into it.


You could also try water soluble crayons I just love the way water colour finds all the nocks and crannies.


Thats all for today I hope you liked what i did with my circles just go ahead and try new things you never know where they will take you. Please feel free to let me know what you think .
Cheers Dee x


Grab bag of Circles