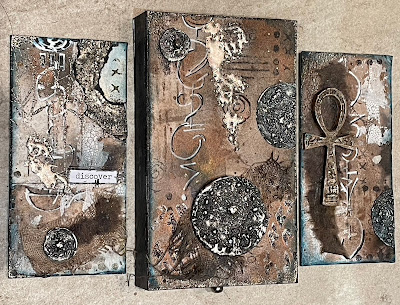
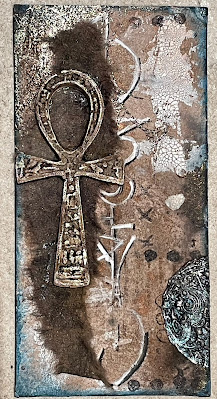
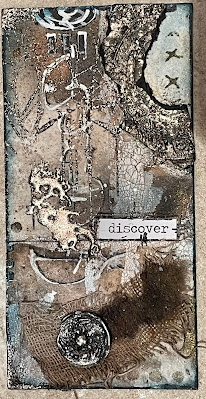
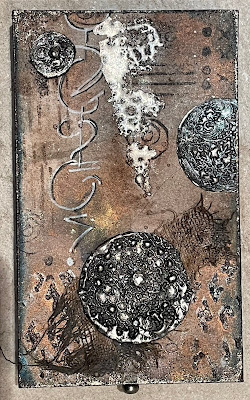
Hi everyone I am back and I have one of Tando's lovely matchbox's for you today.
Wednesday, 12 January 2022
Dee's back
Hi everyone I am back and I have one of Tando's lovely matchbox's for you today.
Tuesday, 11 January 2022
Hex Tex Tuesday by Sharon Quinn
Hello there
I'm delighted to be showing you my interpretation of the Tando Creative hexagons.
I am currently decorating the walls of my craft room to give me inspiration in my creative space so this is the inspiration for this piece.
I started by painting the edges of a Tando Creative A4 greyboard greyboard panel with fresco paint in butternut.
Next I applied rice paper to the panel using distress collage medium, I removed excess paper by using a water brush to give a raw edge gently tearing away from the fibres.
I have chosen to use 3 solid hexagons and 3 hexagon frames to paint in DecoArt americana acrylic paint in celery green. I left to dry naturally which only took minutes but of course you can speed up the process using a heat gun. I then used a distress crayon in carved pumpkin to smudge with my finger around the edges.
Next I added areas of interest using stamps in butternut acrylic paint and doodles with a white gel pen.
Inka gold has been added to the hexagon frames but any mica powder or wax would also work, or imagine how gilding flakes would look ,,,?
Next I played around with the position of the pieces to give a look I was happy with, I adhered with book binding glue.
Finally I added words from Tim Holtz metallic words pad.
The finished piece will look great on my wall....I wonder what you could make using the hexagons??
Tando Creative hexagons
Tando Creative A4 sheet
DecoArt americana acrylic paint - celery green
PaperArtsy fresco paint in butternut
PaperArtsy Eclectica EM41
PaperArtsy Eclectica EM45
PaperArtsy Eclectica EM48
Papers for you rice paper
Distress collage medium
Pinflair Book binding glue
White gel pen
Viva Decor Inka Gold
Many thanks for reading my blog post, I hope you found some inspiration.
Lots of love
Sharon Quinn xx
Monday, 10 January 2022
Mini Printer Tray
Happy Monday Everyone,
I have finally had chance to work with a Mini Printer Tray. I think I will be getting some more of these, they are quite different to anything I have done before. I have lots of bits and pieces: ephemera, stamped images, letters, numbers and hardware that I love and was looking for a way to show them off. A printer tray is the perfect way to do this, mine is now in my lounge so I can keep looking at it.
I started off by selecting a Tim Holtz paper for my background. The paper I chose has letters on it which made me decide it was the right one for this project. I stuck it to the greyboard with wet glue to make sure it was well stuck down.
I painted the front frame panel with a grey paint then used a blending foam to add some black soot distress ink around the edges of the frames to give it an industrial, almost dirty look. I used wet glue again to secure this to the background.
I then started to gather my treasures to add to the individual frames. I have spells of stamping and cutting out small images, just in case I need that bit of something to add to a card or tag. I have quite a selection of Tim Holtz hardware and ephemera, but I tend to hoard it and am quite stingy with is. Since I am keeping this piece for myself, I decided I would use some of my precious pieces. I added some mustard coloured paint to bare pieces to complement the colours of the background paper.
I inked the edges of the paper embellishments with either vintage photo or black soot distress ink and added some glossy accents to the light bulb. I then attached everything inside the frames either with glue or foam pads to add a bit of dimension.
Link to Mini Printer Tray:
Sunday, 9 January 2022
Colour theme Gothic Arch layered frame by Nicky Roussou
These Gothic Arche Layered Frame are just so cute and I love the size of them. I also love it when I can create a project in one sitting ( which doesn't happen very often 😂)
Saturday, 8 January 2022
Playing with Plaques - Zoë Sanderson
Today I'm going to share with you a project that was going in one direction but needed with one piece going off on a tangent.
So what happened along the way. The original plan was to use the Plaques and the Whimsical Houses.
OK I wanted to have a play as well. This was an opportunity for me to try the DecoArt modelling paste out for the first time. The stencil I used is from this set of 4 and I've had lots of fun with this one especially.
The fun thing about the paste is that it dries clear! Once the paste had dried then gesso was brushed all over. Now it is time to start to colour them.
Something else that is a lot of fun is applying wax pastes. I like to use a cotton makeup removing pad, they pick up the paste easily and make it easy to apply. The best thing is to use circular movements working over the surface and building the colour up. Repeated working also brings the shine and luster up.
For the other Plaque I used watercolour paints and then decoupaged some printed tissue over the top.The Houses were also given a gesso base, watercolored, and then glued together. One of the houses was also given some printed tissue additions. Although it looks OK in this picture in real life it's not so good. I play around with layouts for a while before finally deciding how the Whimsical House plaque would look.
Well that was one plaque but what about the other? That third house was not working especially not on the metallic finish of the second base. It just happened that all this took place during a 4 day crafting binge when I tried all sorts of different things.
Included in my some resin casts and clay casts using a great American mould. The resin piece was coloured with DecoArt acrylic paints, the clay pieces didn't need any paint adding.
As always I hope you had fun reading this and are encouraged to go out and get inky/messy yourself while having fun!
Products Used
Tando 12 Assorted Plaques
Tando Whimsical Houses 2
Tando Set of 4 Background/Flourish stencils
DecoArt Media White Modelling Paste
DecoArt Media Metallic Lustre
DecoArt Fluid Acrylics
Other mediums from my stash.
Friday, 7 January 2022
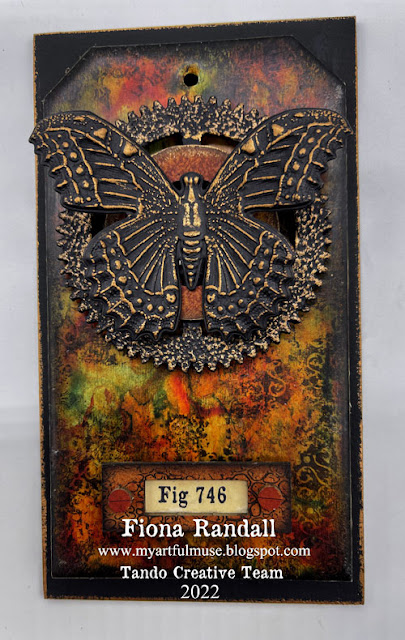
Rusty Butterfly Tag Plaque
Morning all Fiona Here with my first post of the New Year.
I am in my comfort zone for this project with a rusty grungy Tag topped with a metallic effect embossed Butterfly and a cog thrown in for good measure
Thursday, 16 December 2021
Product Focus- Steampunk Journal Cover- Fiona Randall
Morning all Fiona here with a Product Focus project.
The DT will focus on the vast array of products available on the Tando website and hopefully give you some ideas and inspiration to try something new.
For my project I have focused on the Tando A6 Binder and Cover Pack. I t comes with two A6 Binders and 4 pairs of covers. I used a pair of the covers to create a steampunk themed journal cover.